
 1
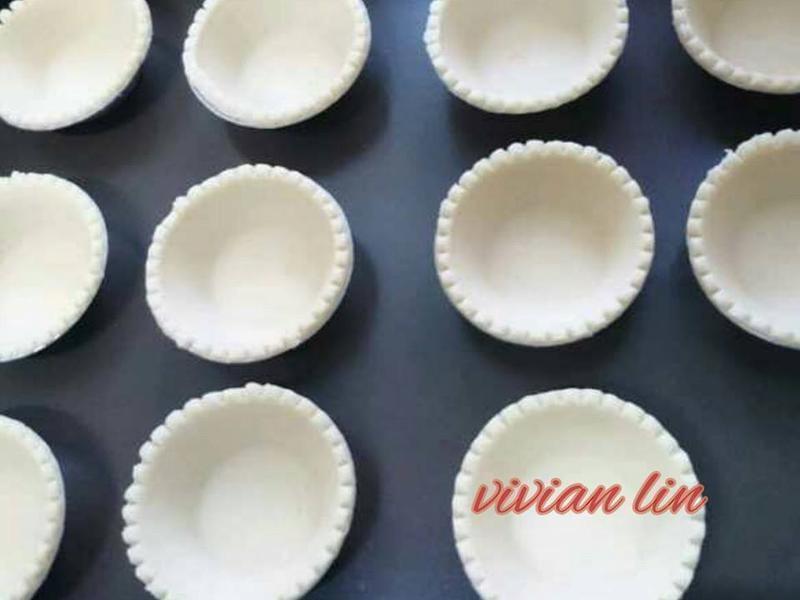
1把塔皮先摆放于烤盘上 解冻
 2
2顺便预热烤箱 上火180 下火200
 3
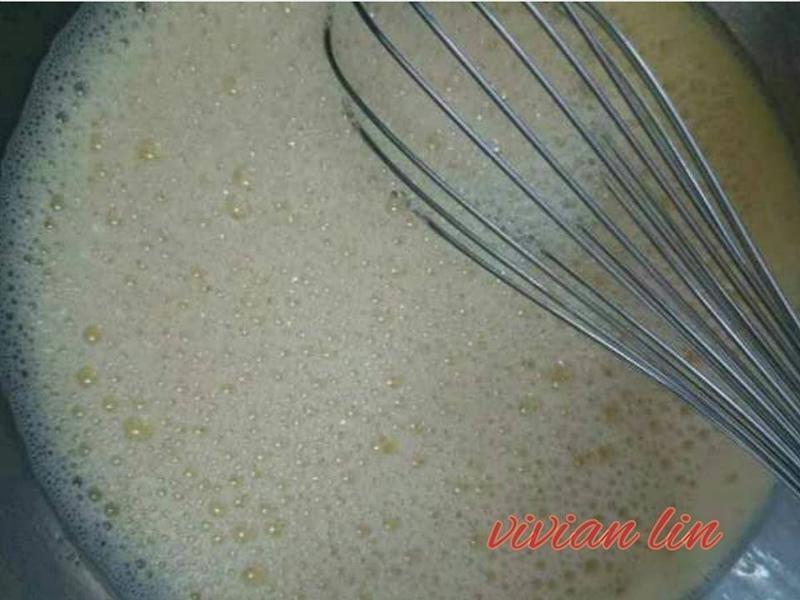
3鲜奶 砂糖 加热, 煮到砂糖溶化即可 (不用煮沸)
 4
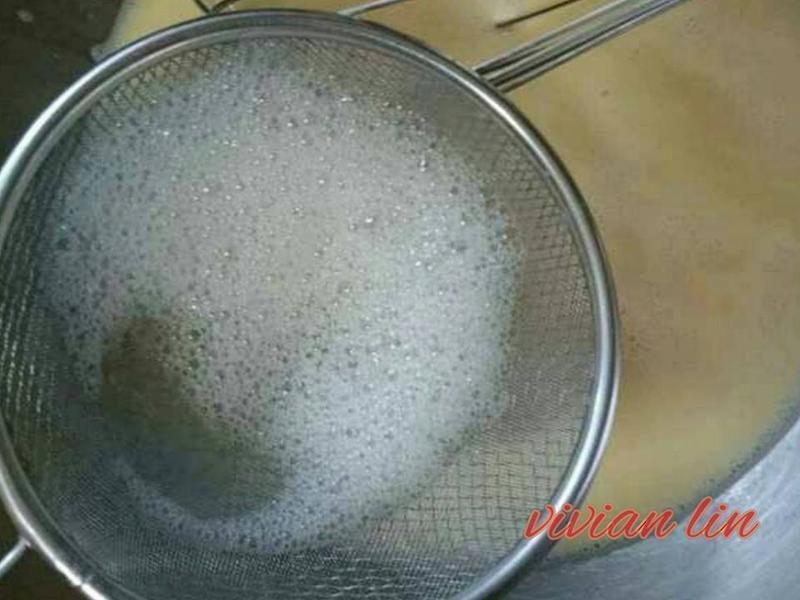
4鸡蛋打散 ,将刚刚煮好的牛奶倒入蛋汁中 ,搅拌均匀(鲜奶的温度 不要太高 以免蛋汁变成蛋花 若温度过高 稍微等冷一些吧) 再将蛋汁过筛 滤除残渣
 5
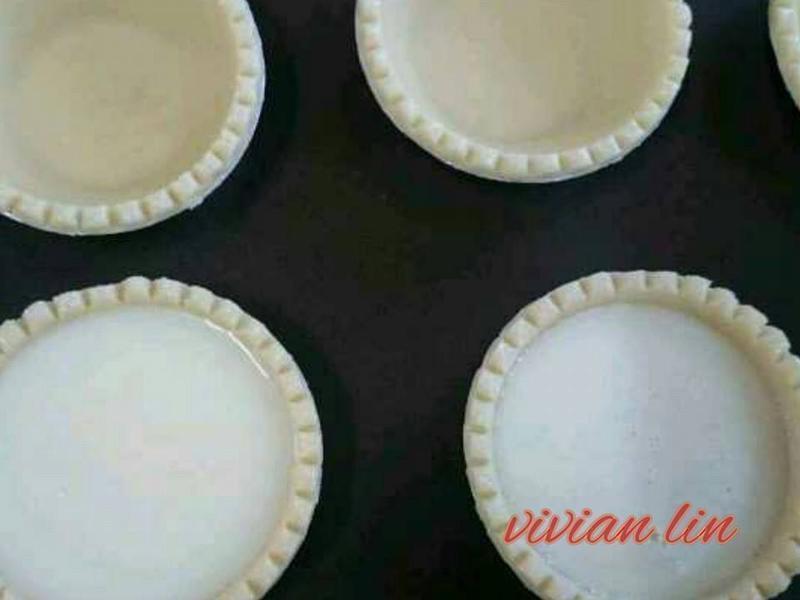
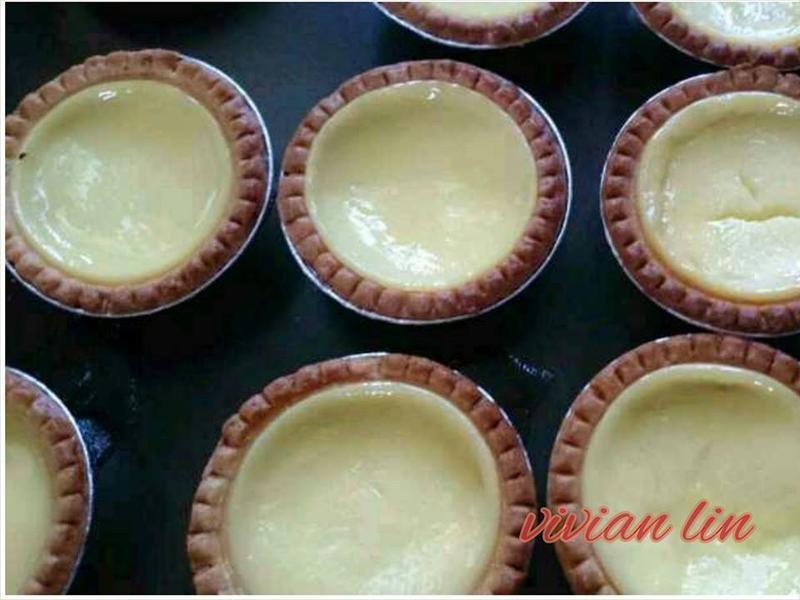
5过筛好的蛋汁 缓缓的倒入塔皮里(我家这边的材料店 塔皮一盒 有11个 这样的蛋汁量 刚好可以做11个唷)
 6
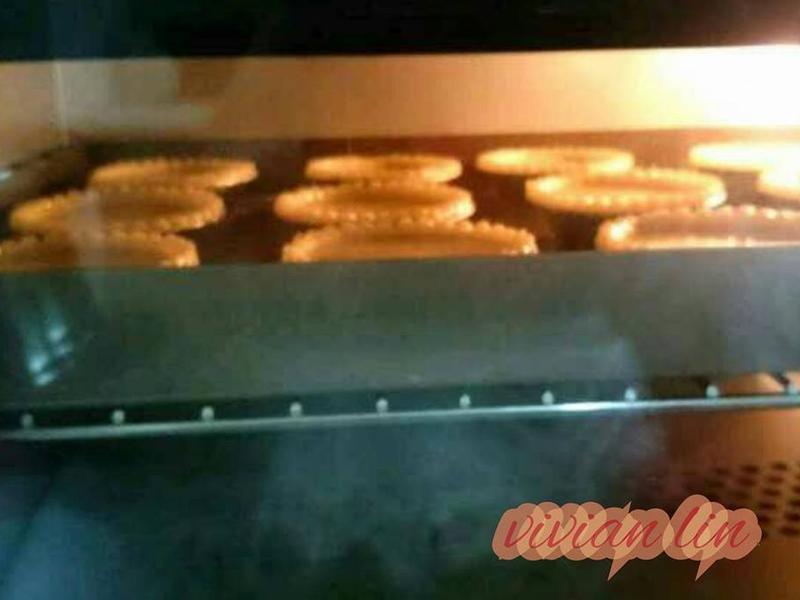
6放入烤箱烤20-25分钟 (请依自家的烤箱温度 及蛋塔上色的情形 稍微斟酌一下时间)
 7
7简单又好吃的蛋塔 很简单唷 一起试试看吧~
