
 1
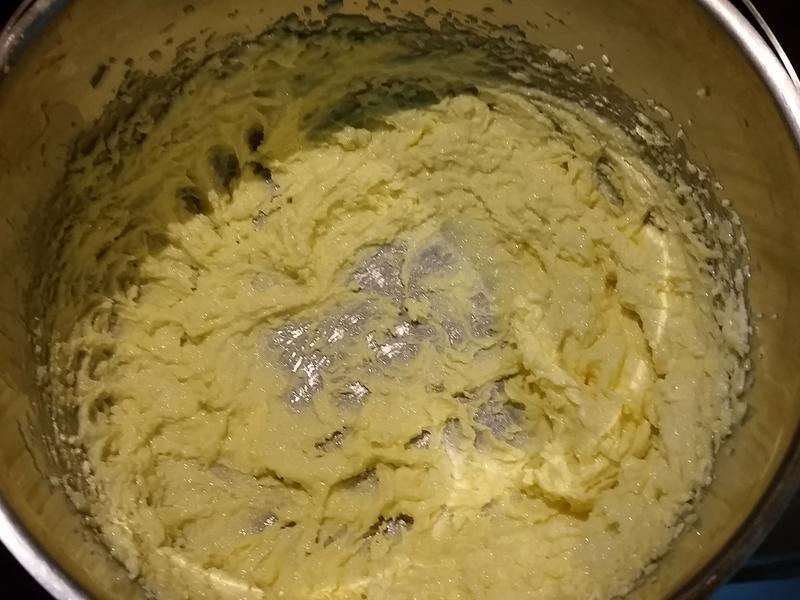
1зМБИВФСЯЃЌФЬгЭЗХжУЪвЮТШэЛЏЃЌАбУлдцИЩЧаЫщ/дЄШШПОЯф200ЖШC АбФЬгЭ ЬЧ бЮДђЗЂжСГЪЕАзЩЋУРФЫзЬзД(ПЩгУЕчЖЏДђЕАЛњНЯЪЁСІ)
 2
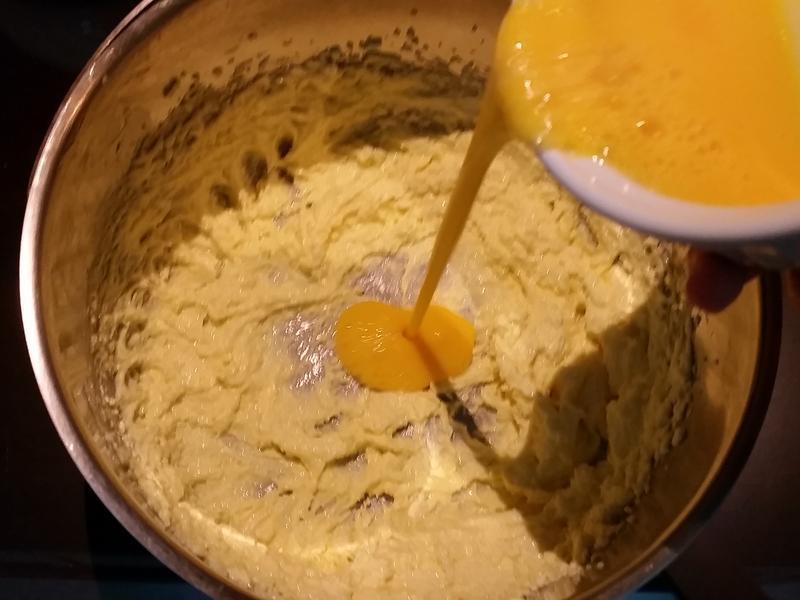
2АбШЋЕАДђЩЂЃЌЩйСПЖрДЮМгШыЃЌУПДЮНСдШКѓВХМЬајМг(БмУтгАЯьПкИа)
 3
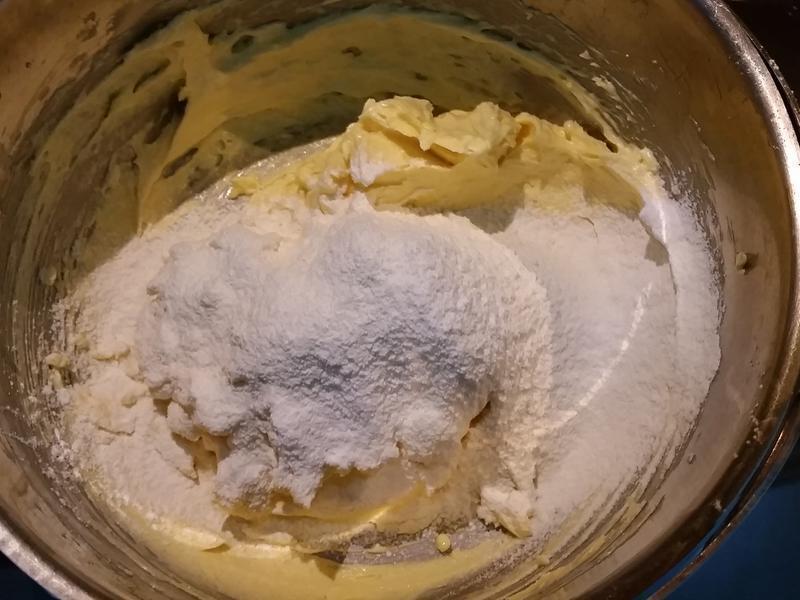
3Зж2-3ДЮЩИШыЗлРрВЂгУЙЮЕЖвдАДбЙЗНЪНЛьКЯОљдШ
 4
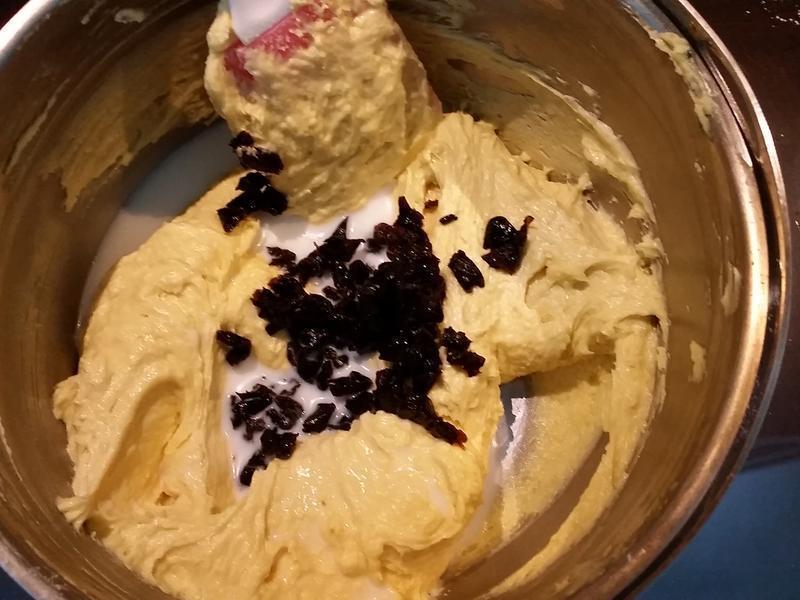
4АбЧаЫщЕФУлдцЧЌКЭХЃФЬвЛЭЌМгШыНСАшОљдШЁЃзюКѓЛсГЪЯжгаЕу№ЄадЕФК§зД
 5
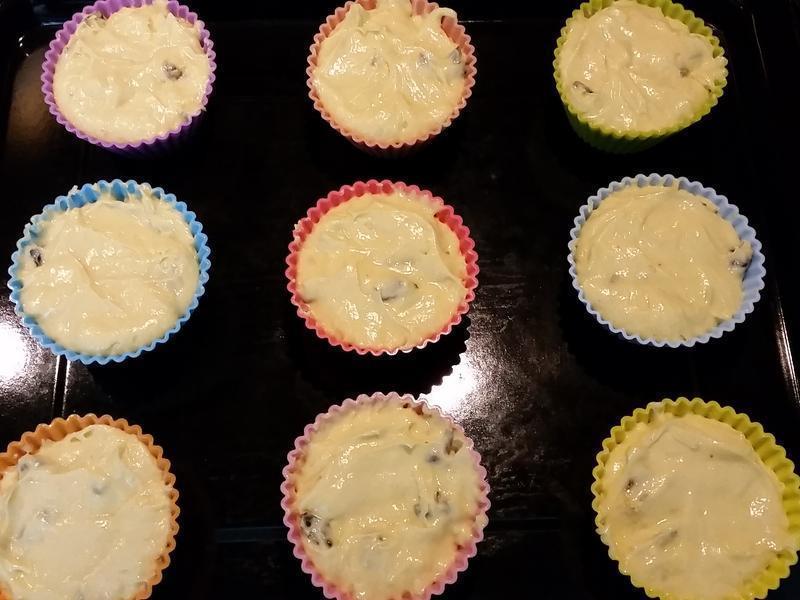
5гУЬРГзИЈжњЃЌЭкШыЮљНКБзгЕАИтФЃ(ЛђжНБ БзгЕАИтФЃаЭ)ЃЌУПИіЗнСП65gЃЌДѓдМПЩзі10Иі
 6
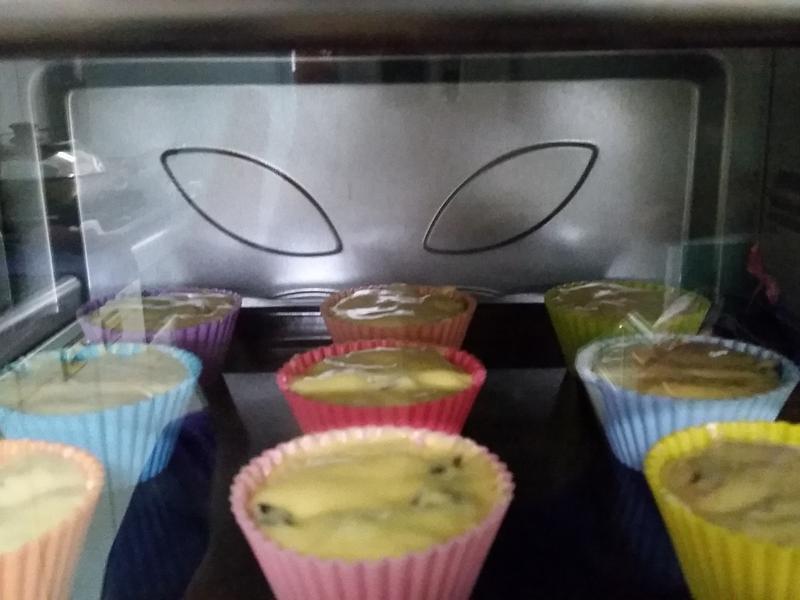
6ЗХШыдЄШШЕФПОЯфзЊГЩ180ЖШCКцПО25-30Зжжг(жаЭОПОХЬПЩзЊЯђЪЙбеЩЋОљдШ)
 7
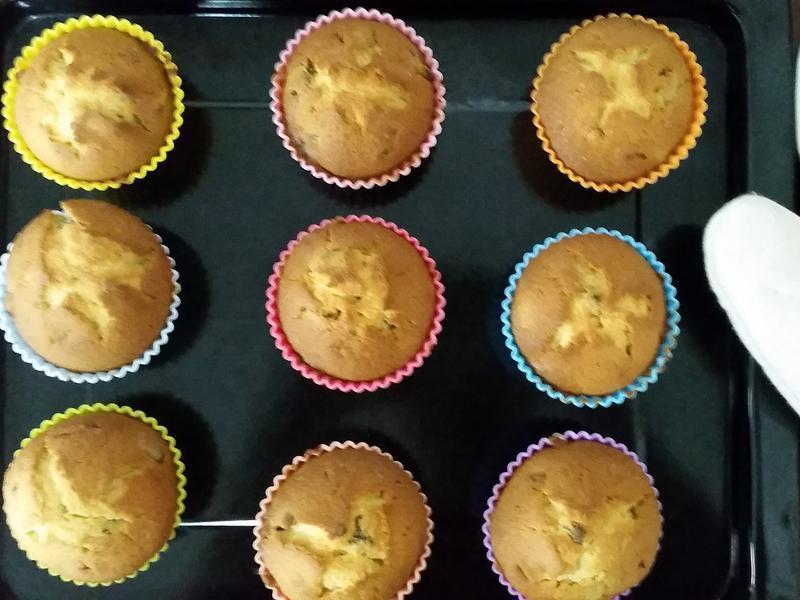
7гУжёЧЉВхШыжааФЭъШЋЮоеД№ЄМДДњБэЭъГЩЁЃДгПОЯфФУГіРДКѓПЩТэЩЯДгЮљНКФЃжаШЁГіЗХСЙЁЃ
 8
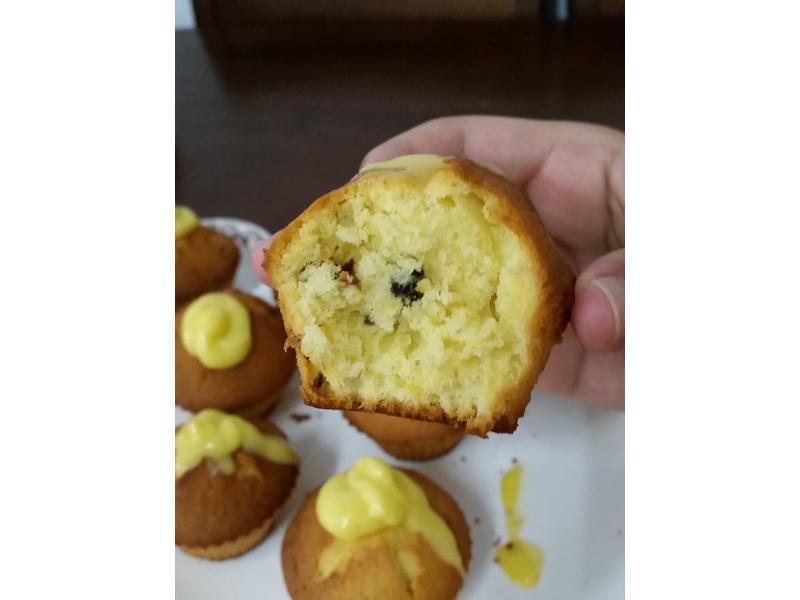
8ПЩМЗвЛЕуФЬгЭФЈНДдкЖЅВПдйЗХПХУлдцИЩзАЪЮЁЃУрУмЕФЕАИтЬхЃЌМгЩЯЫсЫсЬ№Ь№ЕФУлдцЧЌЃЌЬ№ЖШЪЪжаЃЌецЪЧЬЋУРЮЖСЫ!
