 1
1ЯШНЋжЎЧАзіКУЕФКьЖЙЯкЭЫБљЃЌШЁГівЛАыЃЌМгШы2ДѓГзЕФЫЎЛЏПЊКьЖЙЯкЁЃ
 2
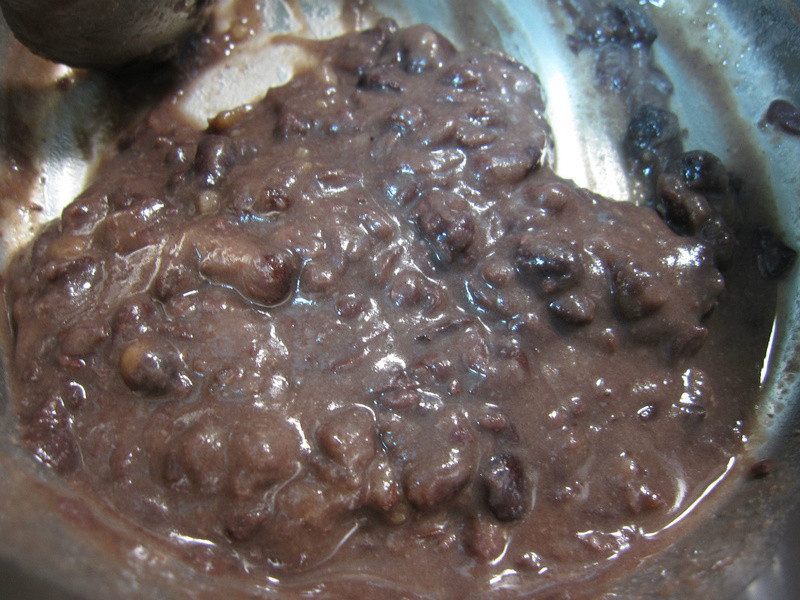
2ЯШНЋ4СЃЕАЛЦЁЖЮДКЌЕААзЃЛЕААзЪЧвЊФУРДзіЕААзЫЊрИЃЁЁЗДђЩЂЃЌМгШыгЭАшдШЃЌдйМгШыХЃФЬАшдШЁЃЃЈPSЃКгЭПЩгУФуЯВАЎЕФгЭРрРДгУЃЌвВврПЩгУЮобЮФЬгЭРДДњЬцЃЉ
 3
3дйЗХШыЙ§ЩИКѓЕФУцЗлАшдШжСЮоСЃПщКѓЃЌдйМгШыЕїПЊКѓЕФКьЖЙФрАшдШБИгУЁЃ
 4
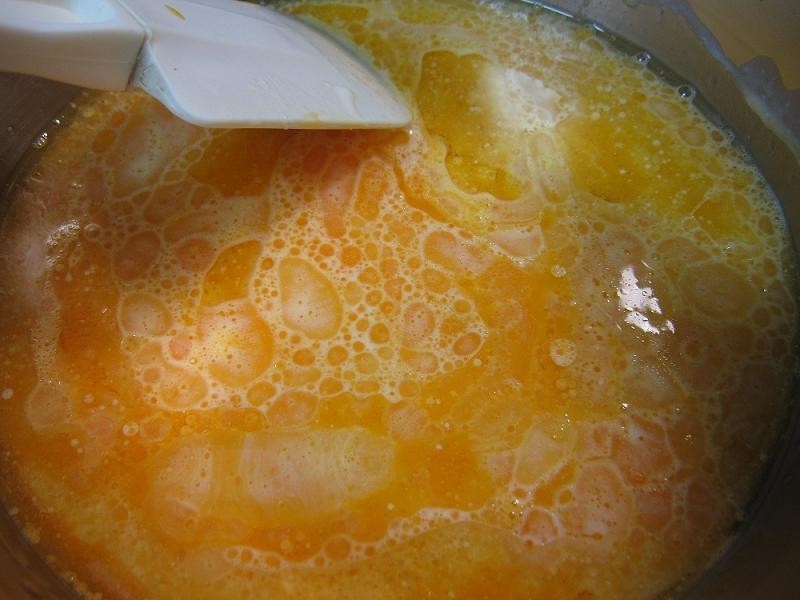
4ЕААзгУДђЕАЦїЯШДђЗЂжСгаЕуАзАзЕФХнФВњЩњЪБЃЌМДПЩЕЙШыЬЧКѓЃЌдйДђжСгВадЗЂХнЁЃЁЖЬЧвВПЩгУЬЧЗлЃЌВЛЙ§вЊЯШЙ§ЩИЁЗ
 5
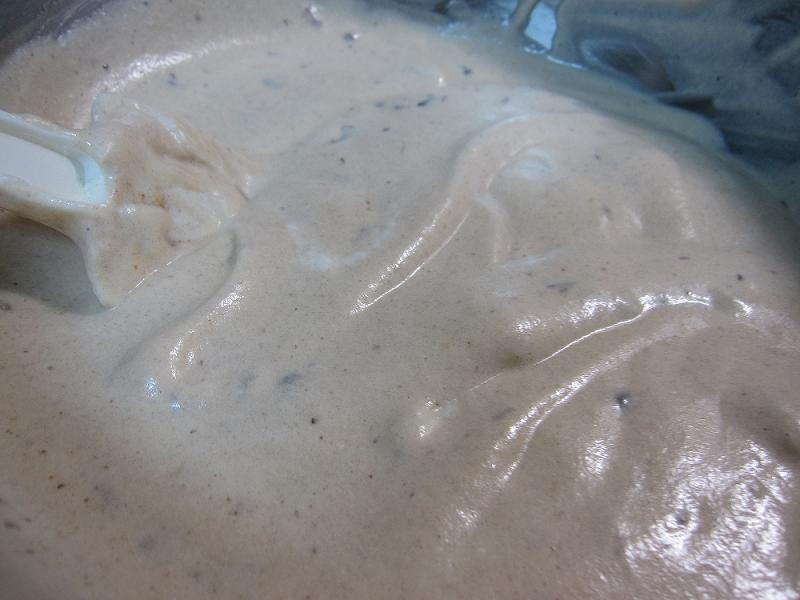
5гУШЁГі1ЃЏ3ЕФЕААзЫЊКЭКьЖЙУцК§зіГѕВНЕФЕїдШЃЌШЛКѓдйЕЙШыШЋВПЕФЕААзЫЊАшдШМДПЩЁЃЁЖАшдШЕФЙ§ГЬашПьЫйЁЂЧсШсЃЌБмУтПеЦјБЛДђЕєСЫЁЗ
 6
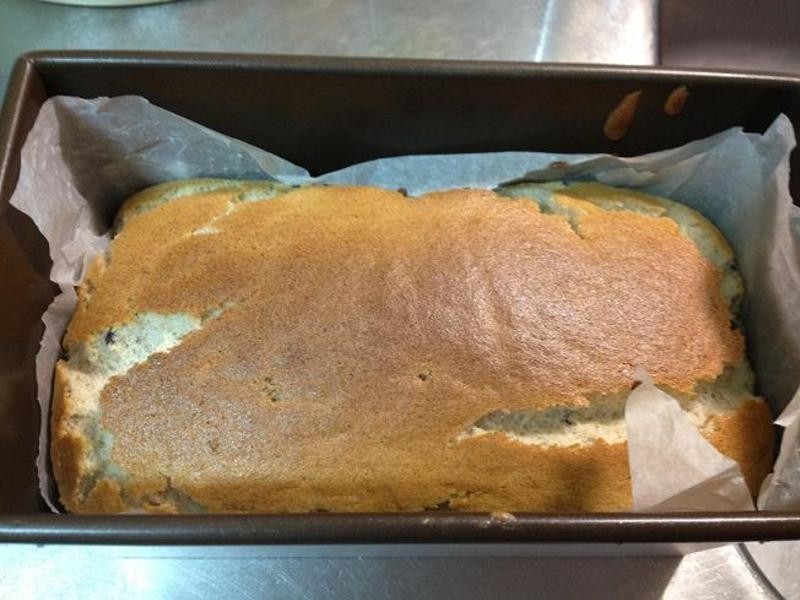
6ЗХШыПОФЃФкЃЌгУЩЯЛ№170ЃЌЯТЛ№150ЃЌПО20ЗжМДПЩЁЃ
7ДЫЕРвВврПЩзіГЩКьЖЙЭСЫОЕАИтрЁЁЋЁЖPSЃКЙўЙўЁЃФЧЪЧвђЮЊЮвЛЙУЛТђГЄЬѕФЃОпЛиРДРВЃЌжЛКУФУЭСЫОФЃДњЬцЃЌНсЙћаЇЙћвВЛЙВЛДэЁЃЁЗ
