
 1
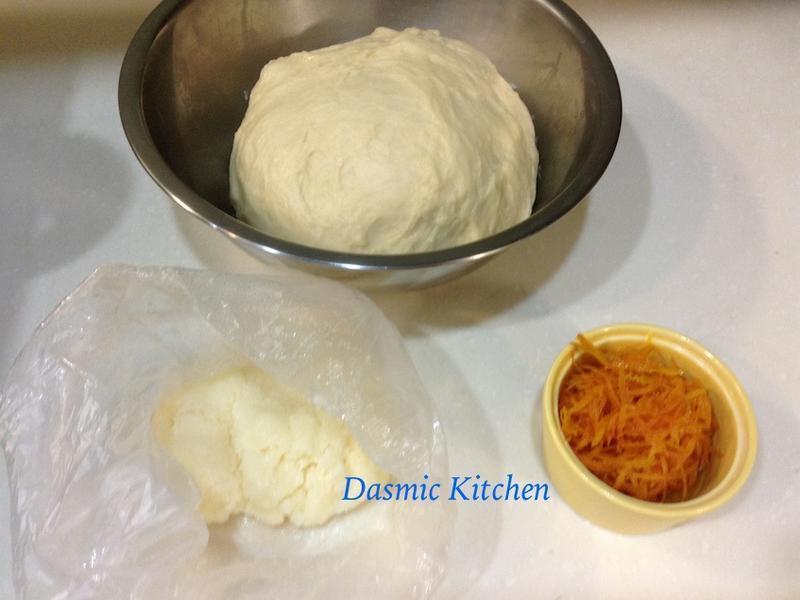
1内饀制作:室温奶油 糖用打蛋器搅拌成霜状,再加入椰子粉/塩拌匀即可;糖渍橙皮稍沥干汁液备用(留少许汁液)
 2
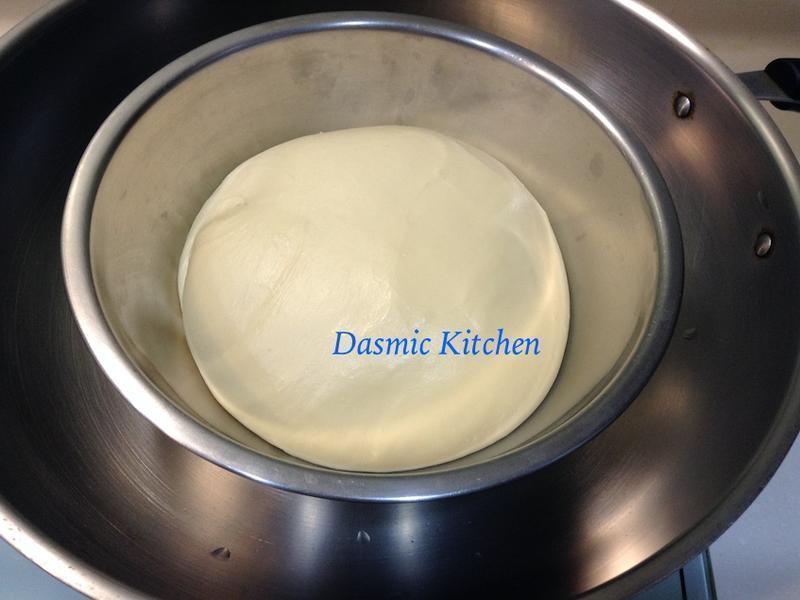
2所有材料(除速发/奶油外)入钢盆中;水份量先保留30ml;设定2分钟;以低速拌匀,依实际情况添加剩余水份,待稍成团再倒入速发拌匀 转中速搅拌2分钟; 再放入奶油,以低速拌匀约1分钟,再转中速搅拌6分钟; 面团入容器内并置于温暖密闭空间,发酵40-50分钟
 3
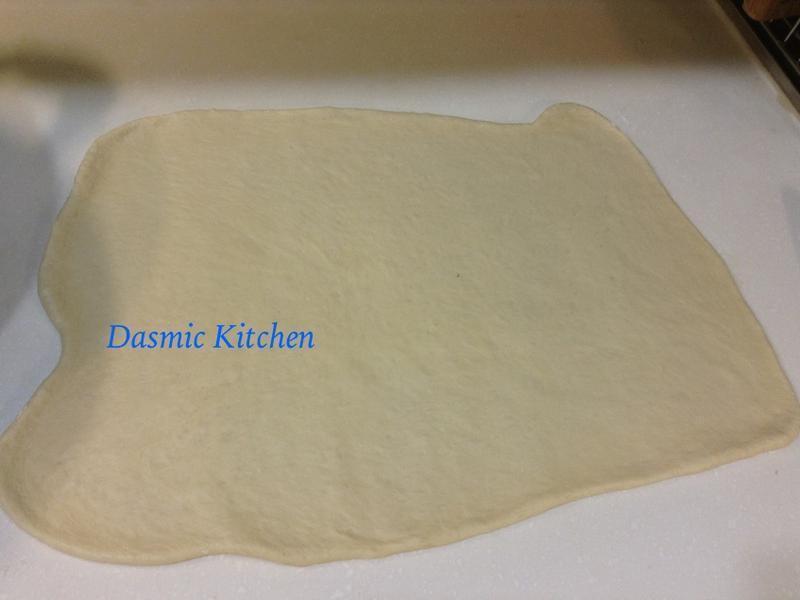
3压出空气;全部滚圆并置温暖密闭处,醒15分钟 杆成长方形约 30x40cm
 4
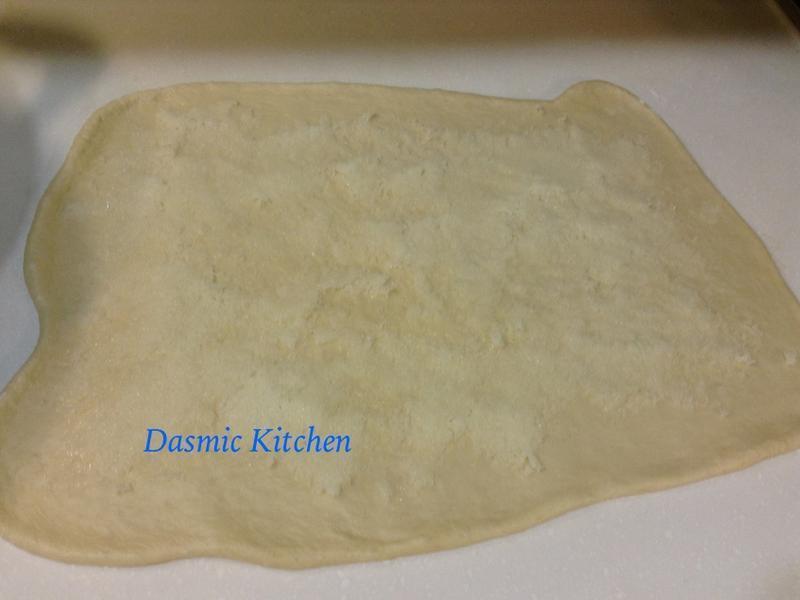
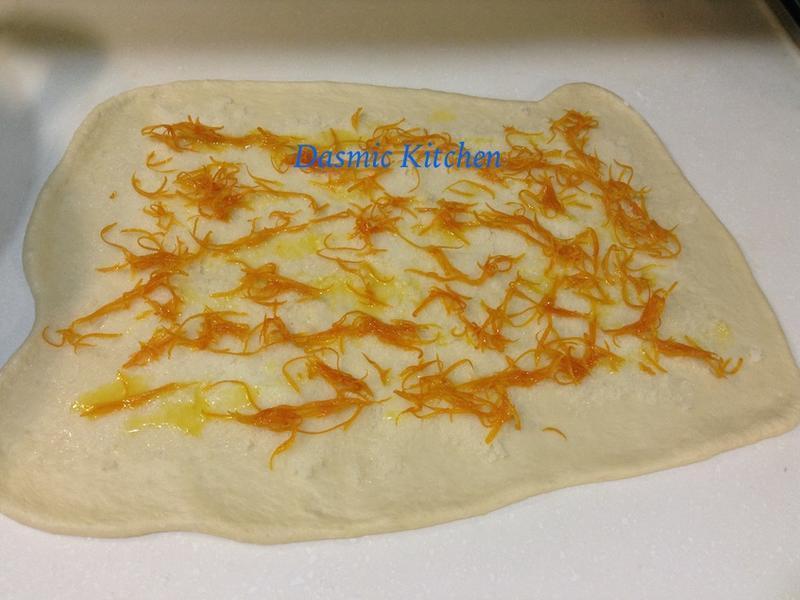
4涂抹内饀(四周围预留1-2cm不要涂抹)
 5
5散放橙皮,淋上少许汁液
 6
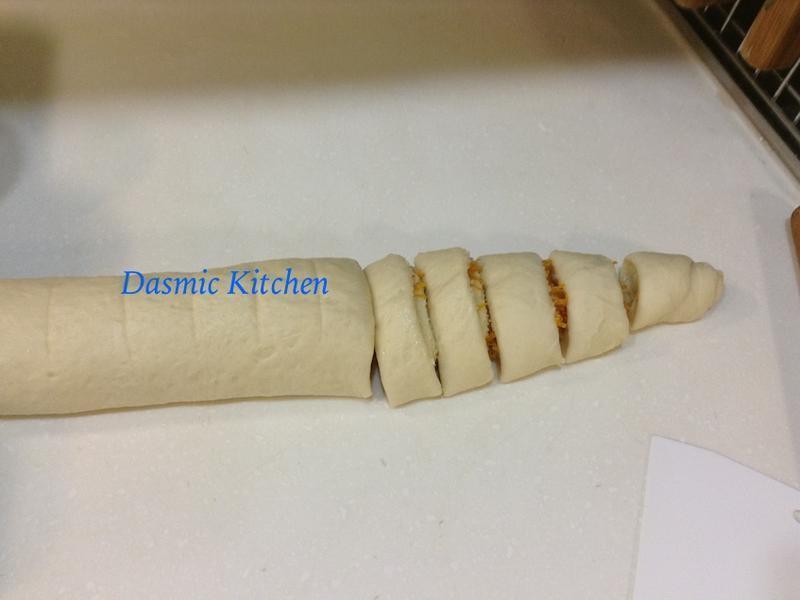
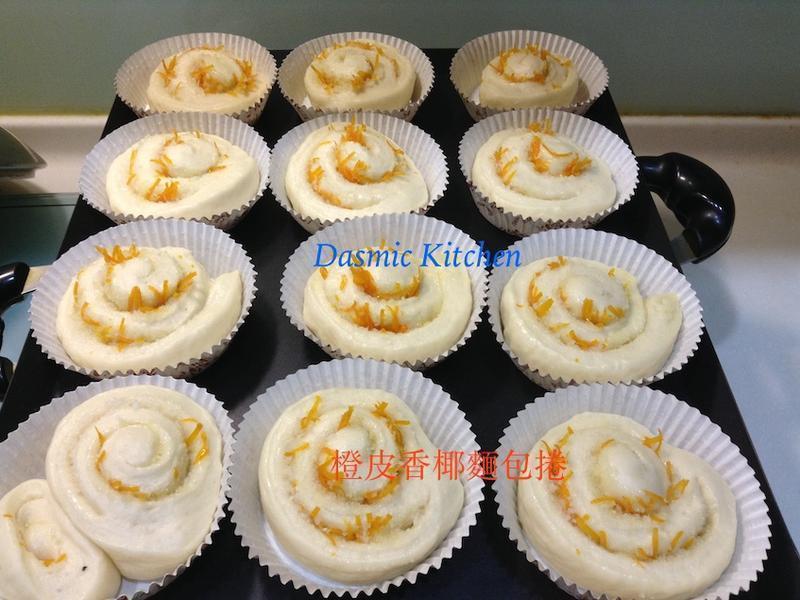
6卷起;收口及两端揑紧;两端切掉,再分切成10-12等份,放在纸杯中
 7
7放进烤箱内做最后发酵50分钟(门关上但不须打开开关);时间快到前10分钟,拿出烤盘,打开烤箱开关设定180度预热; 预热完成,在面团上轻刷蛋液;入烤箱,烘烤22-25分钟
