 1
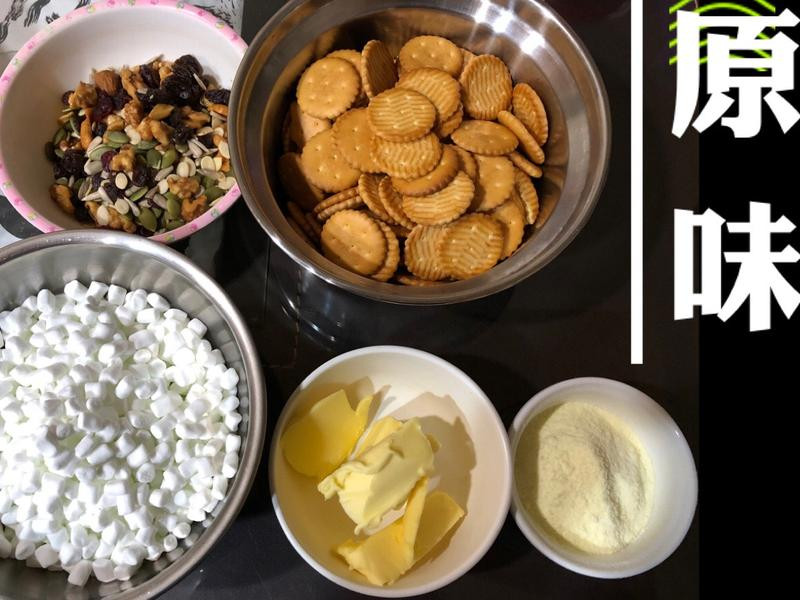
1备料
 2
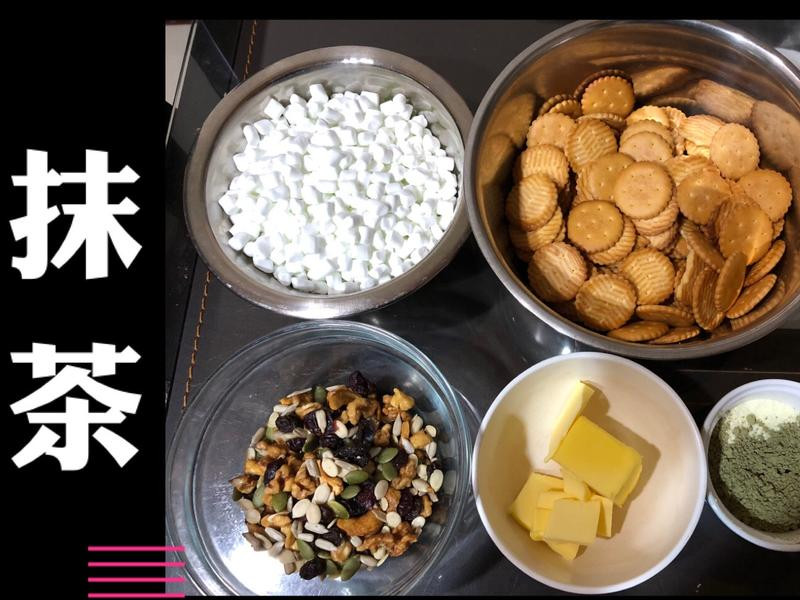
2备料
 3
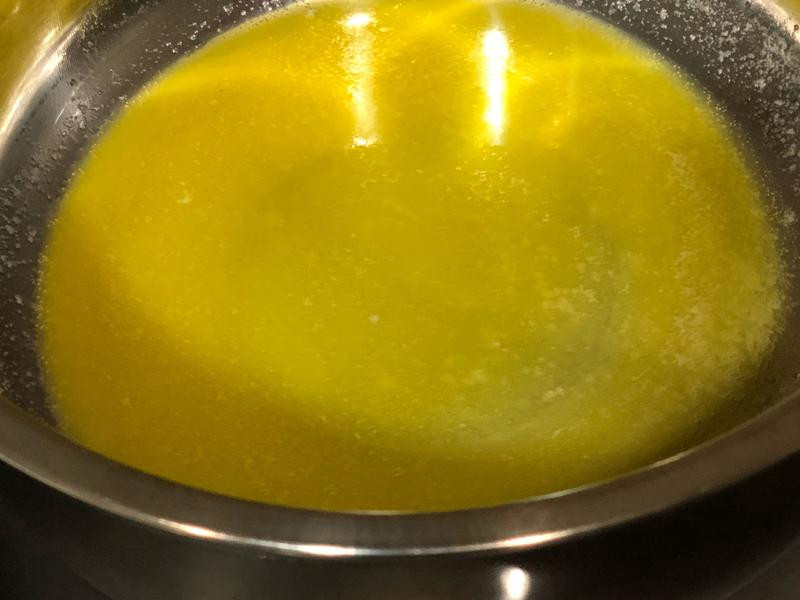
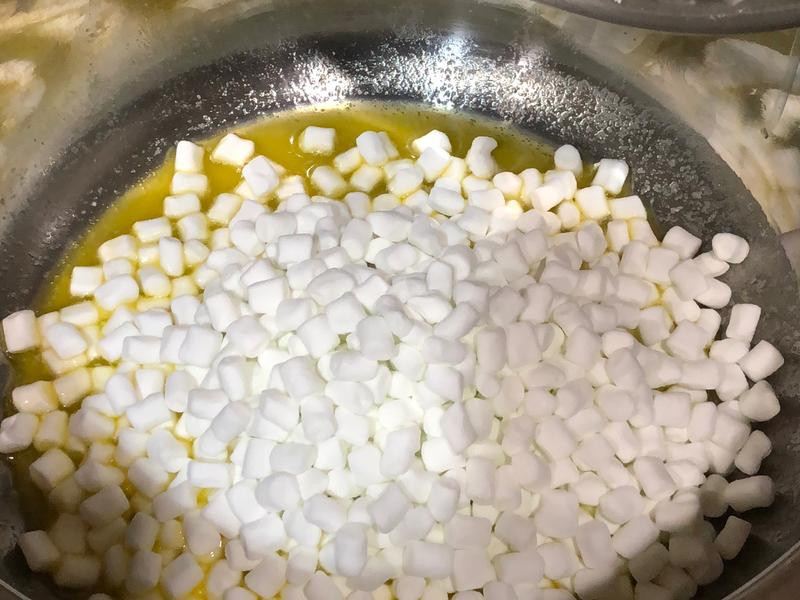
3隔水加热奶油至融化
 4
4倒入棉花糖
 5
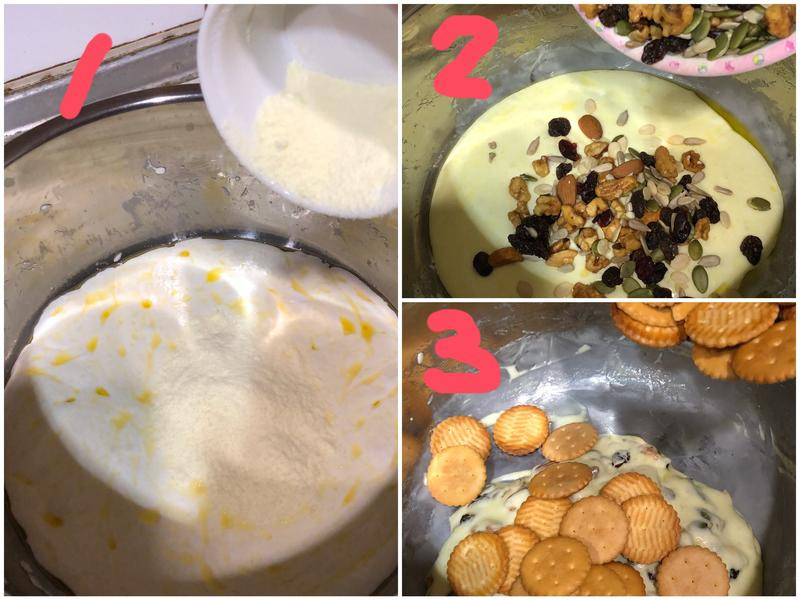
5(原味)依序加入 1.奶粉拌匀 2.坚果拌匀 3.饼干
 6
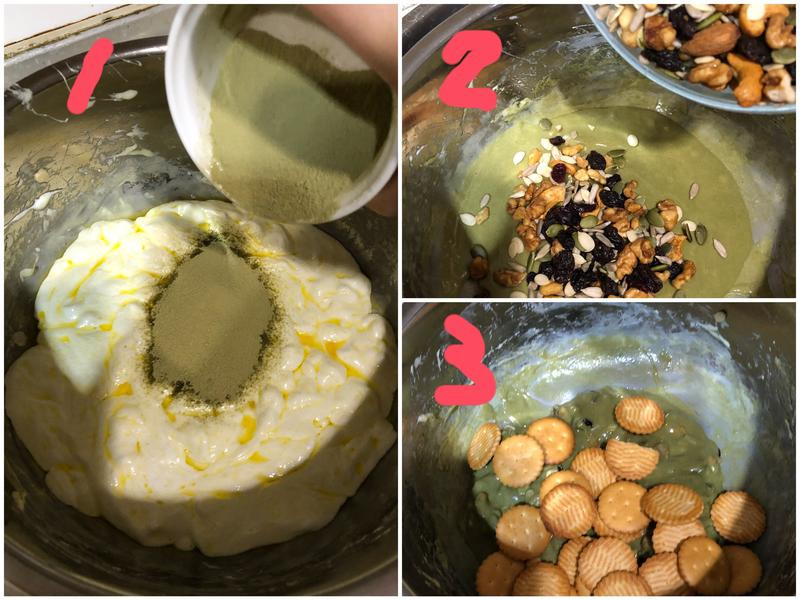
6(抹茶)依序加入 1.奶粉拌匀 2.坚果拌匀 3.饼干
 7
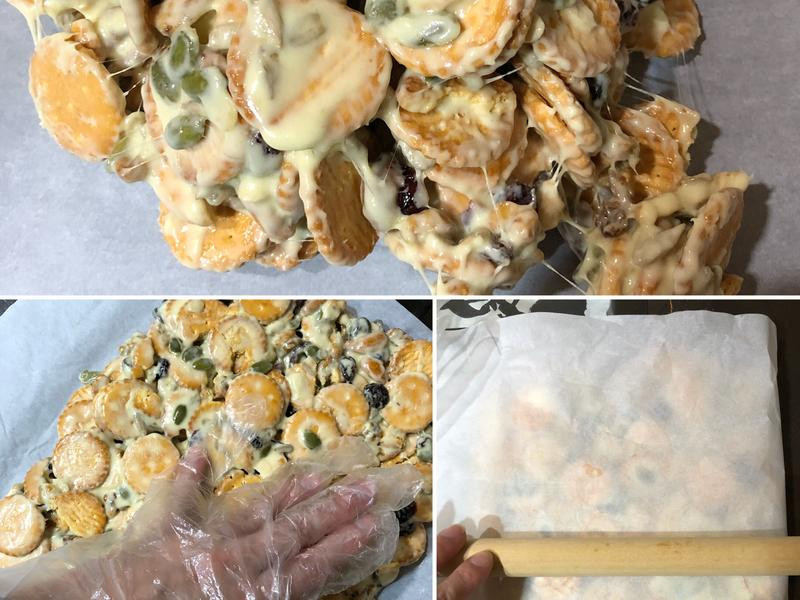
7倒在烘焙纸上整型后,以杆面棍压平放凉。
 8
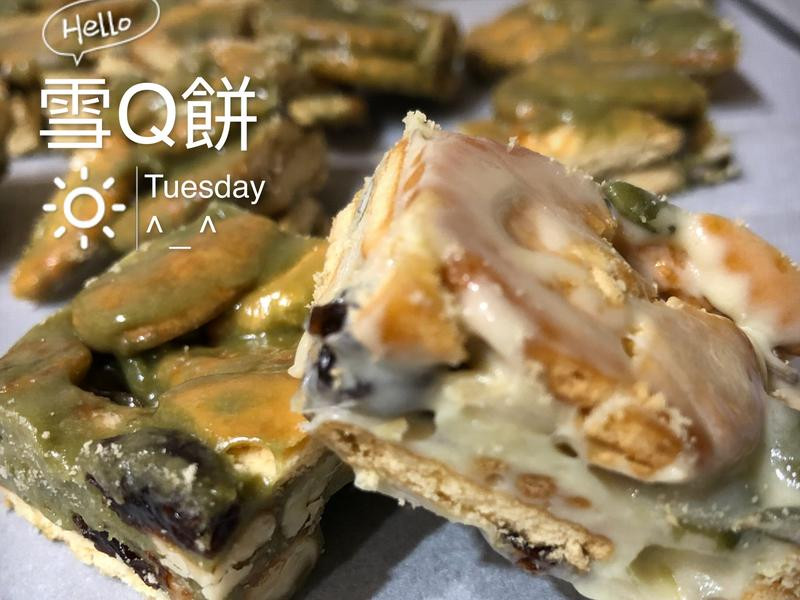
8切成3*4大小,此份量约可做40块雪Q饼。
 9
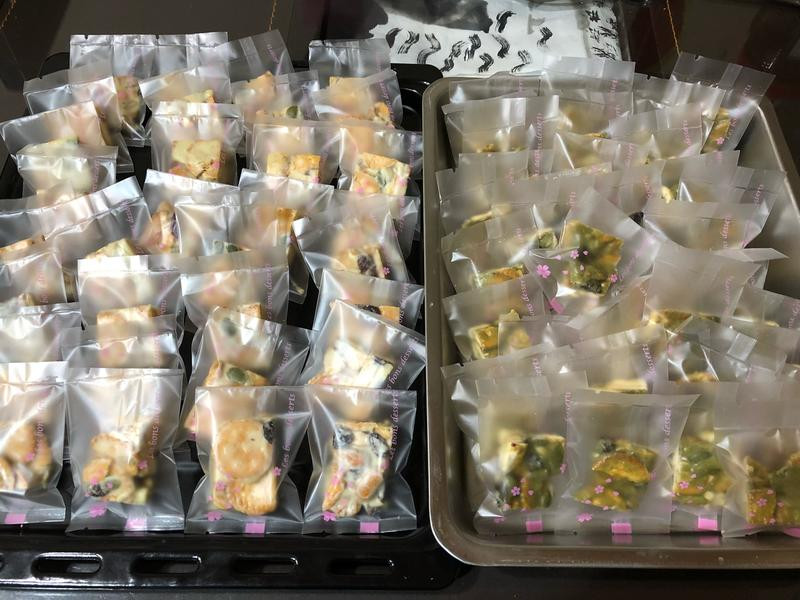
9包装及封口。
10我的原味.抹茶雪Q饼大军。
发布时间:2019-03-10 18:49:53
1备料
2备料
3隔水加热奶油至融化
4倒入棉花糖
5(原味)依序加入 1.奶粉拌匀 2.坚果拌匀 3.饼干
6(抹茶)依序加入 1.奶粉拌匀 2.坚果拌匀 3.饼干
7倒在烘焙纸上整型后,以杆面棍压平放凉。
8切成3*4大小,此份量约可做40块雪Q饼。
9包装及封口。
10我的原味.抹茶雪Q饼大军。
该内容由生活日记网提供.

Copyright ©2010-2024 生活日记网 用日志记录点滴生活! 家常菜谱频道。 网站地图 手机版
用日记记录生活中的点点滴滴,等老了我们一起来把它回味......写日记
网站备案/许可证号:鲁ICP备18042150号-39