 1
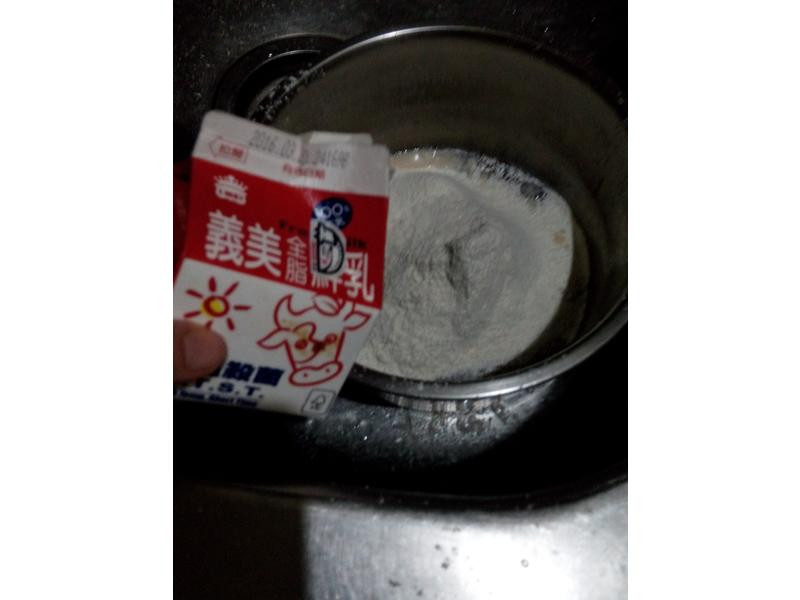
1先把新鲜酵母加入20g温开水搅拌。拿大的锅子放入过筛的高筋面粉,放入酵母水,白糖15g,盐1小匙,温鲜奶,绿茶粉(先可用1点水搅拌匀后才放入)全搅拌均匀揉成团。
 2
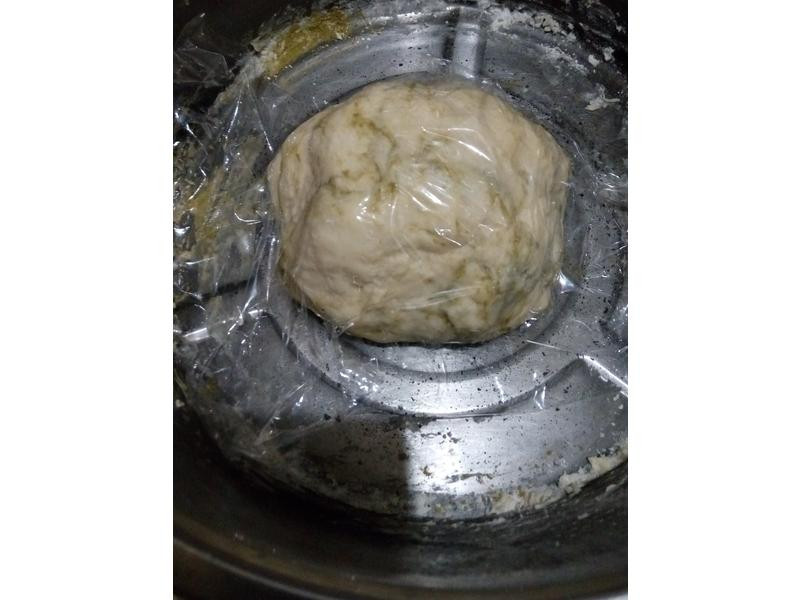
2用手加点力道揉15分钟,检查面团是否有产生薄膜(用手撑开,表皮呈现半透明而不破的状态),若有即完成。若有揉面机可以中速设定约7分钟即完成。
 3
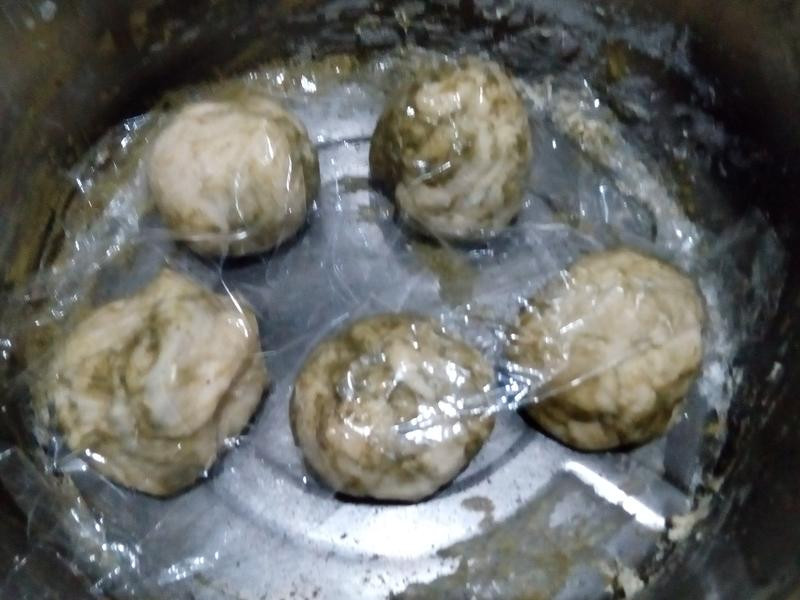
3将揉好面团分成4等份逐一滚圆,盖上保鲜膜静置10分钟进行第ㄧ次发酵。
 4
4用杆面棍把其一面团杆平。
 5
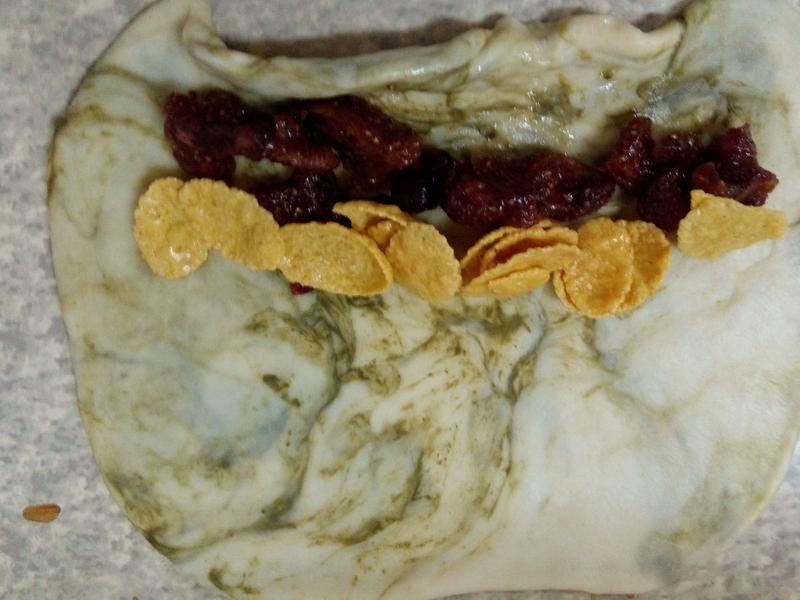
5翻面包入小于15cm双莓(草莓乾,蔓越莓乾,雀巢蜂蜜脆片)。
 6
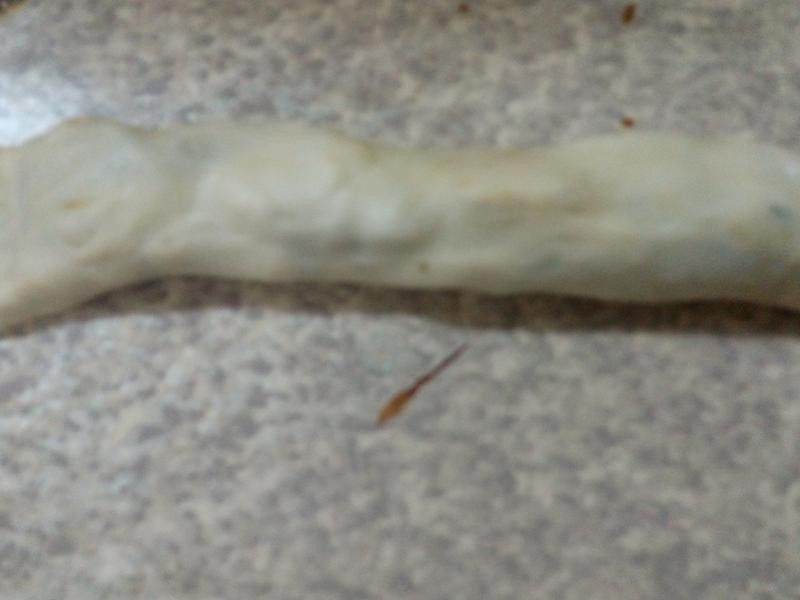
6卷成长条状,将其中一侧用杆面棍压平(左侧或右侧)。
 7
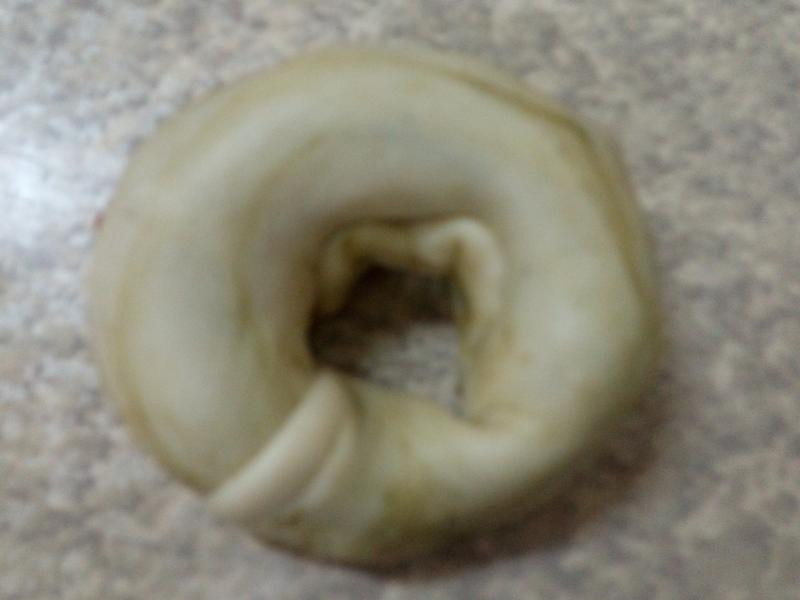
7左边侧压平部份包入右侧贴合,黏紧。
 8
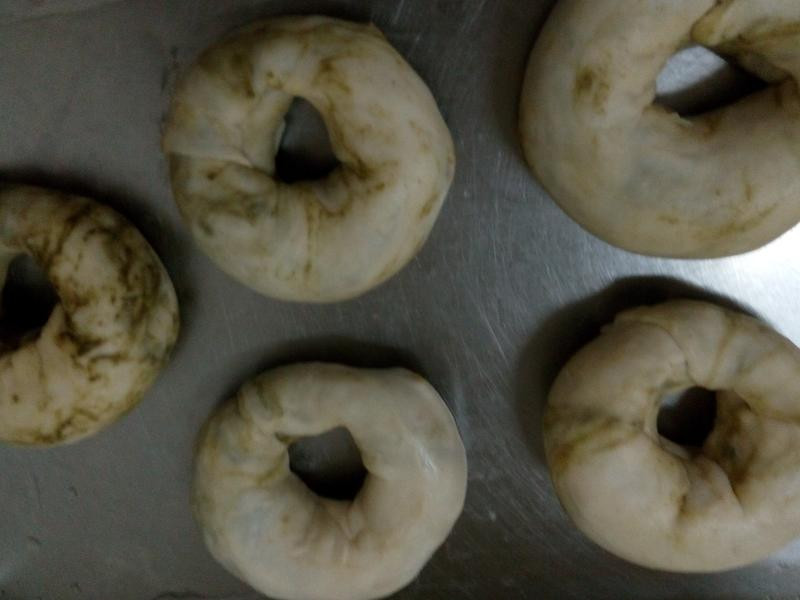
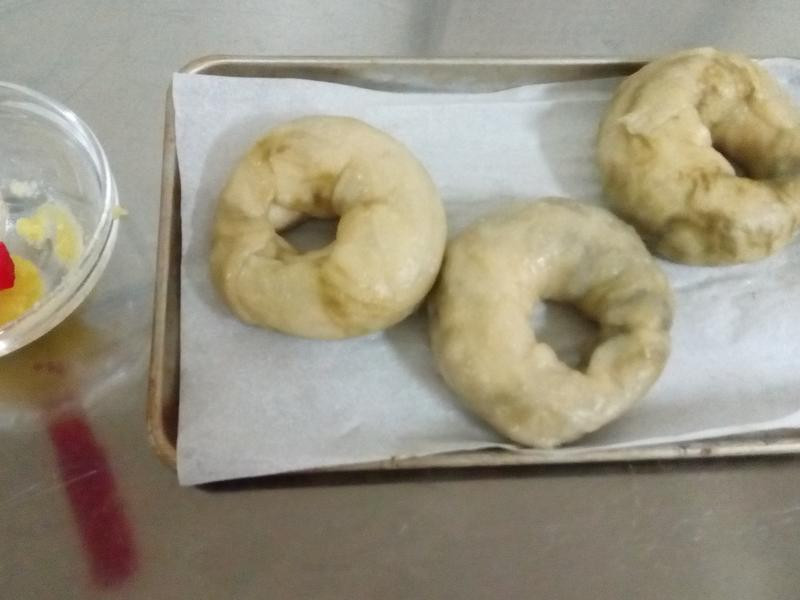
8静置10分钟第2次发酵。
 9
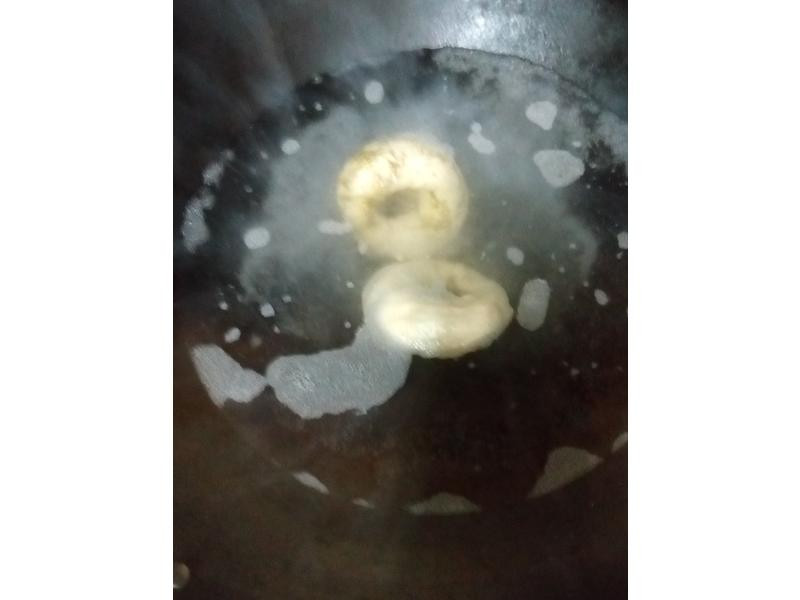
9锅中放入适量水约1000cc,加入15g白糖大火煮至融化,转中火放入做好的贝果。正反面各烫30秒,我分2次下锅烫,捞出。
 10
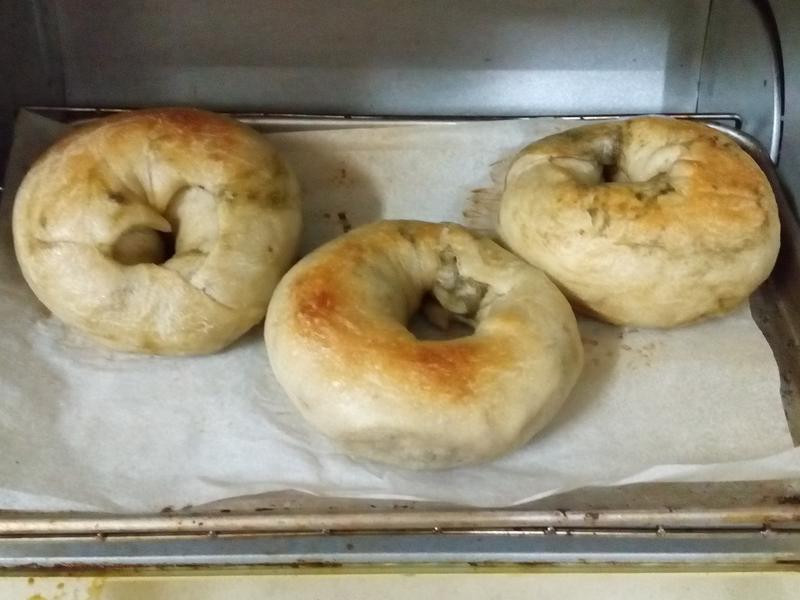
10外皮刷上融化奶油。
 11
11进入烤箱190~200度烤约18分钟,至于表面变色,牙签刺入不黏,外表刷奶油比较酥脆,取出摆盘。
 12
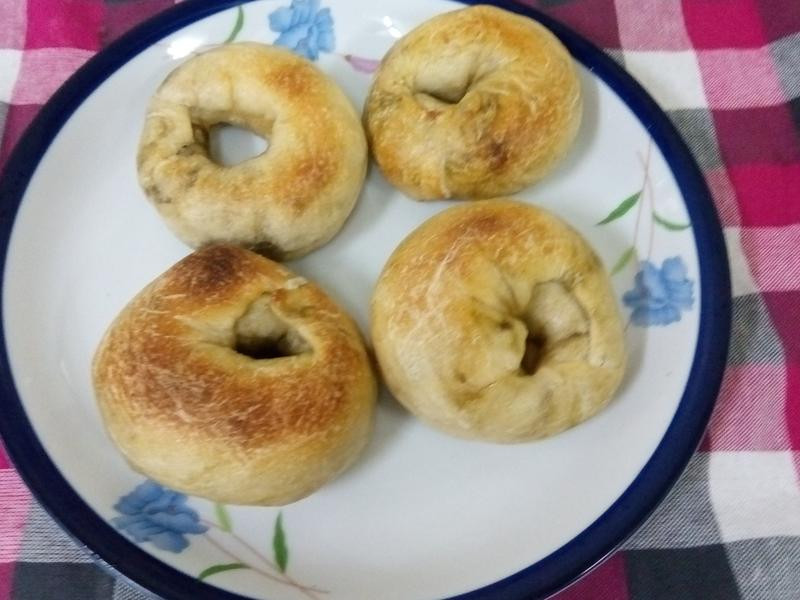
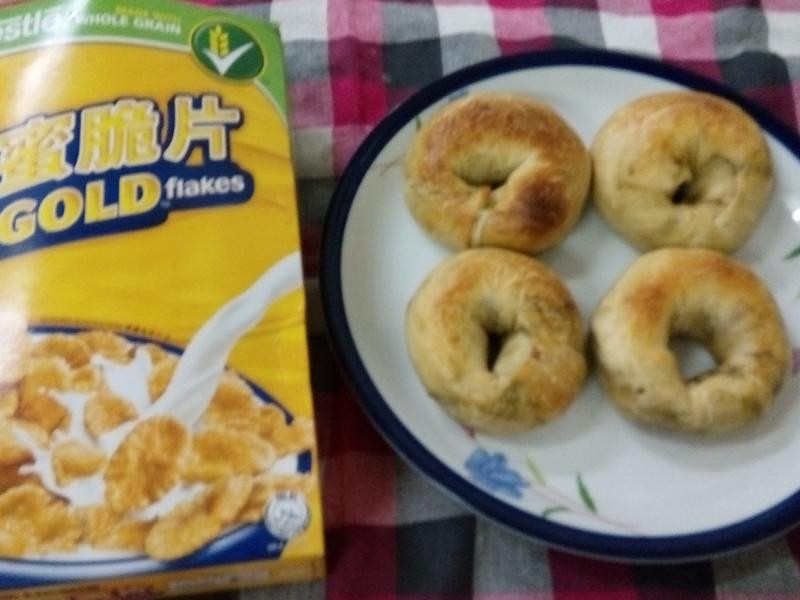
12“双莓绿茶贝果”即完成,内面包只加鲜奶,又有绿茶味,内馅双莓好吃。
13成品
