
 1
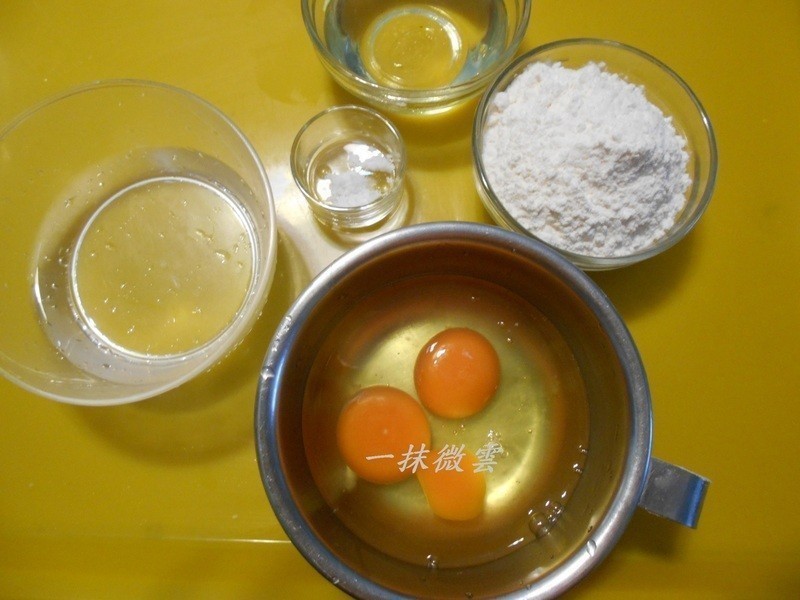
1泡芙外壳:准备材料
 2
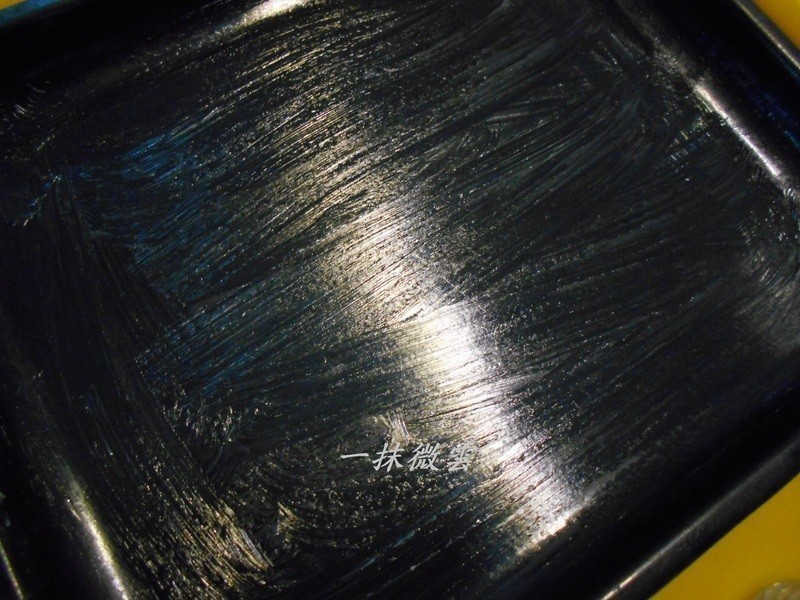
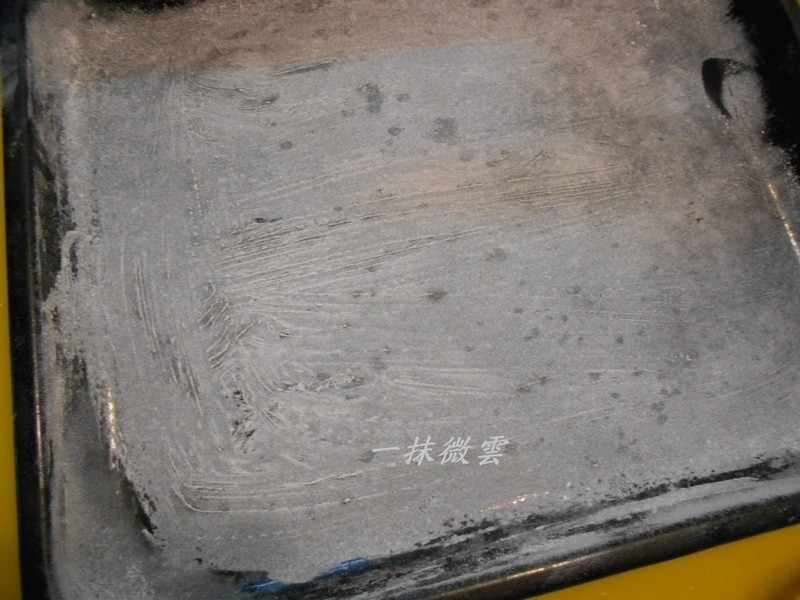
2烤箱预热200℃,烤盘抹一层油上面撒面粉,再把面粉倒掉
 3
3 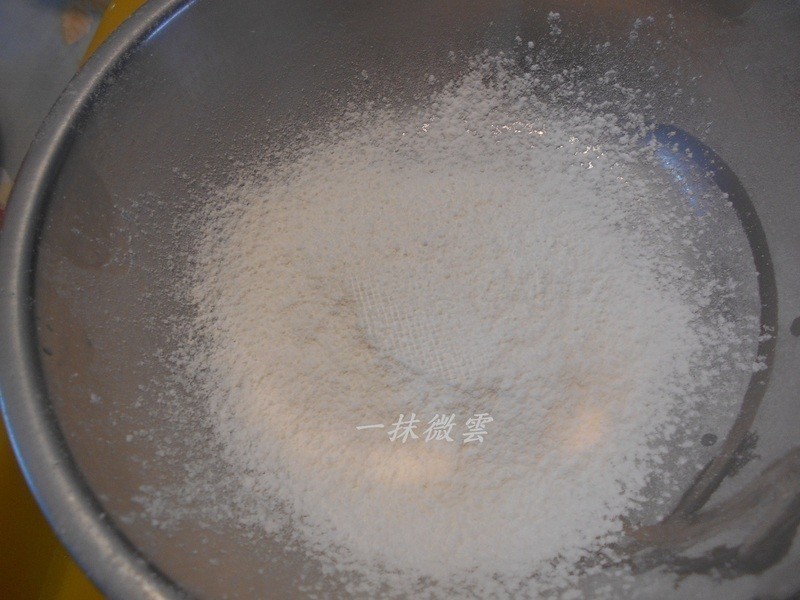 4
4面粉先过筛
 5
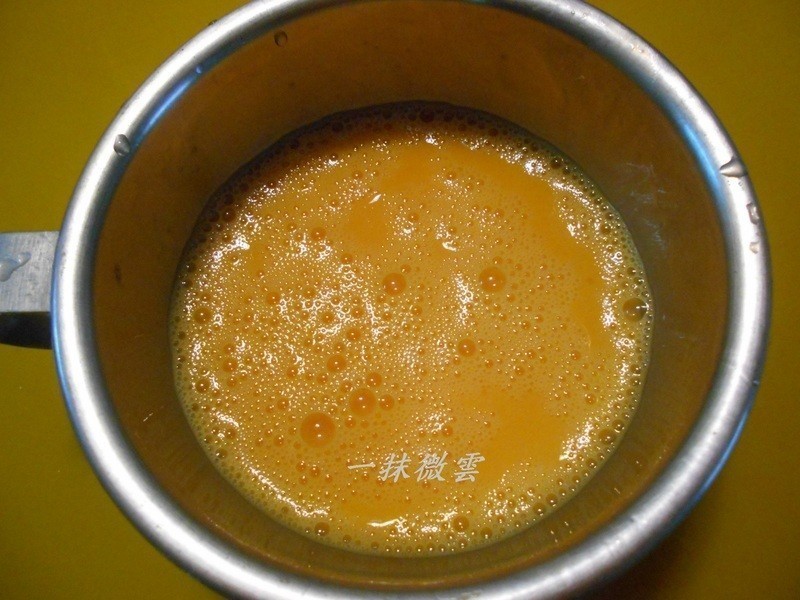
5蛋先打散
 6
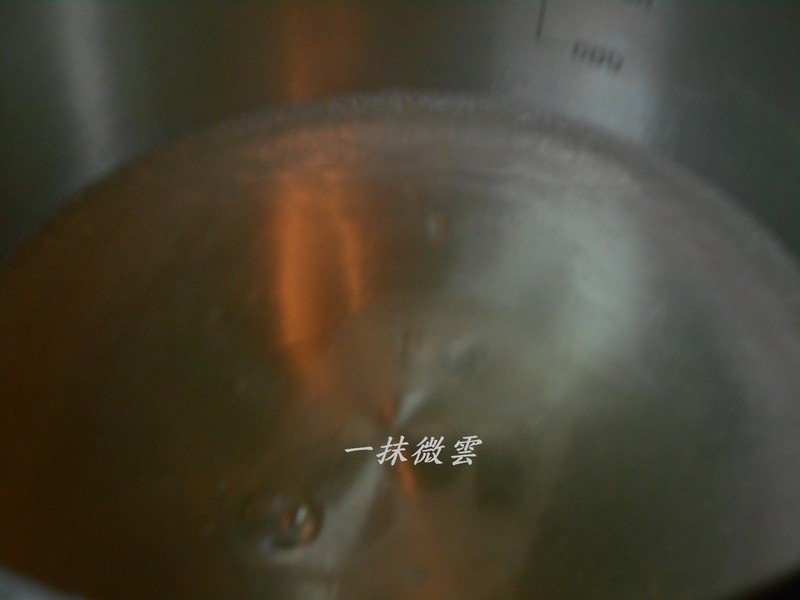
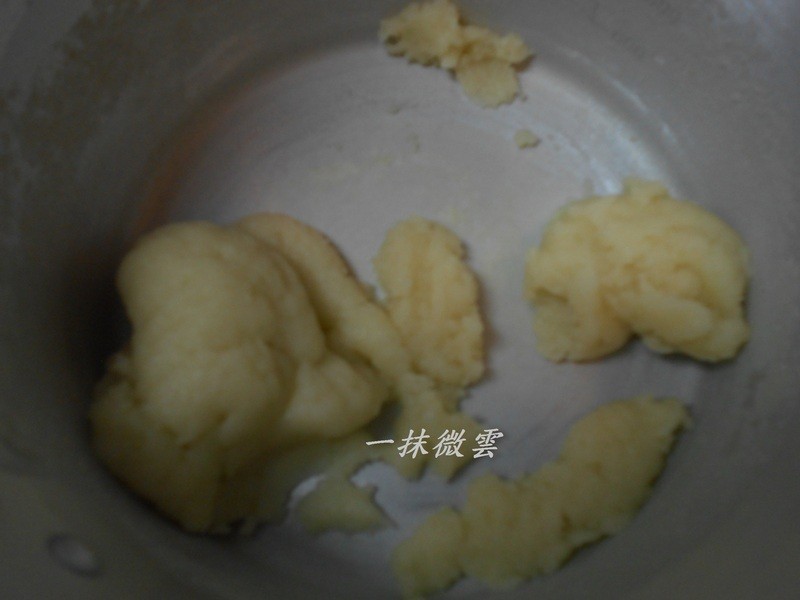
6水、盐、沙拉油以单柄锅煮滚,倒入过筛的面粉以打蛋器或擀面棍迅速搅拌成团
 7
7 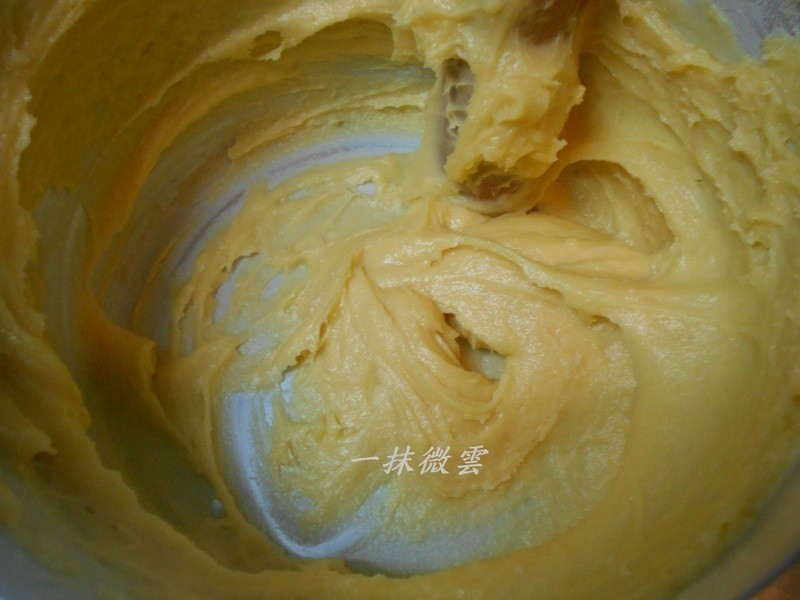 8
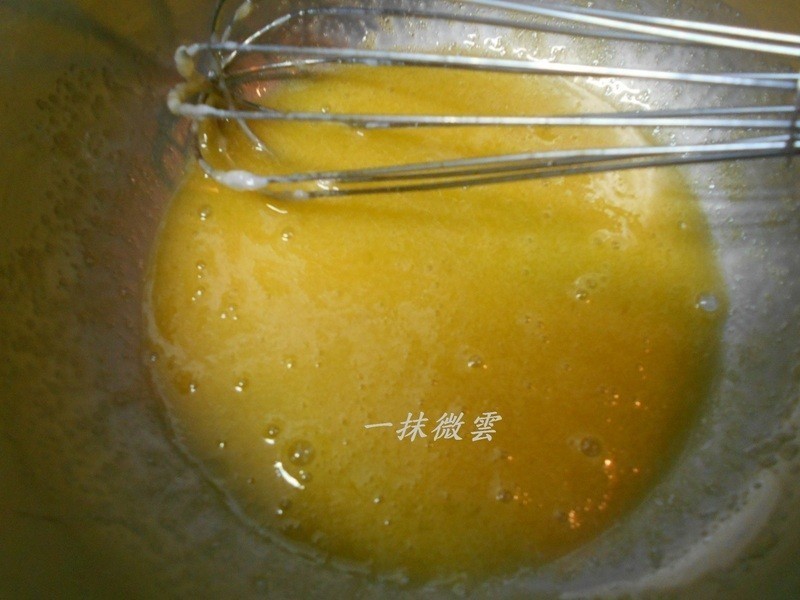
8【成团后锅子离开热源】,趁热将蛋液分3次倒入,每一次都要搅拌到蛋液和面团完全融和才加第二次蛋液……
 9
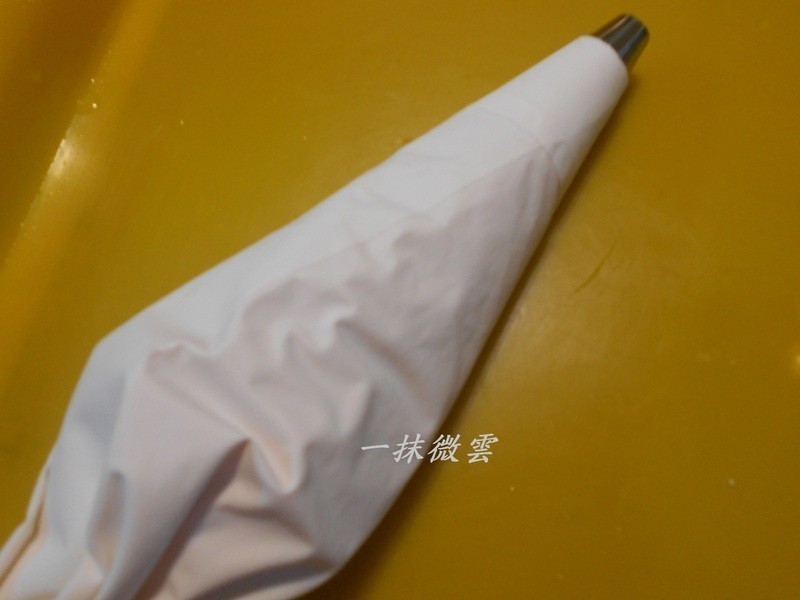
9装入挤花袋中
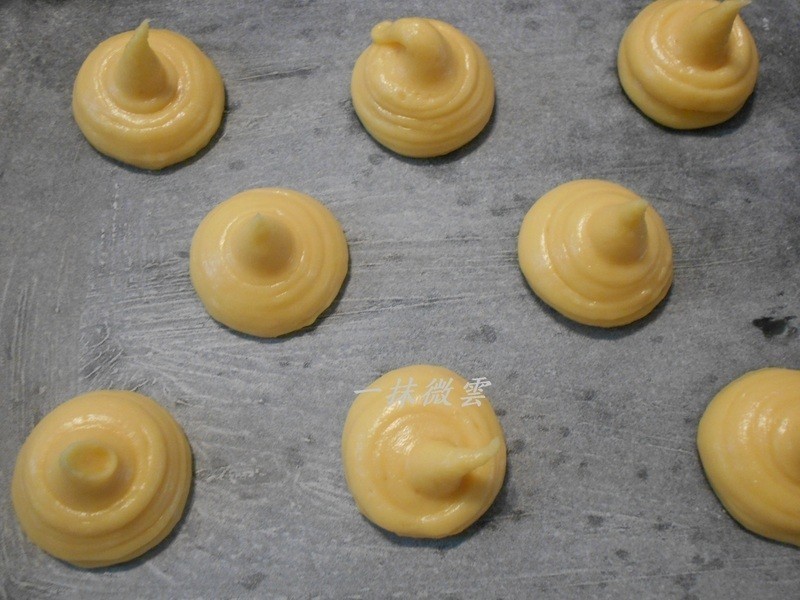 10
10挤出约3~5公分小圆团,要有间距做为泡芙膨胀的空间,表面喷一层水雾,放入烤箱烤30~40分钟,看烤箱情况而定【中途不能开烤箱,以免遇到冷空气泡芙无法膨胀】
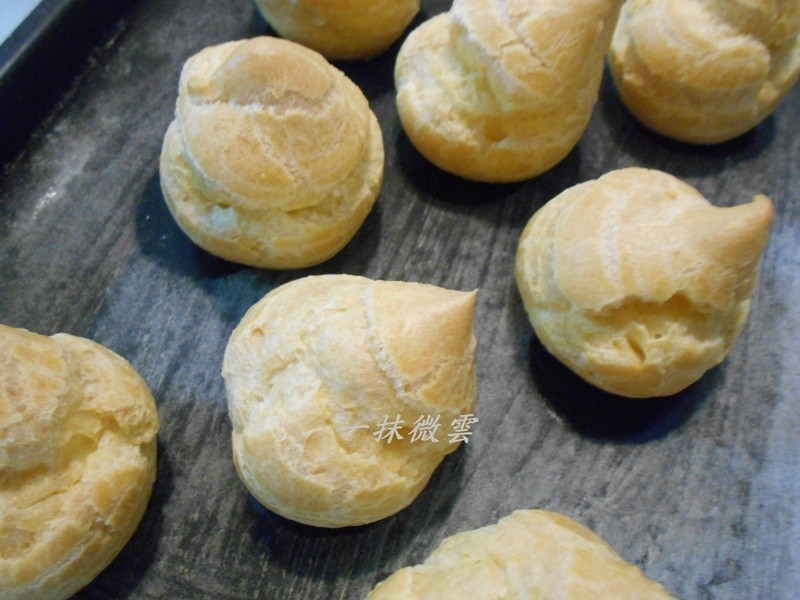 11
11烤到泡芙撑开的裂痕也上色了
 12
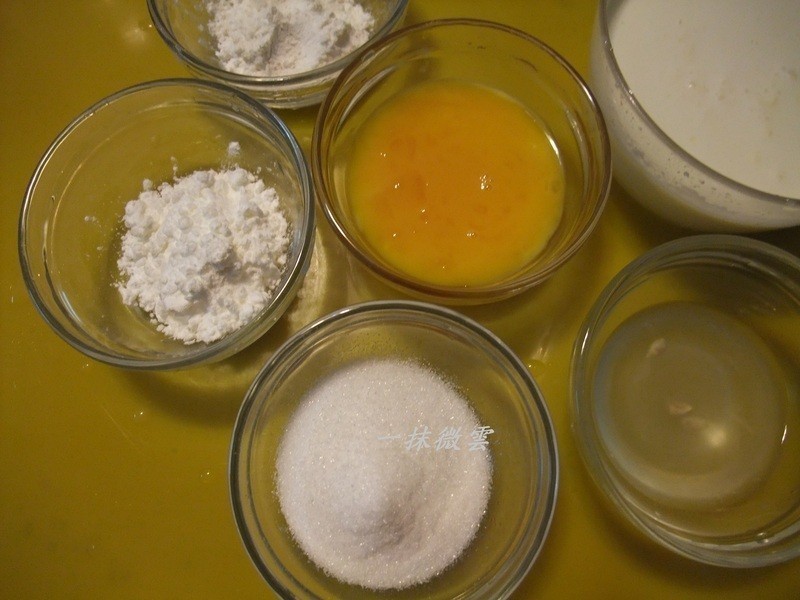
12柠檬卡士达酱:准备材料
 13
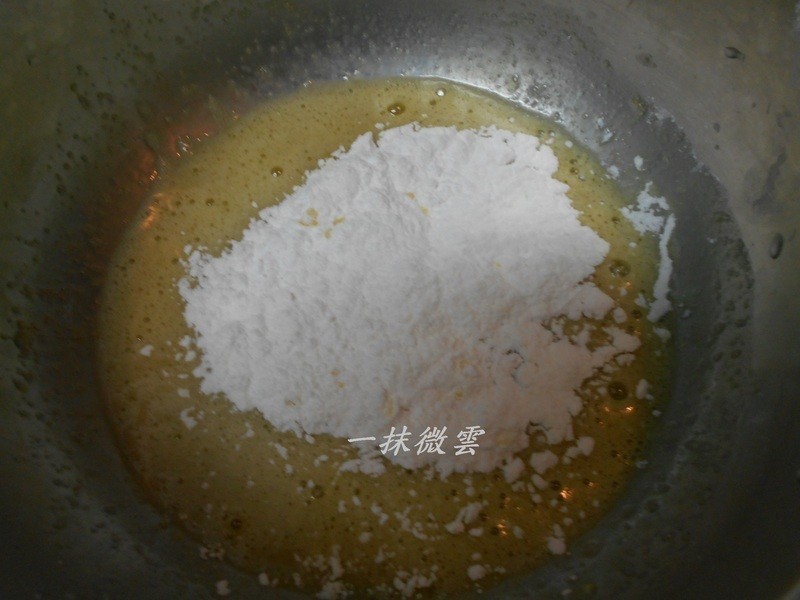
13细砂糖和蛋先搅匀
 14
14再筛入面粉和玉米粉搅拌成蛋糊隔水保温,水的温度会烫手就好了,太烫会把蛋糊烫熟
 15
15 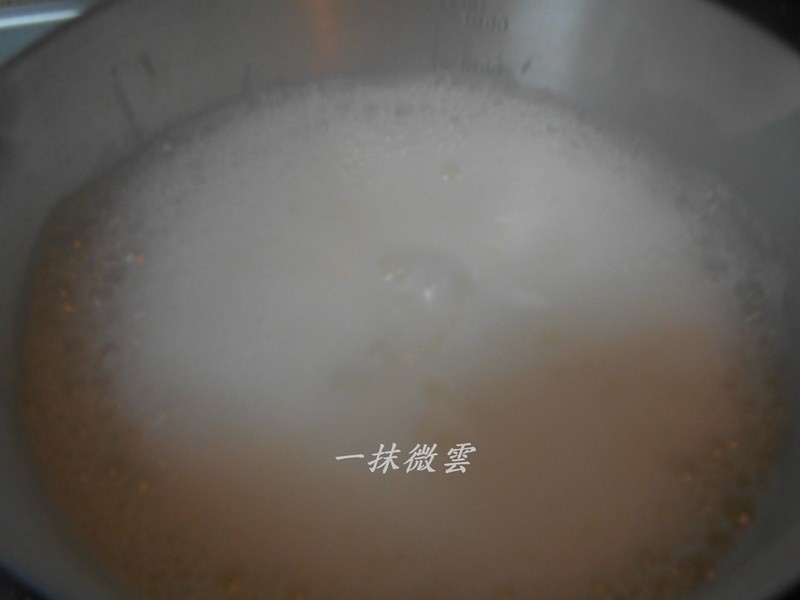 16
16以单柄锅煮滚鲜乳
 17
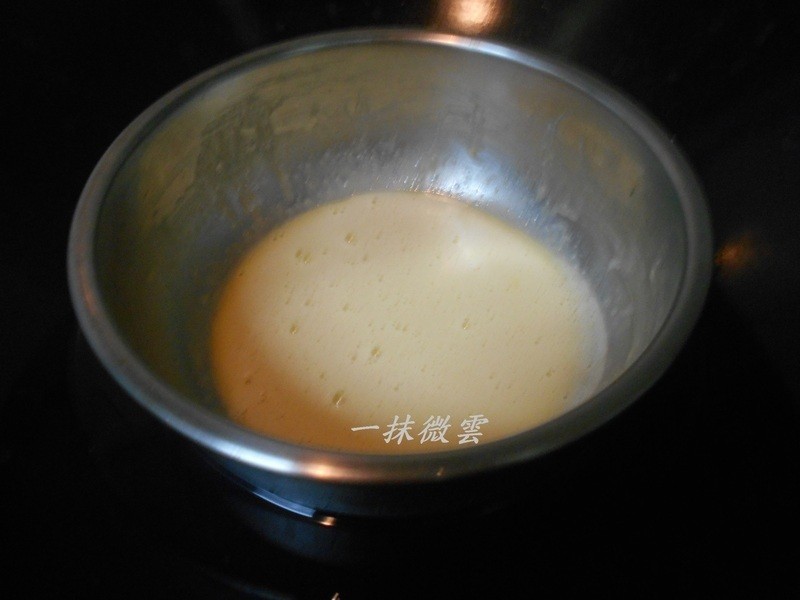
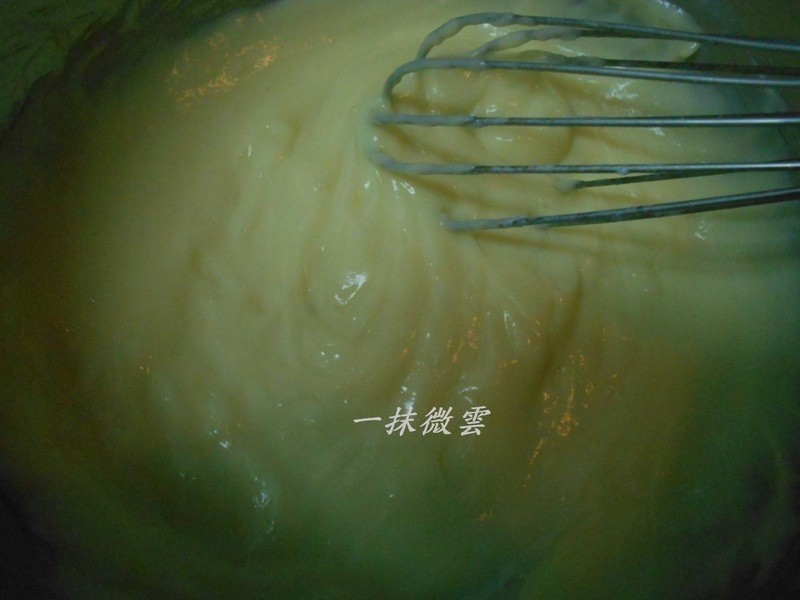
17保温的面糊取出,迅速冲入煮滚的鲜乳,一面冲一面快速搅拌,直到成浓稠状态
 18
18稍凉一点加入柠檬汁搅拌均匀
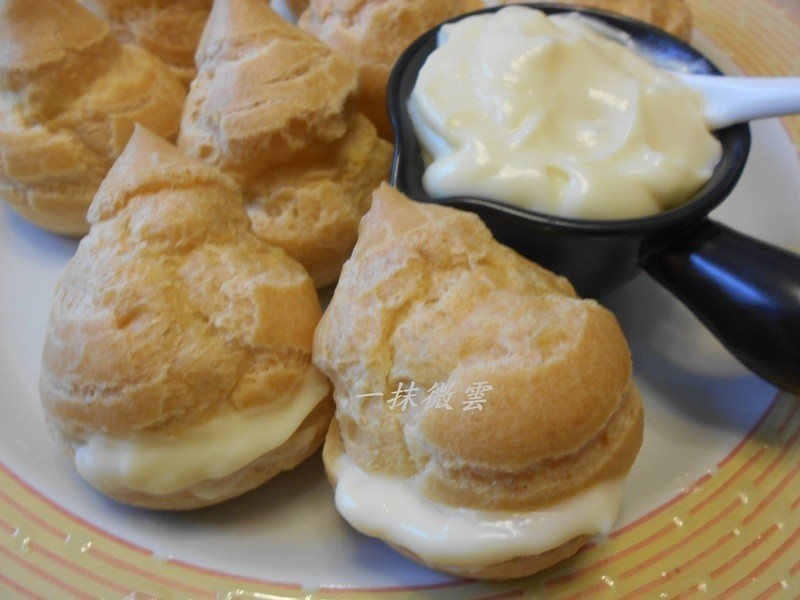 19
19泡芙切一点开口,填入卡士达酱就完成了
