 1
1НЋЕАЛЦЁЂжВЮягЭАшдШЁЃ
 2
2дйМгШыЯЪФЬвЛЦ№АшдШЁЃ
 3
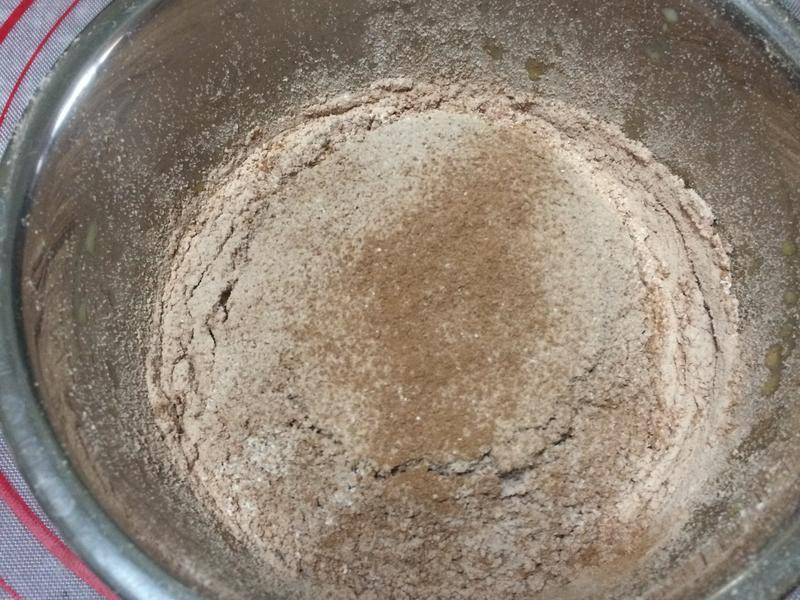
3ПЩПЩЗлЁЂЕЭНюУцЗлЙ§ЩИМгШыАшжСЮоЗлСЃМДПЩЁЃ
 4
4ПОЯфдЄШШ170ЖШЃЌНЋЕААзгУЕчЖЏДђЕАЦїДђЗЂГіЯжДжХнФзДЃЌМгШыЩАЬЧЁЂгёУзЗлЁЃЃЈЗжШ§ДЮМгШыЃЉ
 5
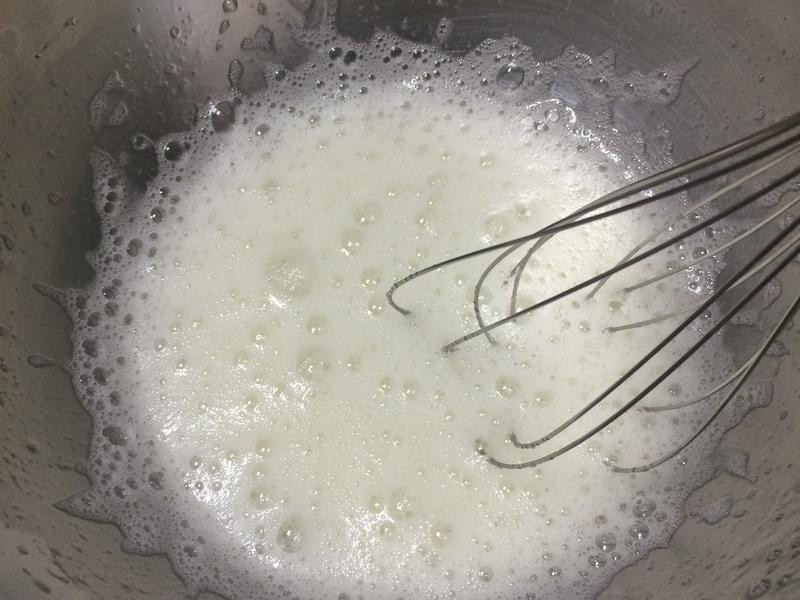
5МгШызюКѓвЛЗнЩАЬЧЪБЃЌНЋДђЕАЦїЕїЮЊИпЫйНСДђЃЌДђжСЕААзЫЊГЪЯжИЩадЗЂХнЁЃ
 6
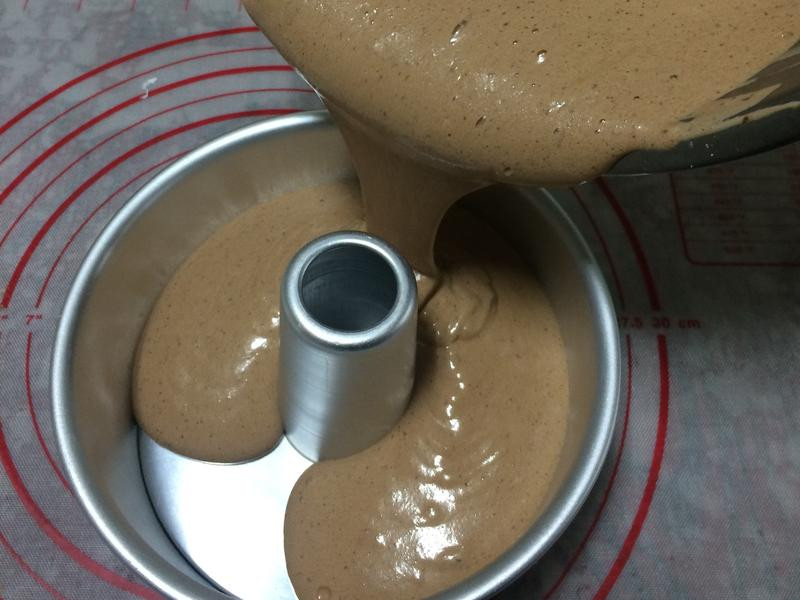
6НЋ1/3ЕФЕААзЫЊМгШыЕАЛЦК§жЎжагУЙЮЕЖАшдШЁЃ
 7
7дйНЋАшдШЕФУцК§ЕЙЛиЪЃЯТЕФЕААзЫЊжаЛьКЯОљдШЁЃ
 8
8НЋУцК§ЕЙШыПОФЃРяЁЃ
 9
9НјПОЯфЧАдкзРЩЯжиЧУвЛЯТе№ГіДѓЦјХнКѓЁЂвВПЩвдгУГЄжёЧЉдкЕАИтК§жаЛЎЩЯМИШІЃЌЗХШыдЄШШКУЕФПОЯфЃЌвд170ЖШПО30-35ЗжжгЁЃ
 10
10НЋПОСЫдМ10ЗжжгКѓЕФЕАИтШЁГіПОЯфЃЌгУЕЖзгЛЩЯМИЕЖЃЌКцПОЭъКѓПЩШУЕАИтСбКлНЯећЦыЦЏССЁЃ
 11
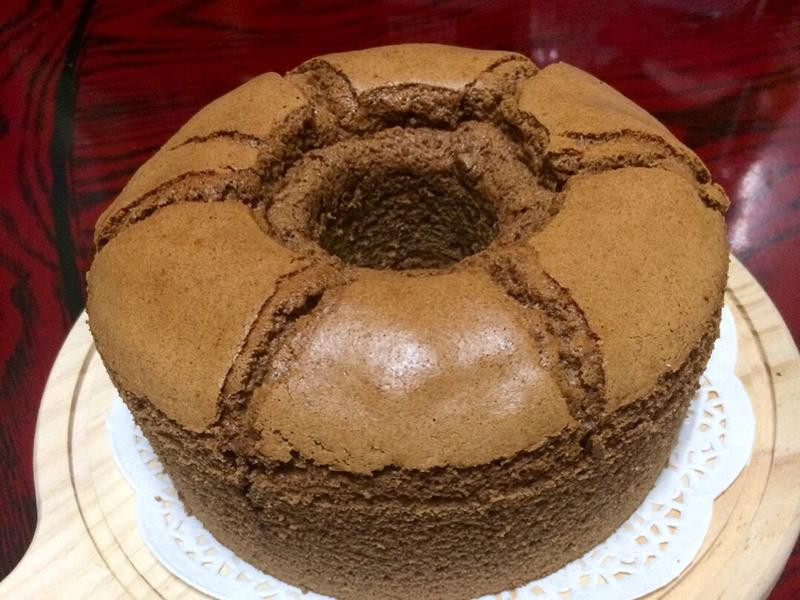
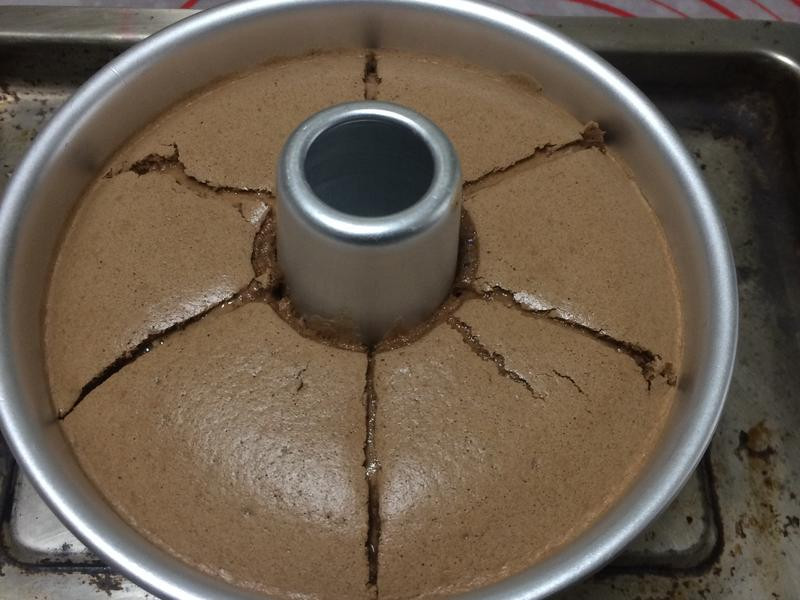
11жёЧЉВхШыУЛгаеД№ЄОЭПЩвдГіТЏСЫЃЌГіТЏКѓЭљзРЩЯжиЧУШУШШЦјЩЂГіЃЌТэЩЯЕЙПлЃЌЕШЭъШЋРфШДКѓдйЭбФЃЁЃ
12ЧыЯэгУЃЁ
