
简介 迷你版的盐派做起来最费工的部分就属派皮了,但因为 " 派皮 " 称不上是完整食谱,所以在此就不特别介绍它,就麻烦各位点选下面Link参考我的步骤及示范照片,而这一篇想要推荐给各位的是『橄榄鲔
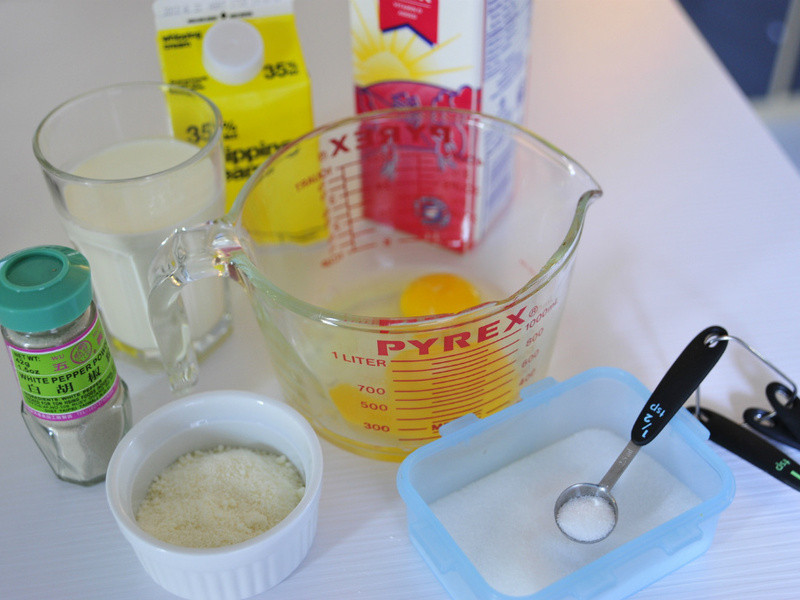
鱼迷你咸派』。 【迷你咸派皮制作】 http://brianpastry.blogspot.tw/2013/04/how-to-make-mini-quiche.html 材料中筋面粉360g 盐A1茶匙 全蛋A2颗 白醋15ml 冰水15ml 无盐奶油220g 黑胡椒粉1茶匙 涂抹蛋液1颗全蛋 鲔鱼罐头1罐 美奶滋25g 红心橄榄24颗 黑橄榄12颗 起司约50g 全蛋B2颗 鲜奶100ml 鲜奶油100ml 盐B1/2茶匙 白胡椒粉1/2茶匙 起司粉20g做法
1
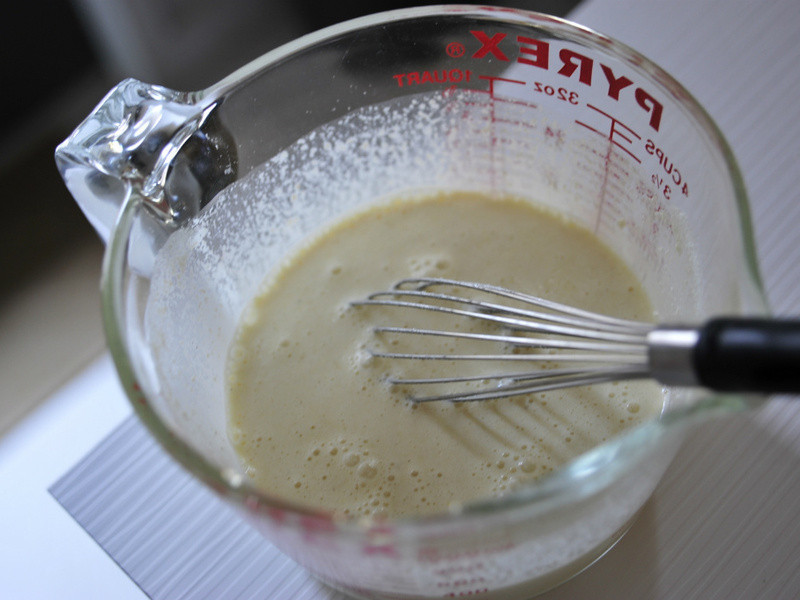
将全蛋打散后加入鲜奶、鲜奶油、盐、白胡椒粉及帕马森起司粉彻底混匀备用。
2
混和均匀的蛋液装在量杯内方便操作。
3
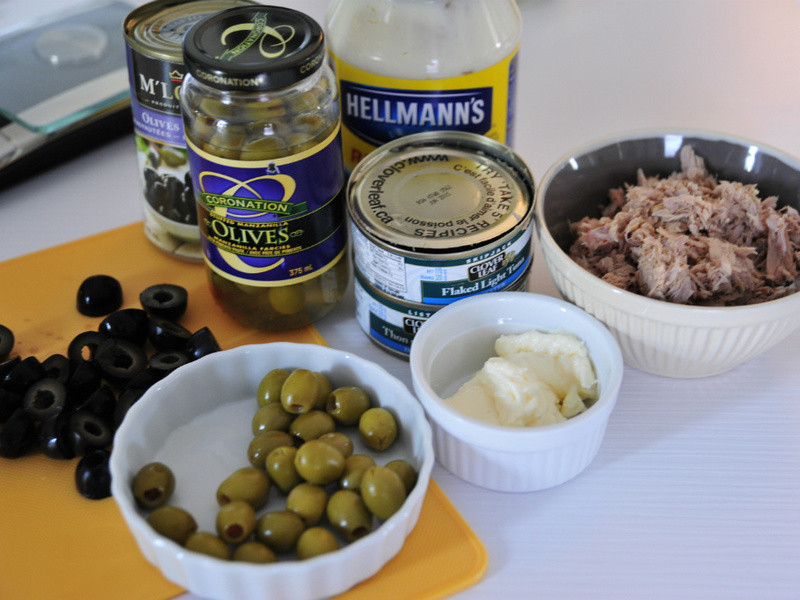
内馅所需材料
4
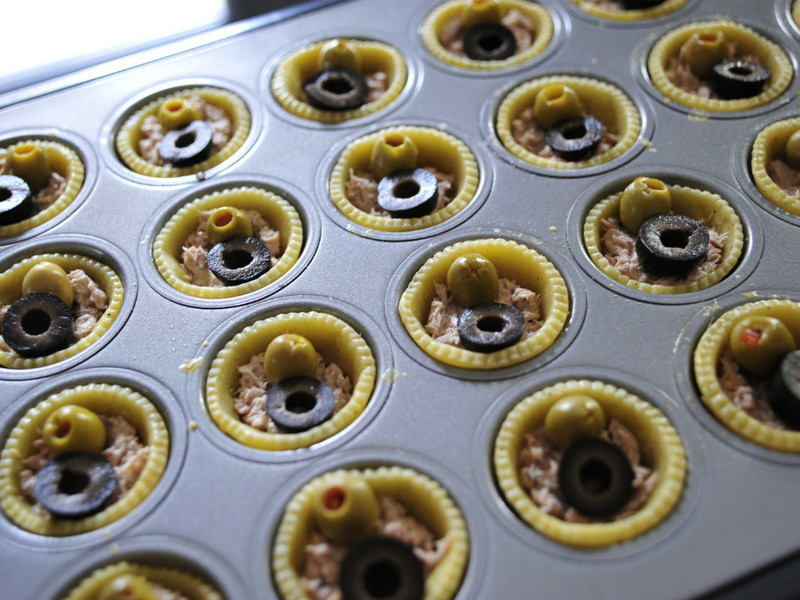
在完成的派皮杯内舖进一层鲔鱼酱,再摆进红心橄榄一颗、对剖黑橄榄半颗。
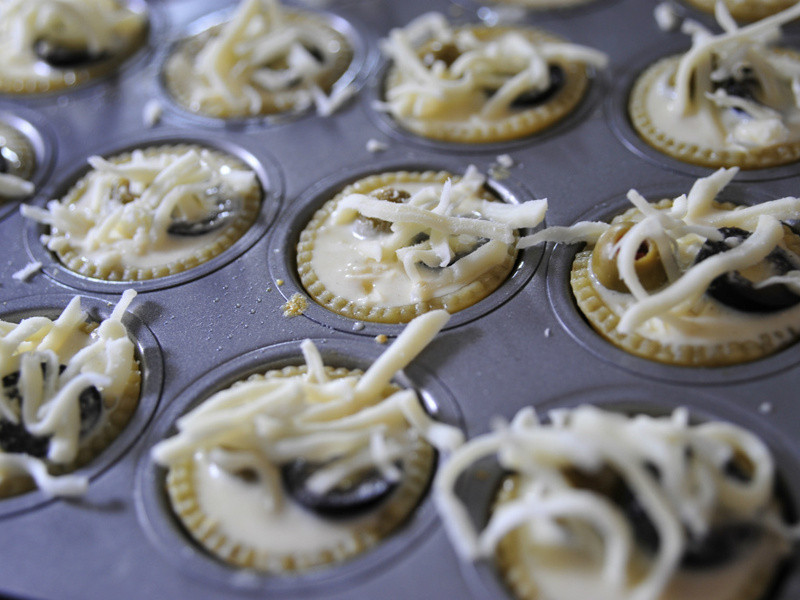
5
接续倒进「起司蛋液」至约8~9分满、表层撒上Mozzarella起司即可准备送进烤箱。
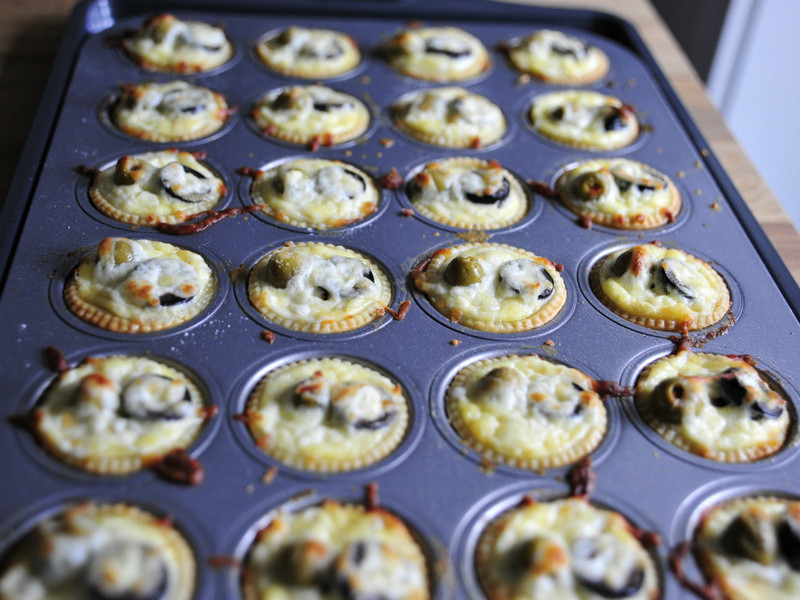
6
烤箱预热至180度(华氏350度),放进烤箱中层烘培约17分钟。端出后放在网架上放凉、待完全散热后即可脱模。
7
因为使用不沾烤模且通常派皮放凉后会略缩,所以很容易脱模。建议是碰触咸派还有些微温,就进行脱模移到网架上放凉,不然热气的返潮会让派皮失去酥脆感。
