
 1
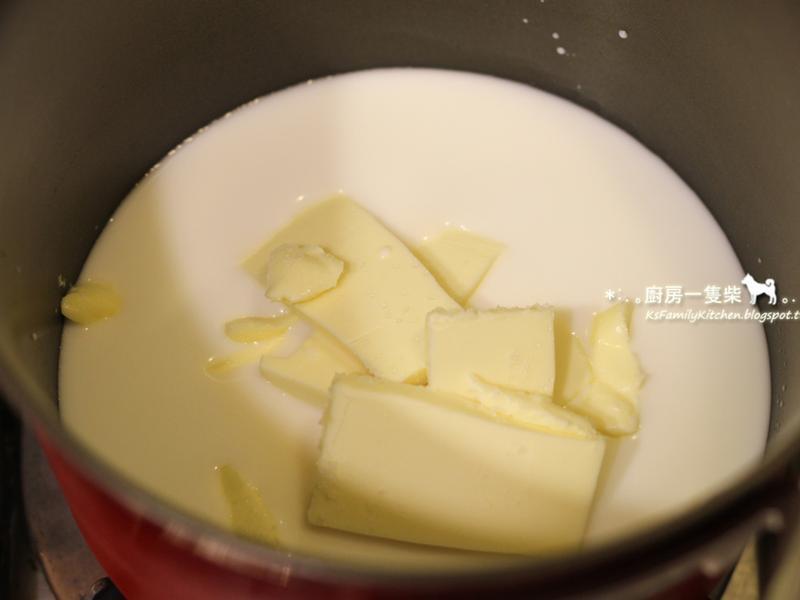
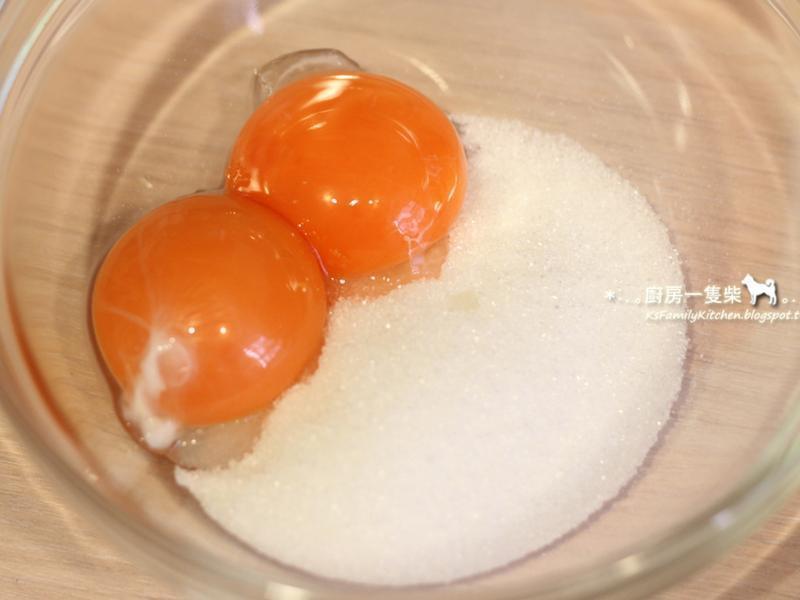
1ШЋжЌХЃФЬЁЂЧхЫЎЁЂбЮЁЂЮобЮФЬгЭЗХШыаЁЙјЃЌвджаЛ№жѓжСЗаЬкКѓЃЌзЊаЁЛ№ЁЃ
 2
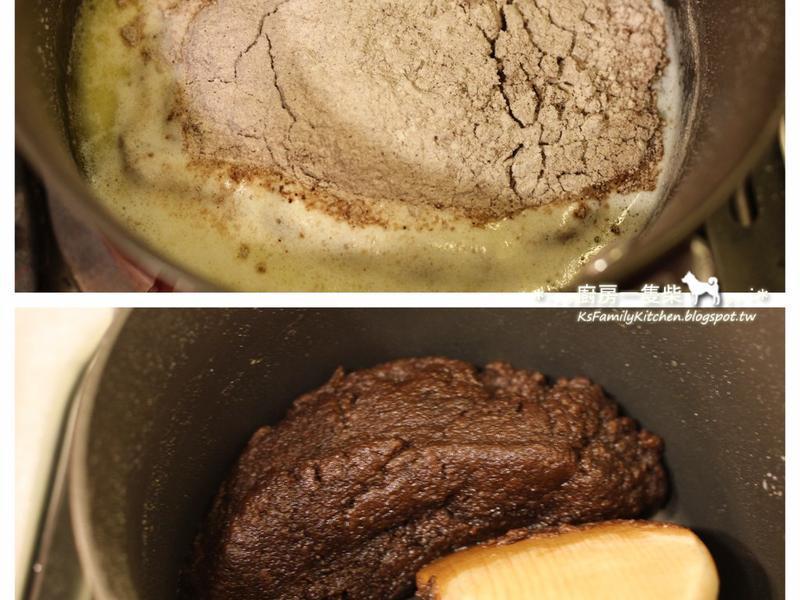
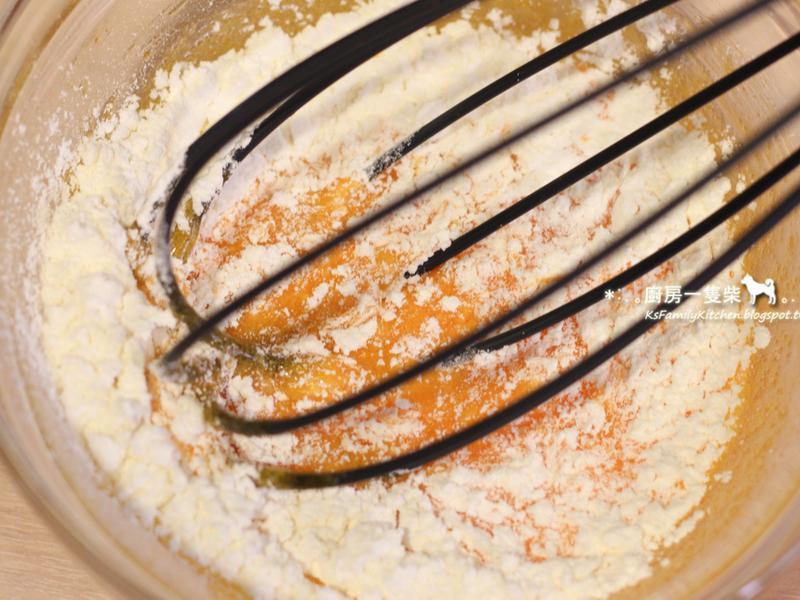
2НЋЙ§ЩИЕФЗлРрвЛПкЦјЕЙШыЙјжаЃЌБЃГжаЁЛ№ЃЌвЛБпгУФОГзПьЫйНСАшЕНЛьКЯГЩВЛеДЙјЕФУцЭХзДКѓЃЌЙиЛ№ЃЌвЦжСвЛХдЗХСЙЁЃ
 3
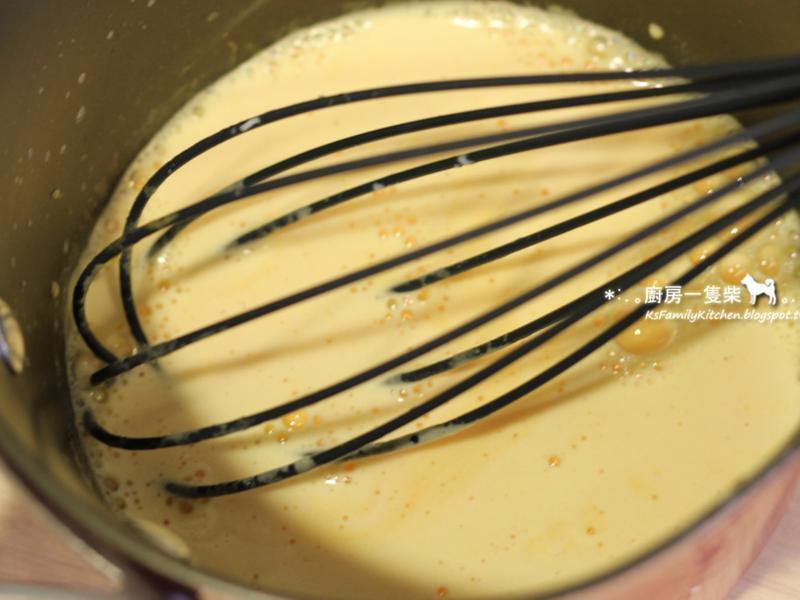
3Д§УцЭХЗХСЙЕНЪжУўВЛЬЬЕФГЬЖШЃЌНЋЕАвКЗж4~5ДЮТ§Т§МгШыЃЌУПЛиМгШыЖМвЊНСАшОљдШКѓдйМгЁЃ
 4
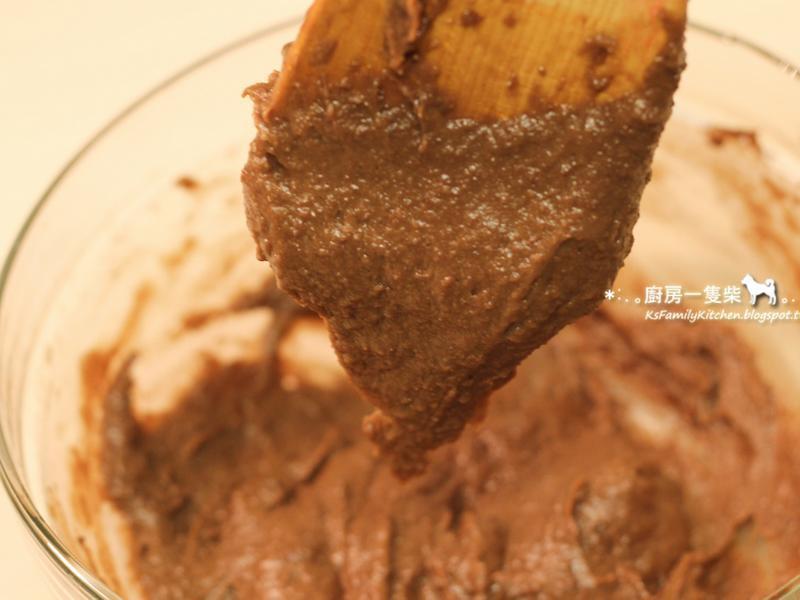
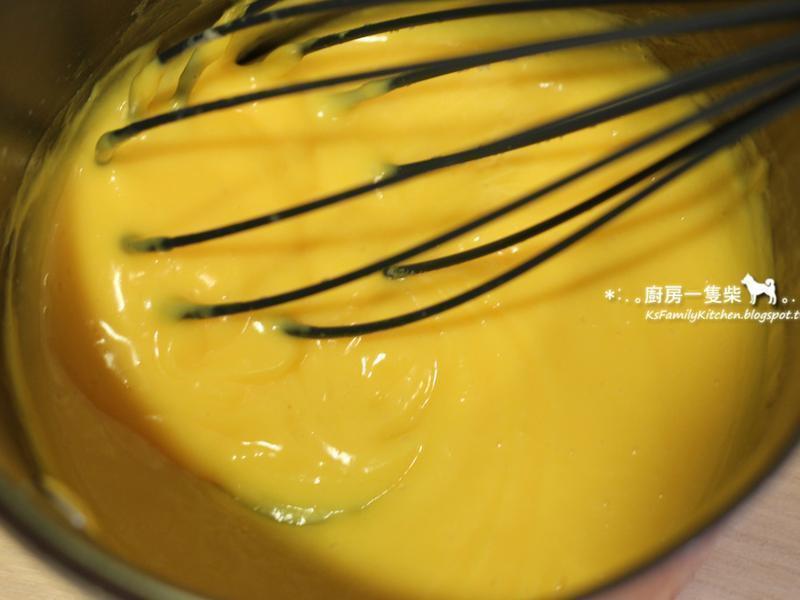
4БпМгЕАвКБпЛьКЯжСЬсЦ№ФОГзЃЌУцК§ЛсГЪЯжЕЙШ§НЧаЮЛКТ§СїЯТЕФГЬЖШОЭЫуЭъГЩЃЌМДЪЙЛЙгаЕАвКвВВЛвЊМгСЫЁЃ
 5
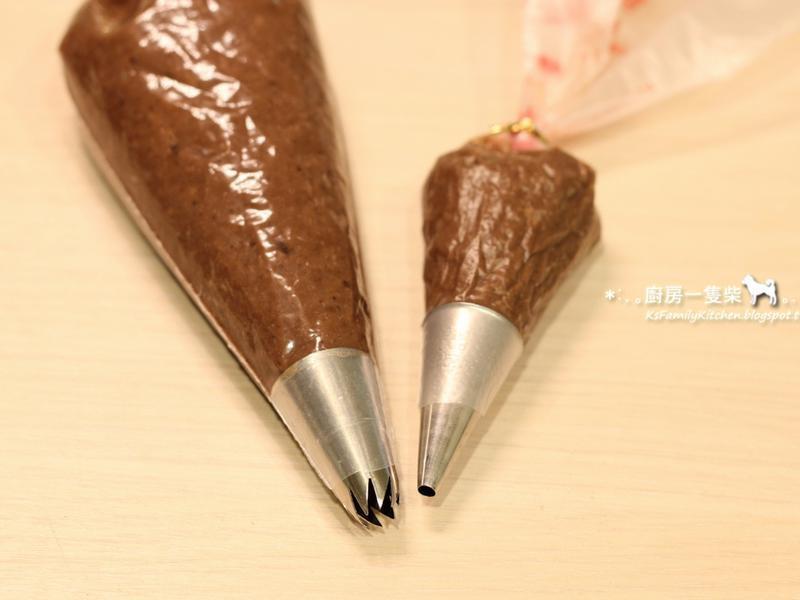
5ЭъГЩЕФУцК§ЗжГЩСНЗнЃК1/5ЬюШызАгаЯИПкОЖМЗЛЈзьЕФМЗЛЈДќжаЃЌ4/5ЬюШызАга1cmПкОЖМЗЛЈзьЕФМЗЛЈДќжаЁЃ
 6
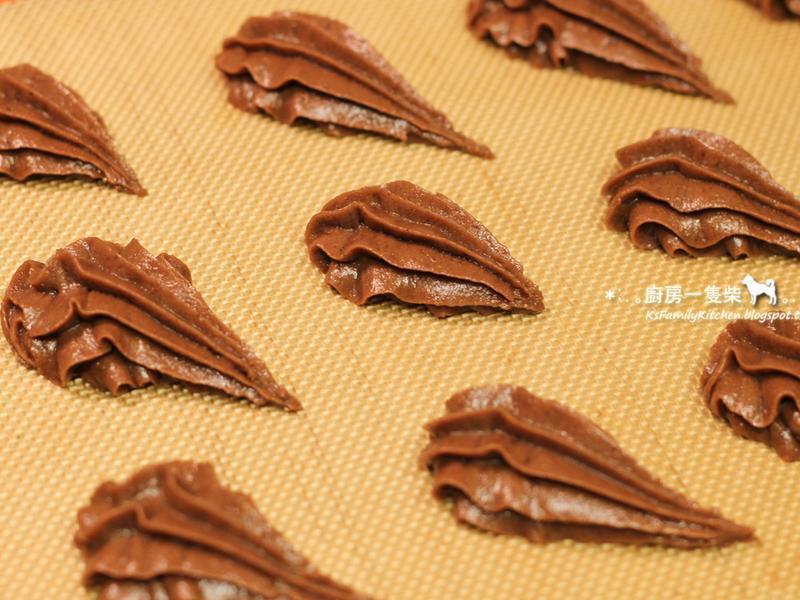
6дкЦЬгаВЛеДПОВМЛђКцБКжНЕФПОХЬЩЯЃЌвд1cmПкОЖМЗЛЈзьЃЌМфИєОљдШЕиМЗГіжБОЖдМ3.5ЙЋЗжЕФХнмНУцК§ЃЌЧАЖЫЯШМЗдВЃЌзюКѓдйЩдЮЂЭљКѓРаЮГЩЫЎЕЮзДЃЌзїЮЊгазХМтМтЮВАЭЕФЁИЬьЖьЩэЬхЁЙЁЃНјПОЯфЧАГЏУцК§БэУцХчЩЯРфЫЎЁЃ(БмУтвЛНјТЏОЭНЋБэУцПОЧЌЃЌгАЯьХђеЭ)ЁЃ
 7
7ЗХШыдЄШШКУЕФПОЯфжаЃЌЯШвд200ЖШC(392ЖШF)КцПО10ЗжжгЃЌНЋЮТЖШЕїећЮЊ190ЖШC(374ЖШF)дйКцПО10ЗжжгЃЛдйНЋЮТЖШЕїећЮЊ180ЖШC(356ЖШF)дйКцПО15ЗжжгЕНБэУцН№ЛЦЃЌзюКѓЙиЛ№УЦ10ЗжжгМДПЩГіТЏЁЃ
 8
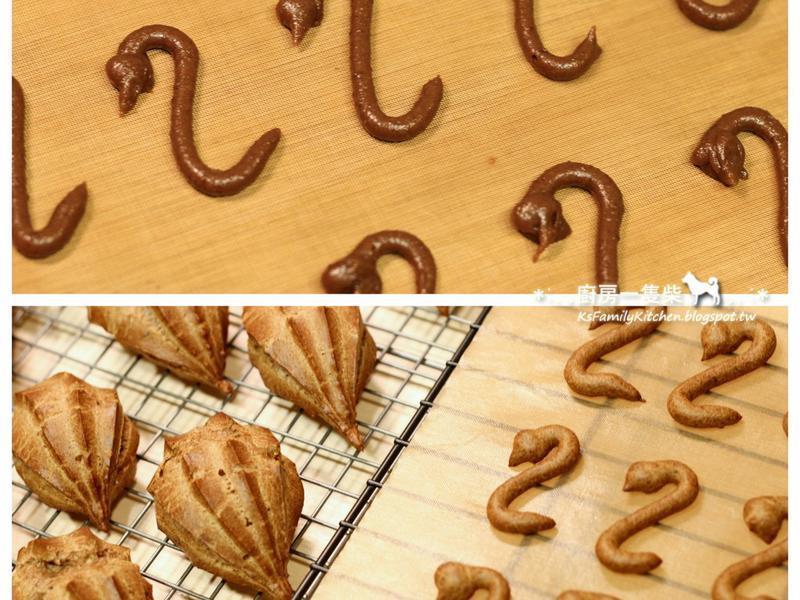
8вдЯИПкОЖМЗЛЈзьЃЌЯШдкКцБКжНЩЯМфИєОљдШЕиМЗГіЪЪЕБДѓаЁЕФSаЮЃЌЧАЖЫдйМЗГіЬьЖьЕФЯИМтзьЃЌЫЭШы200ЖШCЕФПОЯфжаКцПОдМ10ЗжжгМДПЩЁЃ
 9
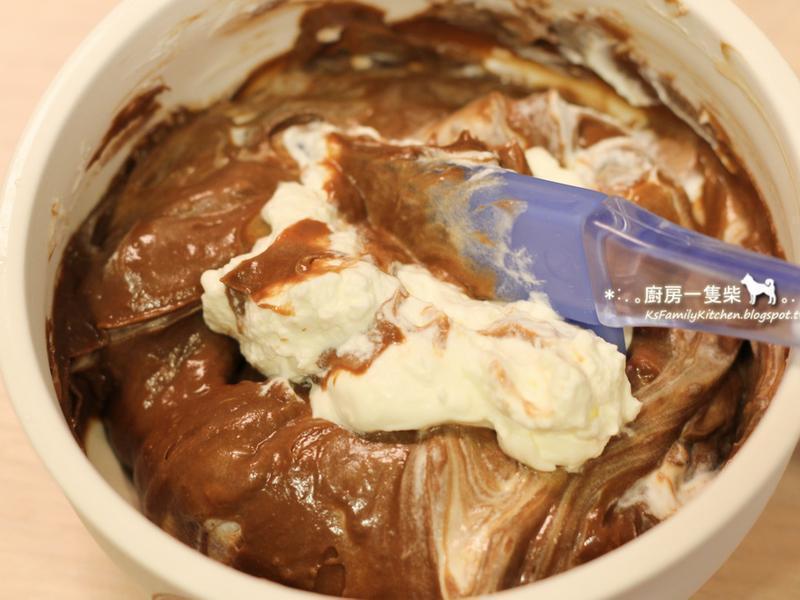
9ЗХСЙЕФХнмНДгдМ1/3ДІаБЧаПЊЃЌЧаЯТРДЕФВПЗждйЖдЧаГЩСНАыЃЌзіЮЊГсАђЁЃжаМфЬюШыЪТЯШЭъГЩЕФЁИЧЩПЫСІПЈЪПДяФЬгЭНДЁЙЃЌдйАкЩЯSаЮЕФЬьЖьОБЁЂСНВрГсАђЁЃ
 10
10ЕузКВннЎЧаЦЌЃЌзюКѓШіЩЯЗРГБЬЧЗлЃЌОЭЭъГЩгХбХЕФКкЬьЖьХнмНЁЃ
 11
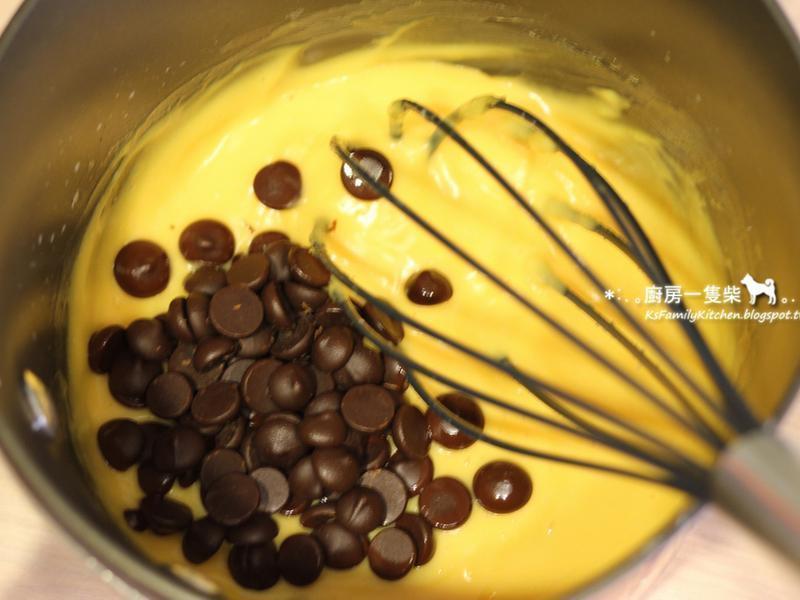
11ПЈЪПДяНДЕАЛЦ2ПХЃЋЯИЩАЬЧДђЩЂЁЃ
 12
12МгШыЙ§ЩИЕФЕЭНюУцЗлАшдШЁЃ
 13
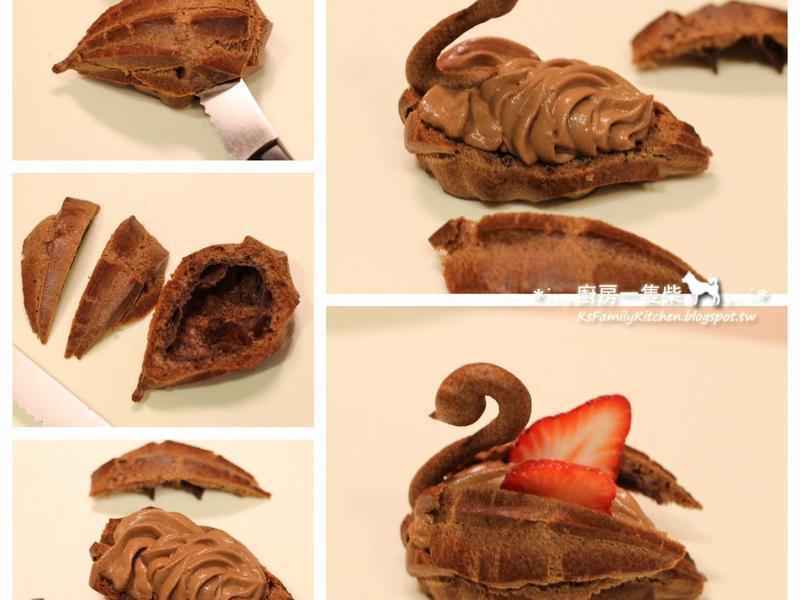
13СэШЁвЛЙјзАЪЂХЃФЬЃЌвджаЛ№жѓЗаКѓЃЌНЋХЃФЬТ§Т§ЕЙШыВНжш(2)ЭъГЩЕФЛьКЯЮяжаАшдШЃЌдйЕЙЛидБОЕФаЁЙјжаЁЃ
 14
14вЛБпаЁЛ№МгШШЃЌвЛБпвдДђЕАЦїВЛЭЃНСАшжСБфЕУХЈГэКѓРыЛ№ЁЃ
 15
15ГУЮТШШЪБМгШыПрЬ№ЧЩПЫСІЖЙЃЌШкНтАшдШЁЃ
 16
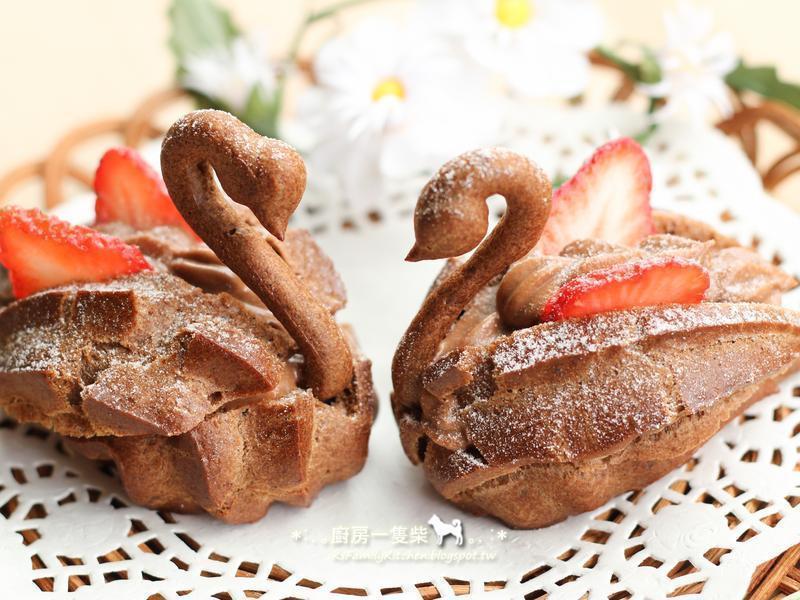
16ЗХСЙКѓНЋБЃЯЪФЄЬљжјПЈЪПДяНДБэУцИЧКУЃЌШыБљЯфРфВиЃЌБИгУЁЃ
 17
17БљЕФЯЪФЬгЭвдНСАшЦїДђжСОХЗжЗЂЃЌдйЗжСНДЮМгШыЧЩПЫСІПЈЪПДяНДжаАшдШЃЌМДЭъГЩЧЩПЫСІПЈЪПДяФЬгЭНДЁЃ
