
 1
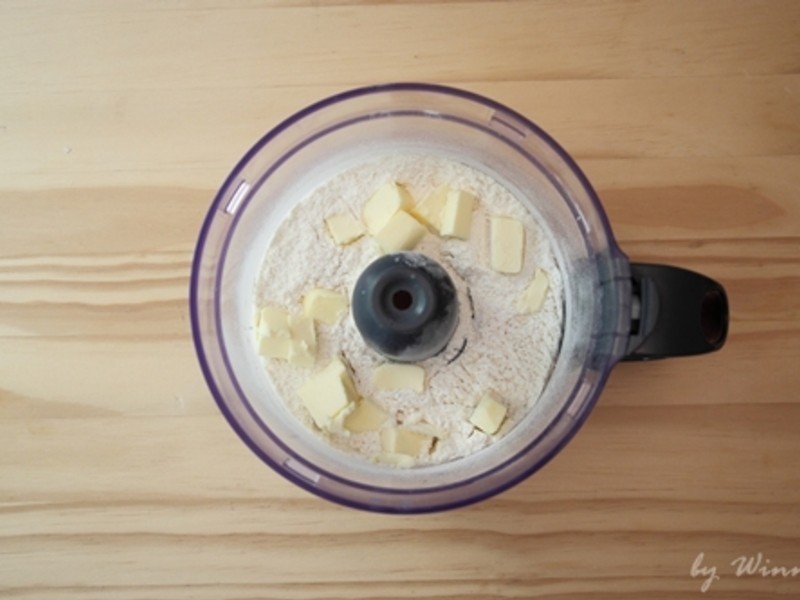
1(ЪГЮяДІРэЛњЗЈ)НЋУцЗлМгЯИЩАЬЧМАбЮДђ10УыЃЌНгзХМгШыДгБљЯфШЁГівбОЪТЯШЧааЁПщЕФФЬгЭЃЌПьЫйЕФДђЕНГЪШщРвЗлЕФбљзгЃЎ(ЪжЙЄЗЈ)НЋУцЗлЙ§ЩИЕНЙЄзїЩЯЃЌМгШыЧаПщЗХжУЪвЮТЕФФЬгЭЃЌгУЪжжИФѓдШФЬгЭМАУцЗлЃЎ
 2
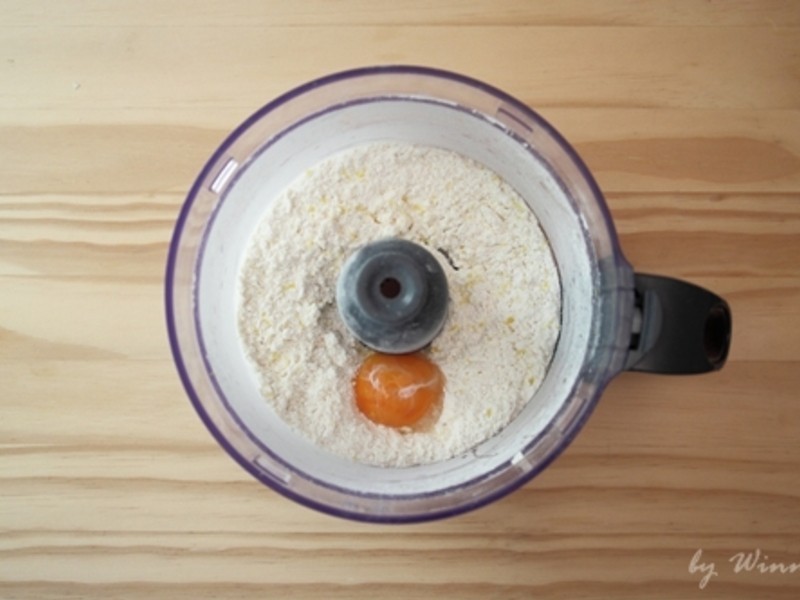
2(ЪГЮяДІРэЛњЗЈ)МгШыЕАМАФћУЪЦЄаМЃЌдйДђвЛЯТ.(ЪжЙЄЗЈ)МгШыЕАЛЦМАЯИЩАЬЧЃЌбЮЃЌФћУЪЦЄаММАТэЩГРОЦгУЙЮЕЖАшКЯГЩЭХЃЎ
 3
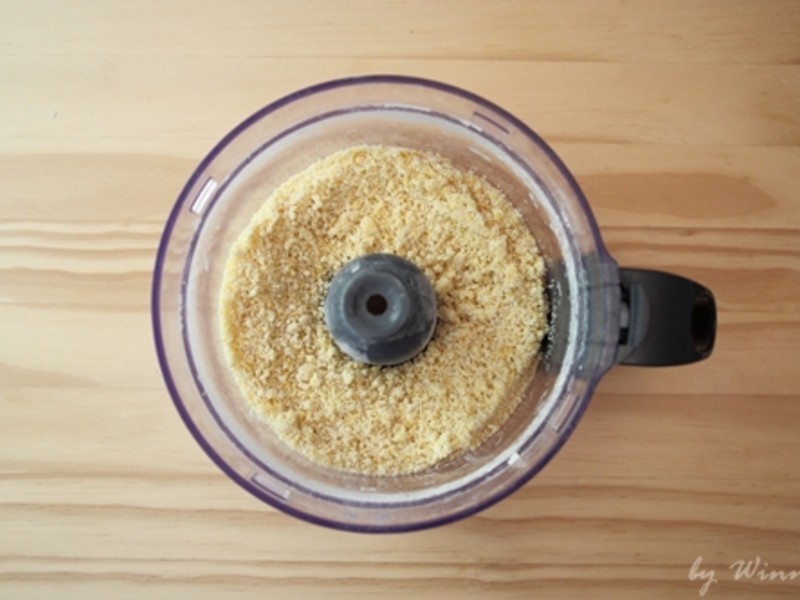
3(ЪГЮяДІРэЛњЗЈ)зюКѓМгШыТэЩГРОЦЃЌдйДђОљдШМДПЩвЦЕНЙЄзїЩЯЃЎ
 4
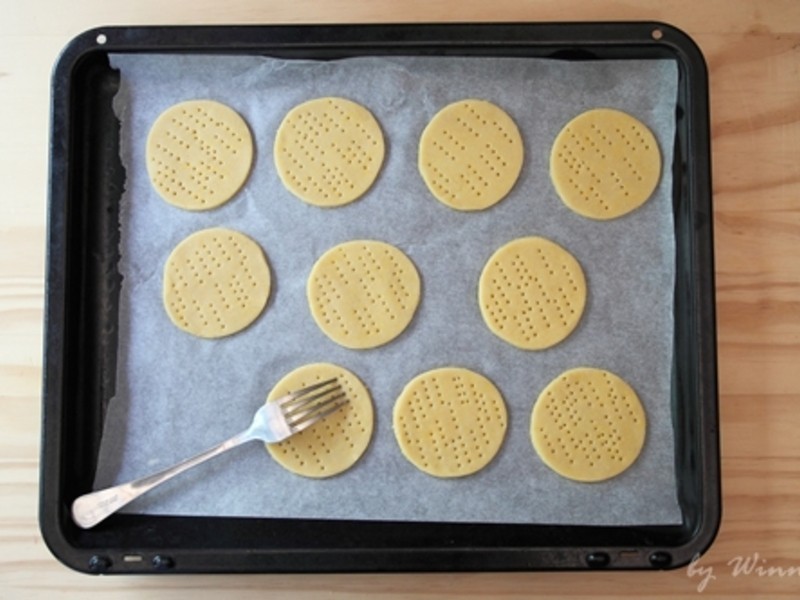
4ПьЫйШрГЩЭХКѓЃЌгУБЃЯЪФЄАќЦ№РДЗХБљЯфдМ1аЁЪБЃЎ
 5
5ЙЄзїЩЯШїЗлЃЌУцЭХБэУцвВШїЗлЃЌИЫПЊдМ3mmКёЖШЃЌгУдВаЭЕФФЃаЭЧаГЩвЛЦЌвЛЦЌЃЎ
 6
6ЗХШыЦЬСЫПОХЬжНЕФПОХЬЃЌгУВцзгВцЖДЖДЃЌПОЯфдЄШШ180ЖШCПО15ЗжжгМДПЩЃЌзюГіЗХдкМмЩЯЗХСЙЃЎ
 7
7НЋВФСЯНДЕФВПЗнЃЌЗХдквЛИіДѓЭыРяЃЌгУЙЮЕЖАшКЯОљдШЃЌдйЗХШыБљЯфБљдМ30ЗжжгБљгВвЛЕуЃЎ
 8
8НЋБ§ИЩХЩЦЄМАШщРвНДМАВннЎзізщКЯМДЭъГЩЁЋ ИїЖрЪГЦзееЦЌЗжЯэЃЌЧыПДhttp://trieste168.pixnet.net/blog/post/35975577
