
 1
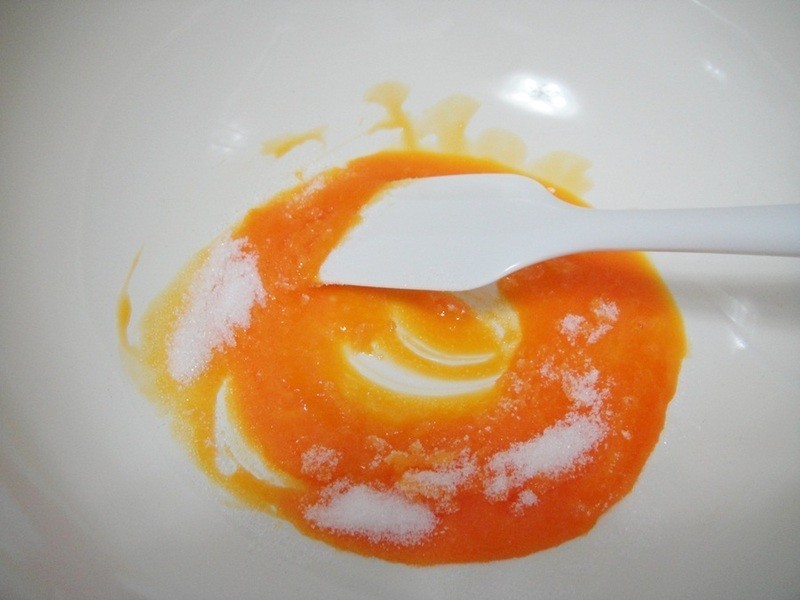
1ВНжш1:ЯШНЋЫљгаВФСЯГгКУБИгУ,УцЗлвЊЙ§ЩИ,МІЕАвЊЕААз ЕАЛЦЗжПЊ!
 2
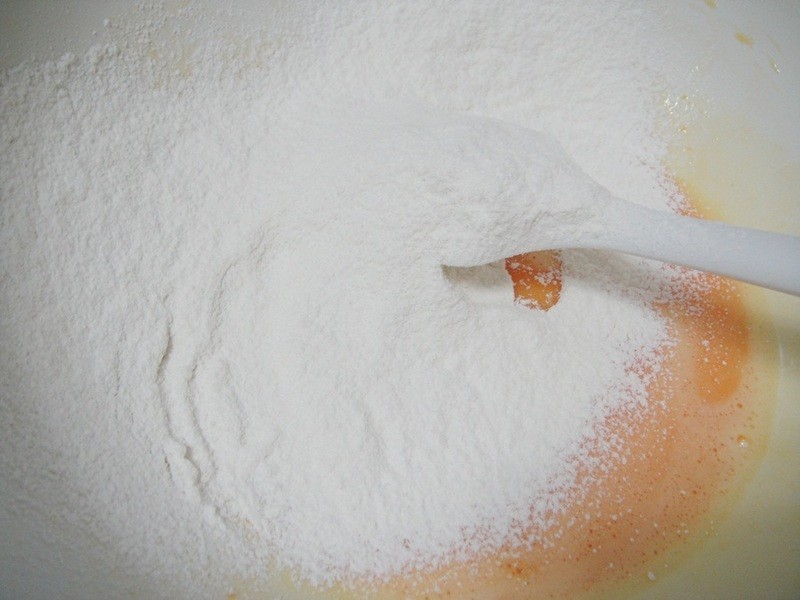
2ВНжш2:зМБИвЛИіДѓШнЦї,ЯШНЋЕАЛЦКЭЬЧAНСАшОљдШ,жБЕНЬЧШмЛЏ!
 3
3ВНжш3:МгШыжВЮягЭНСАшОљдШ!
 4
4ВНжш4:МгШыХЃФЬМАРМФЗОЦашБпАшБпМг!ЖМКУСЫжЎКѓ,ЗХХдБпБИгУ!
 5
5ВНжш5:ЪЙгУЕчЖЏНСАшЛњНЋЕААзДђжСДжХндйЗжШ§ДЮМгШыЬЧB,ЕААзДђжСгВадЗЂХн!
 6
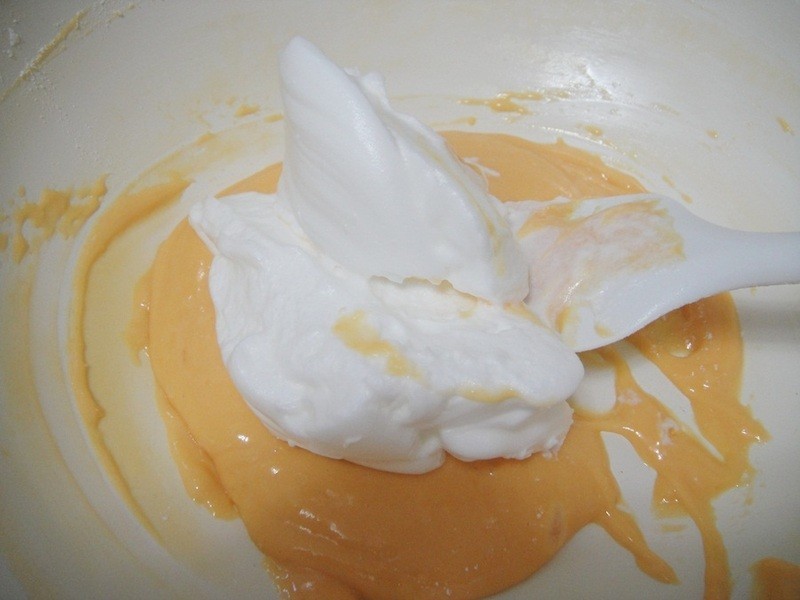
6ВНжш6:НЋИеИеБЛгУЕФЕАЛЦК§МгШыЙ§ЩИУцЗлКЭХнДђЗл,ГфЗжЛьКЯОљдШ!
 7
7ВНжш7:НЋДђЗЂКђЕФЕААзЭквЛаЉаЉКЭЕЋЛЦК§ЛьКЯОљдШ,дйНЋЦфгрЕФЕААзШЋВПМгШы,ЧаАшЛьКЯ,етбљВХВЛЛсЯћХнХЖ!
 8
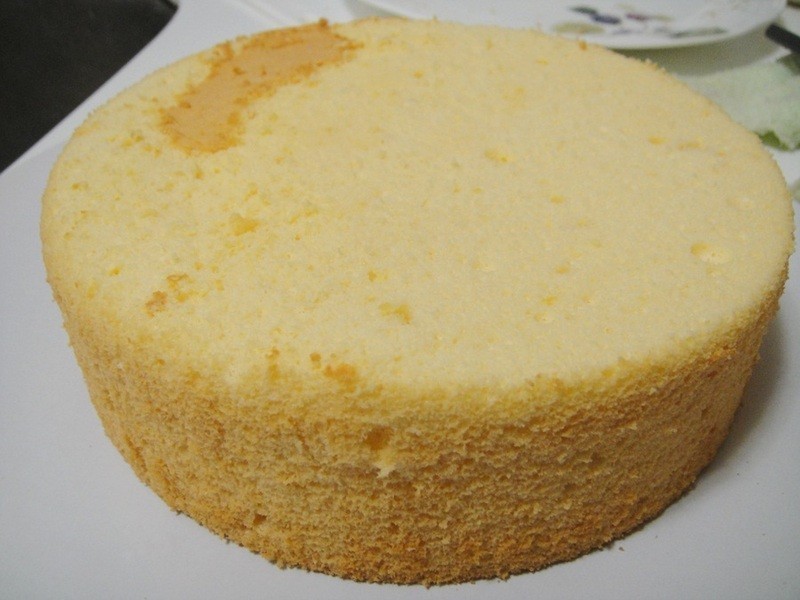
8ВНжш8:АбУцК§ЕЙШы7 МЕАИтФЃРя,ЧсЧсЧУСНЯТ,ЗХШывддЄШШПОЯф170ЖШПО35~40Зж,ГіТЏКѓЕЙПлЗХСЙ!
9ВНжш9:АбЕАИтЩЯУцГѓГѓЕФЕиЗНЧаЕє,дкЦНОљЧаГЩШ§Зн,ЕквЛВуЗХЩЯПЈЪПДяНД!ЕкЖўВуФЈЩйаэЯЪФЬгЭ,ЗХЩЯВМЖЁ(етбљВМЖЁОЭВЛЛсТвЛЌЖЏ)! ВНжш10:НЋЯЪФЬгЭОљдШЕФФЈЩЯ,МЗЩЯФЬгЭЛЈ,жаМфЗХЩЯздМКзіЕФЬЧЫЊБ§ИЩ~ОЭЭъГЩСЫ!!
