
 1
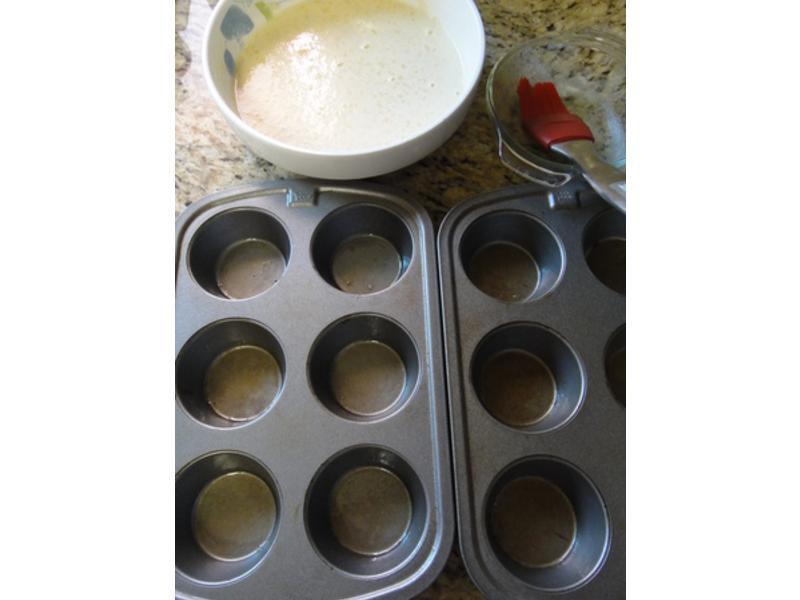
1烤箱预热到210度C/ 410 F,鲜奶,鸡蛋拿出放置到室温的温度,奶油放微波炉融化; 烤盘或布丁杯刷上一层奶油(份量外)
 2
2将面粉过筛,加入鸡蛋,细砂糖,融化的奶油,鲜奶用打蛋器仔细 , 搅拌均匀到没有任何粉粒的状态, 面糊静置30分钟
 3
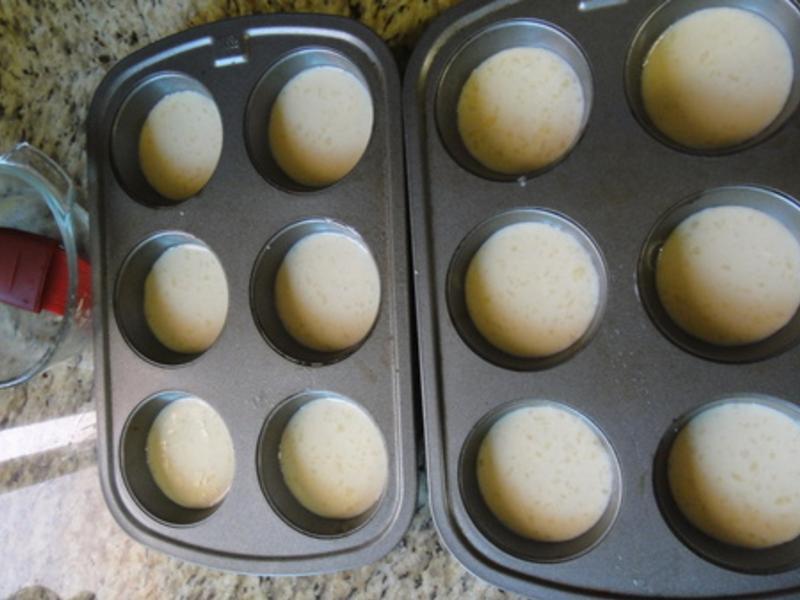
3烤盘或布丁杯放进烤箱预热30秒取出, 倒入面糊,约5-6分满即可
 4
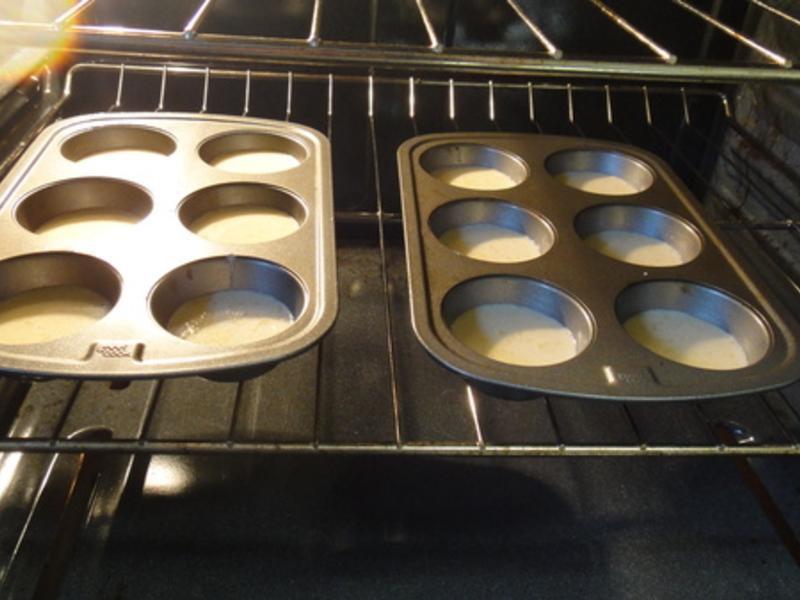
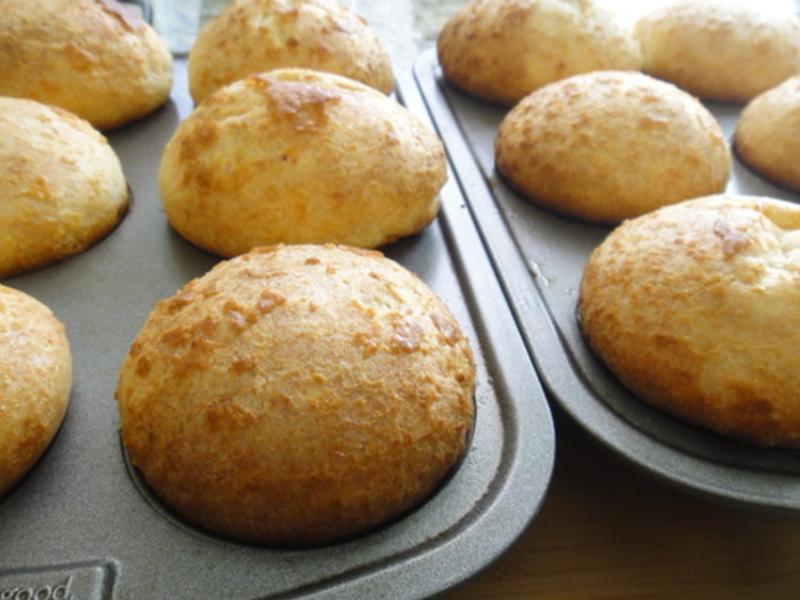
4放入已经预热到210度C/ 410 F的烤箱中,烘烤20~25分钟
 5
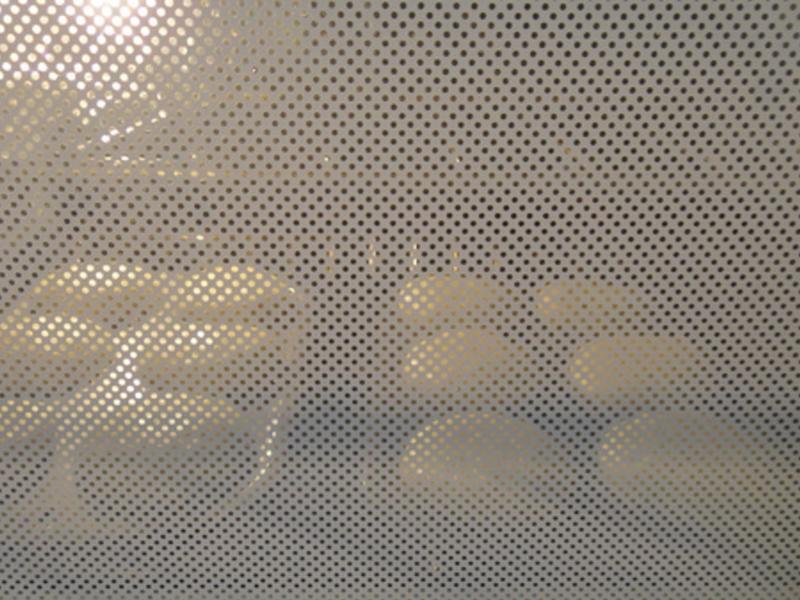
5到表面金黄色 ,因为甜味的比较容易上色太快
 6
6所以210度c烤10分钟后,若觉得颜色开始变深, 就将温度调整到190度/ 374° F左右再烤10-15分钟,避免烤太黑
 7
7烤时千万别去开烤箱. 不然Popover-鸡蛋泡泡芙会消气ㄡ>_
 8
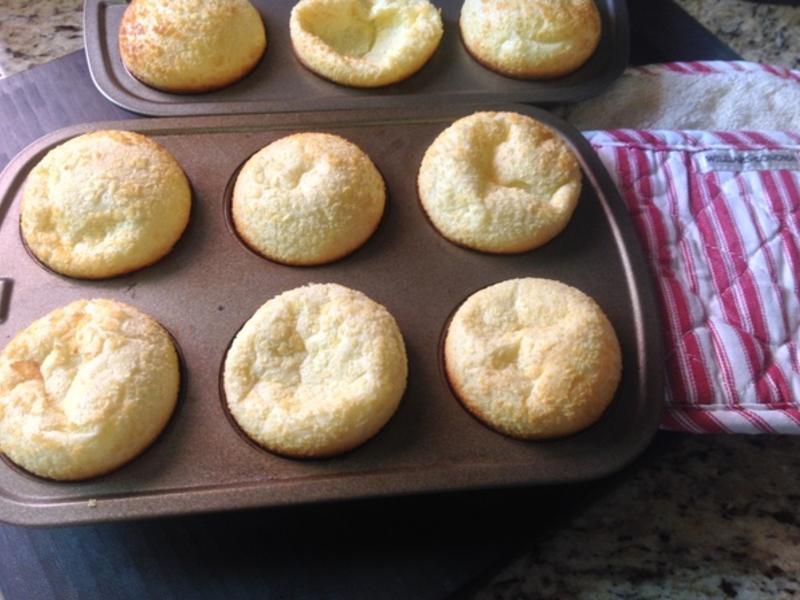
8烘烤好拿出来等凉.
 9
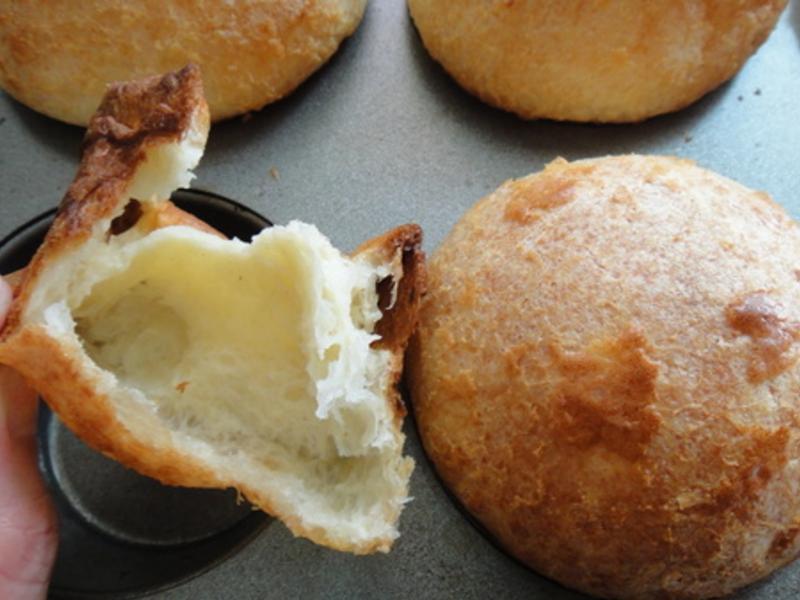
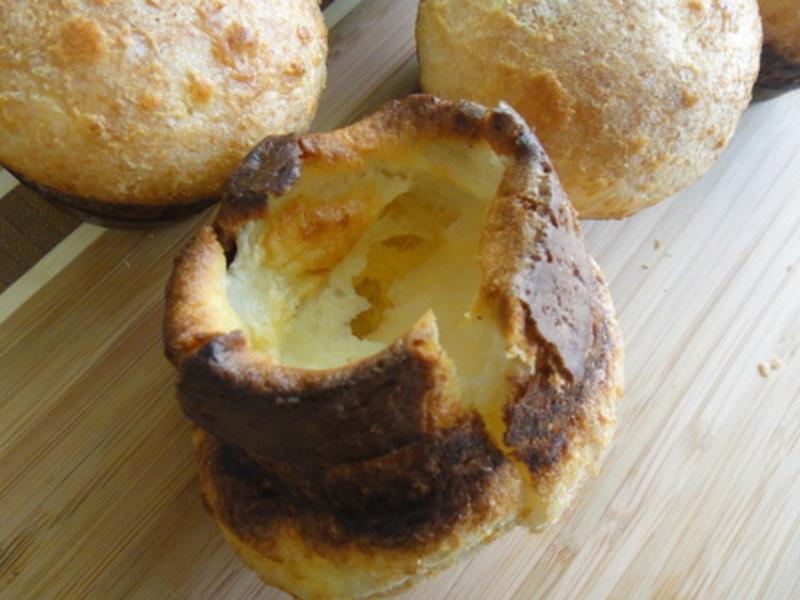
9就是闻起来像似鸡蛋糕的 Popover-鸡蛋泡泡芙!!
 10
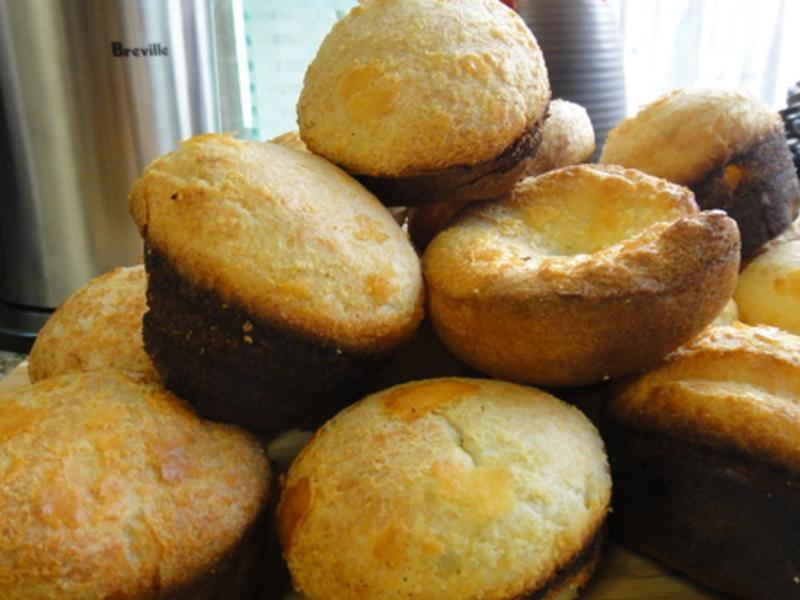
10简单易做的 Popover-鸡蛋泡泡芙!!
 11
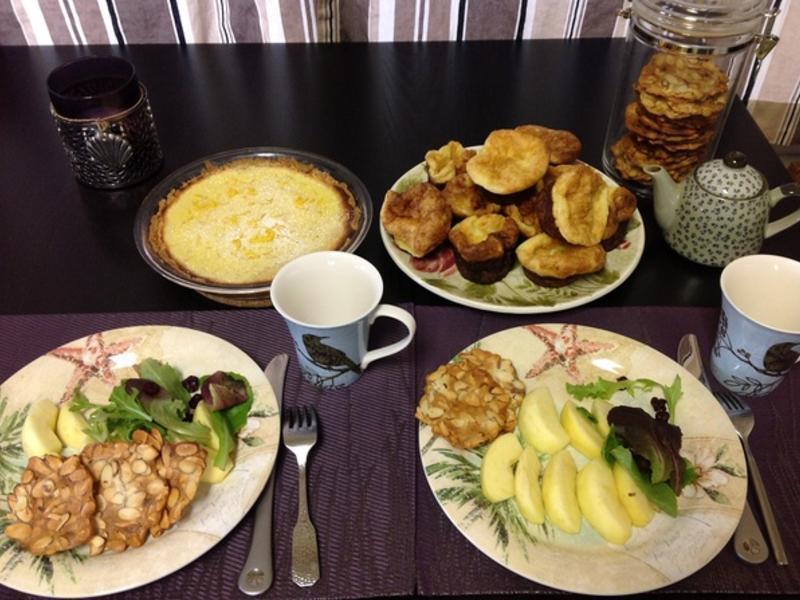
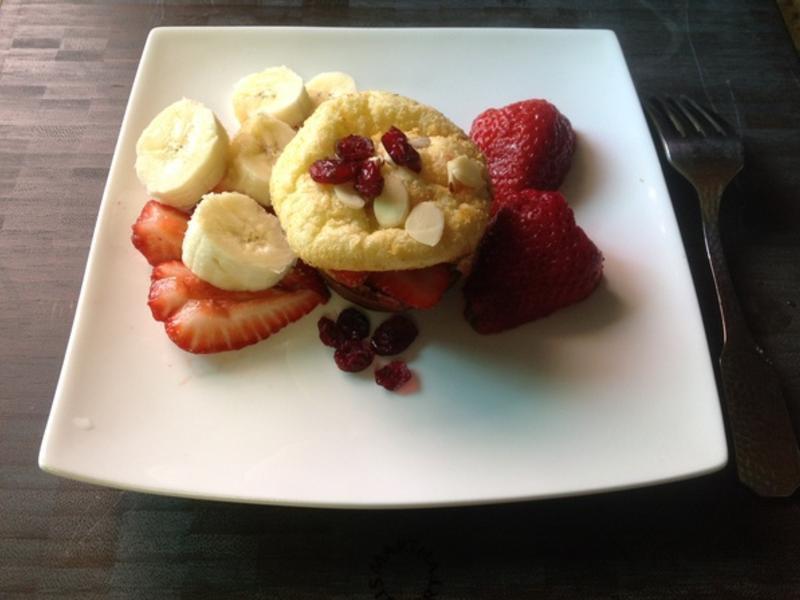
11可依各人喜爱再加入水果吃,就是配咖啡一起吃的丰盛早点!!
 12
12Bon Appétit & Enjoy!!!
