 1
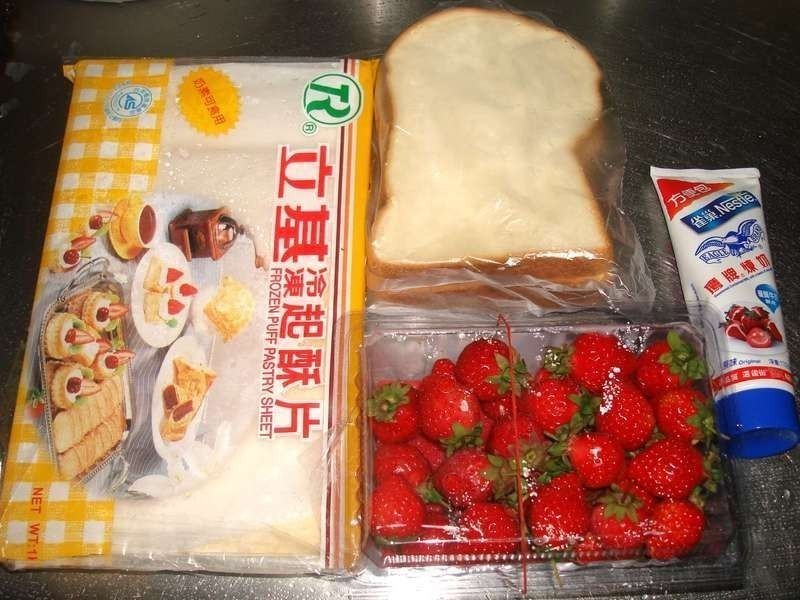
1备好所需食材....
 2
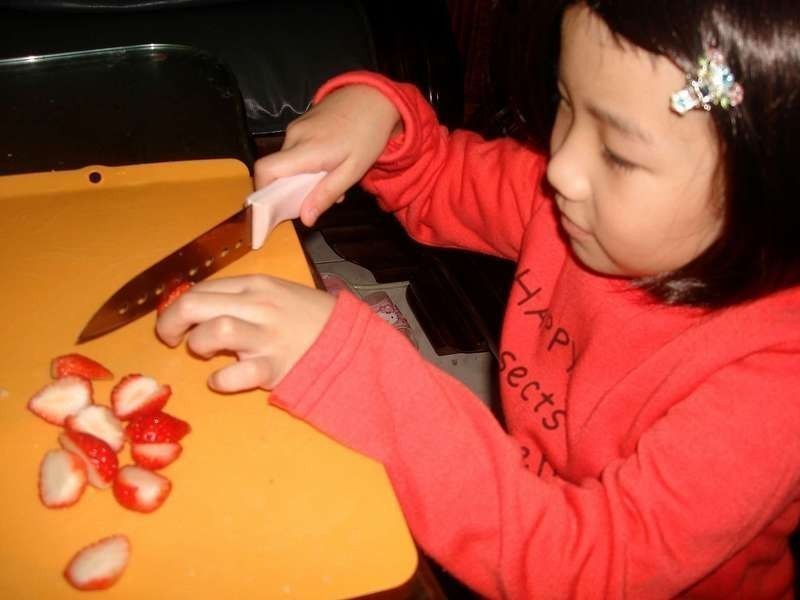
2请家中小朋友一起来动手作甜点,增进彼此互动气氛,请小朋友帮忙把草莓洗净,最后去除叶子后,再将每一颗草莓对切即可...
 3
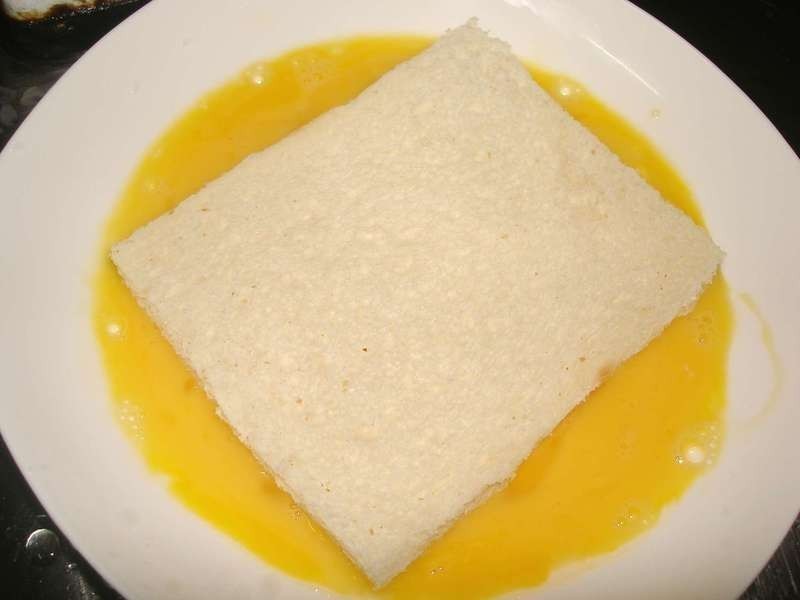
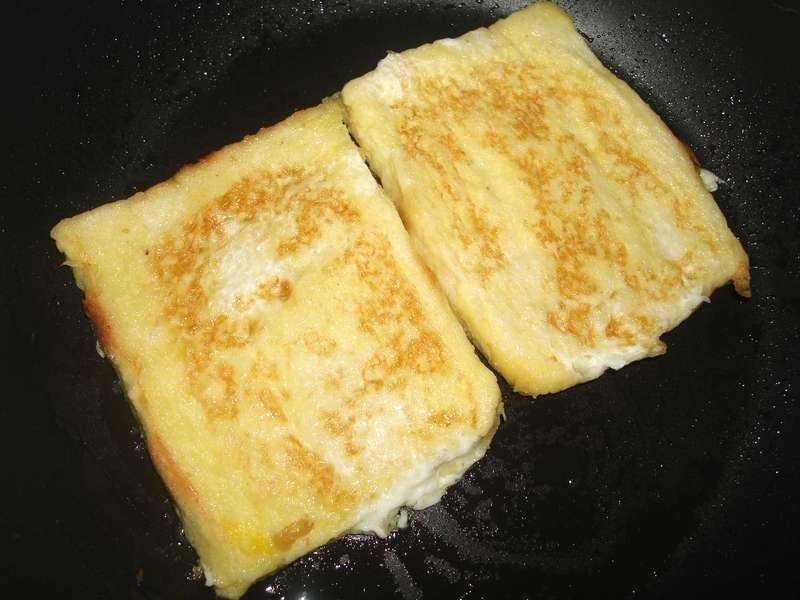
3打一颗蛋,把土司去边后,两面各沾上蛋液备用...
 4
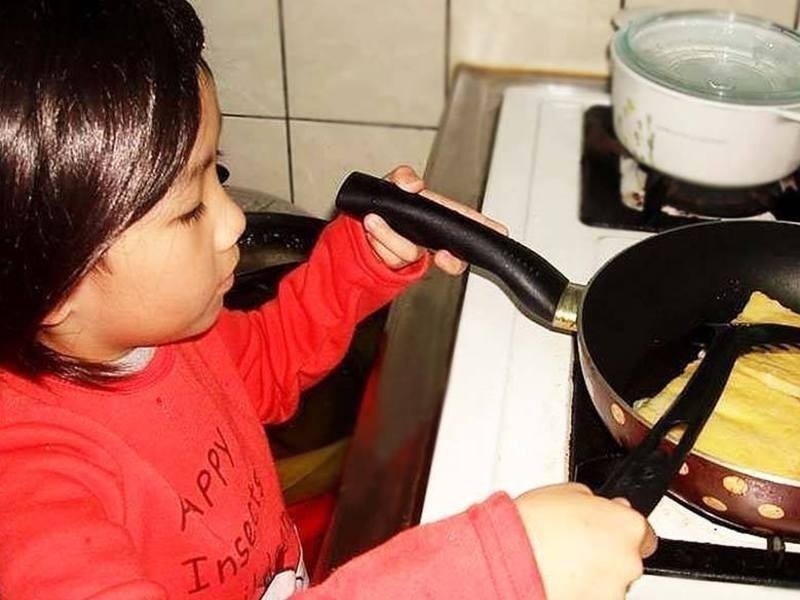
4热锅倒油,放入沾好的土司开始煎...
 5
5将两面煎至金黄即可...
 6
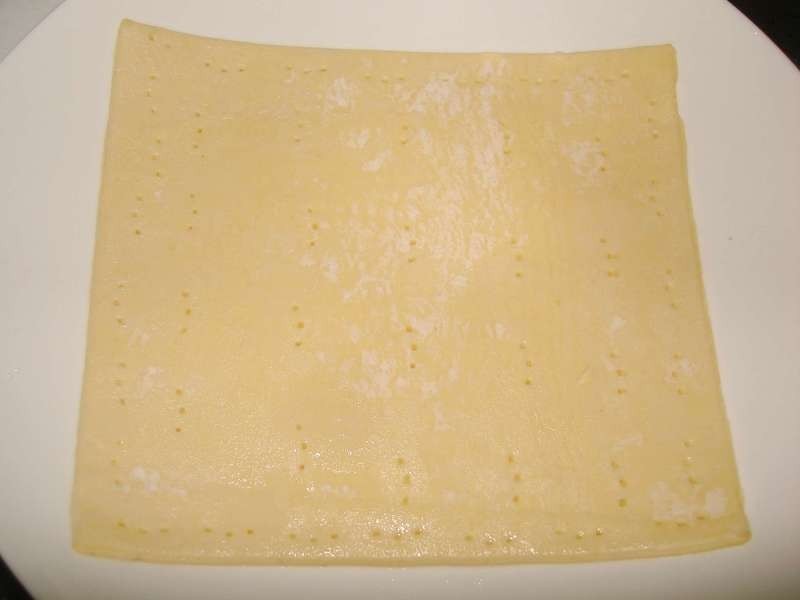
6取3片起酥片,利用叉子将整面叉上洞洞,可让表面不会太过胀澎而失败哦...
 7
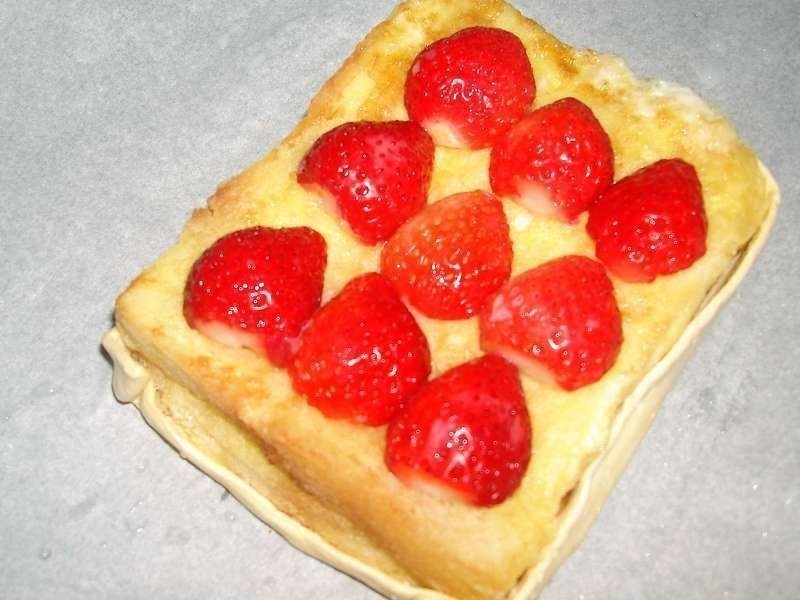
7取3片法式土司,一层抺炼乳、一层摆上草莓即可...
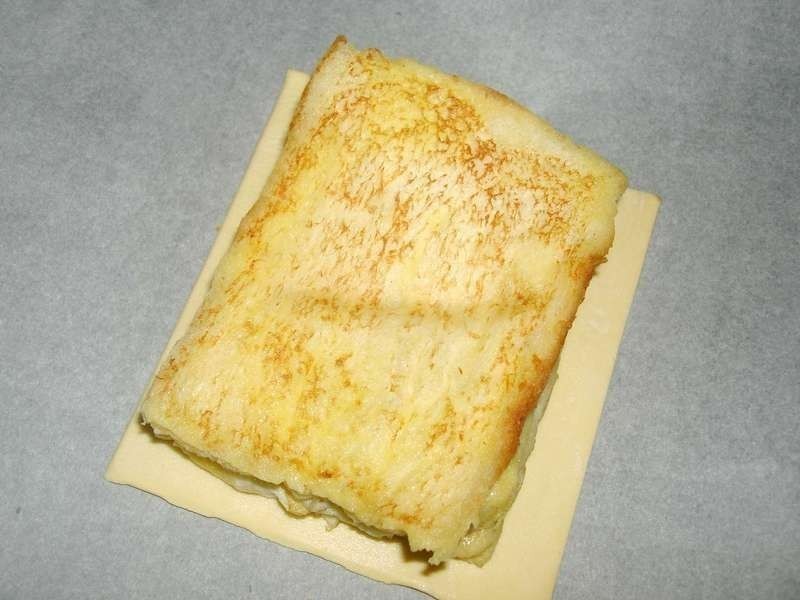 8
8上下各放上一片酥皮,收口部份往外折后压紧,再取第3片酥皮,截切好大小,补在四个边边的缺口,然后利用刀叉和手指按压好收口部份压紧即可...
 9
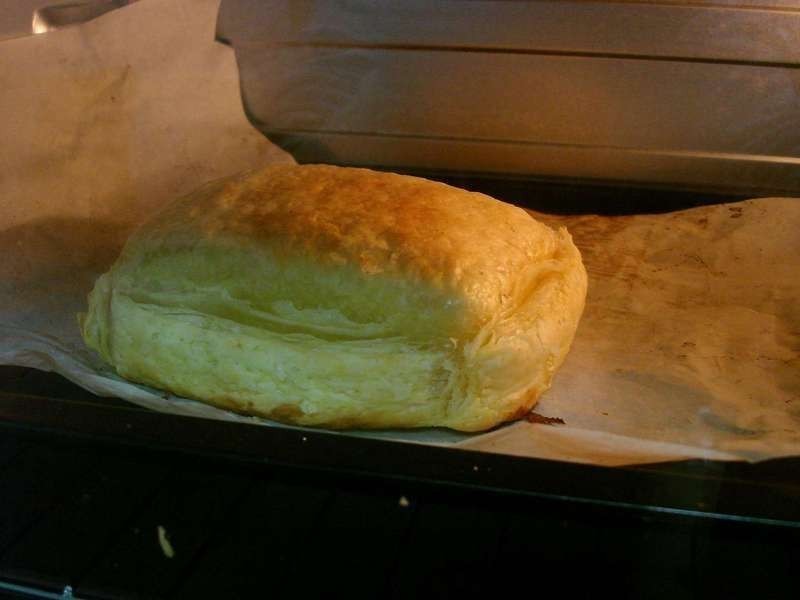
9先预热5分钟后,放入烤箱烤170-180度开上下火,约15分钟(视每台烤箱情况做调整...)
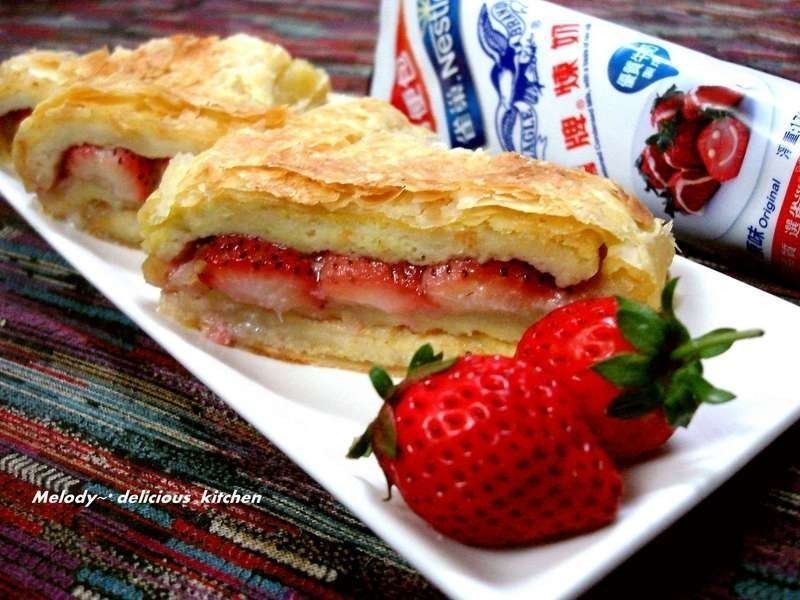
10最后就完成囉~
