
 1
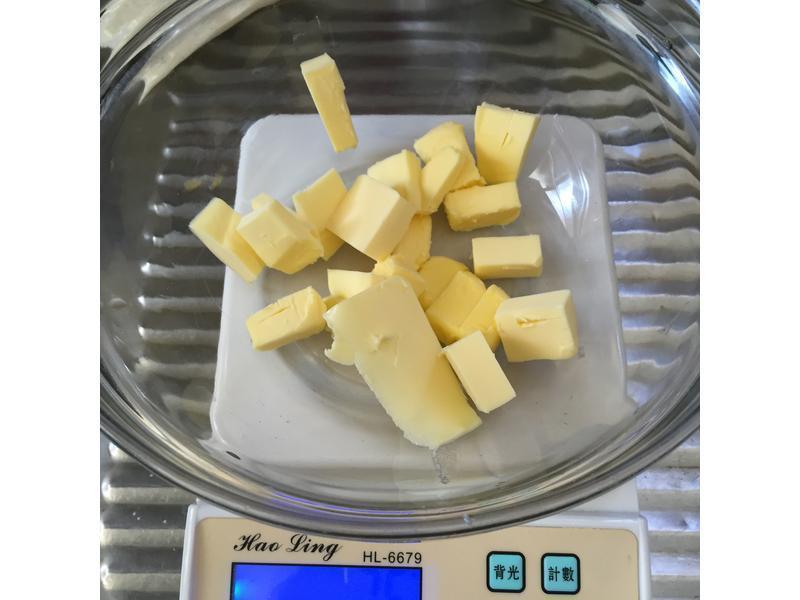
1先将盆子放在电子称上扣重归0,将奶油切小块丢入50克。(图片的76是我有乘1.5倍的量,忽略它吧!!)
 2
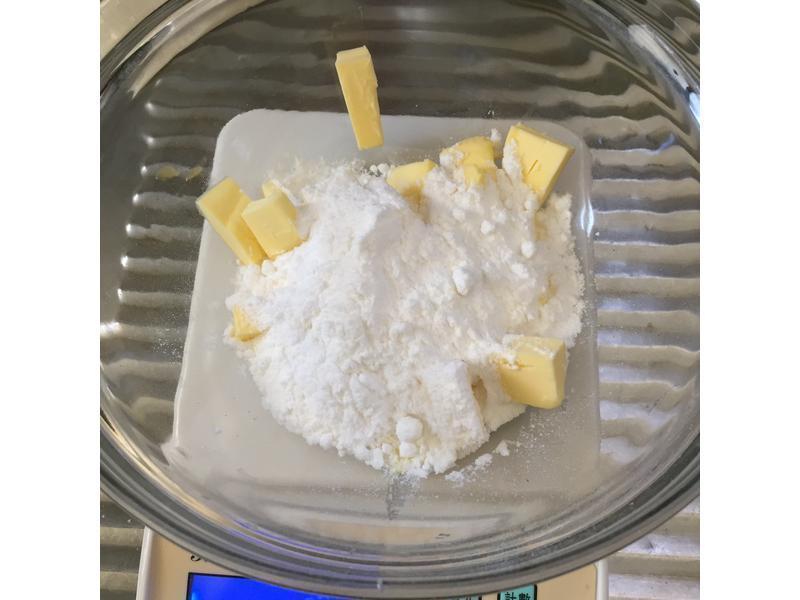
2再次扣重归0,将糖粉30克倒入(已经减糖,这是微糖的量,想要甜一点可试半糖40克、全糖50克)
 3
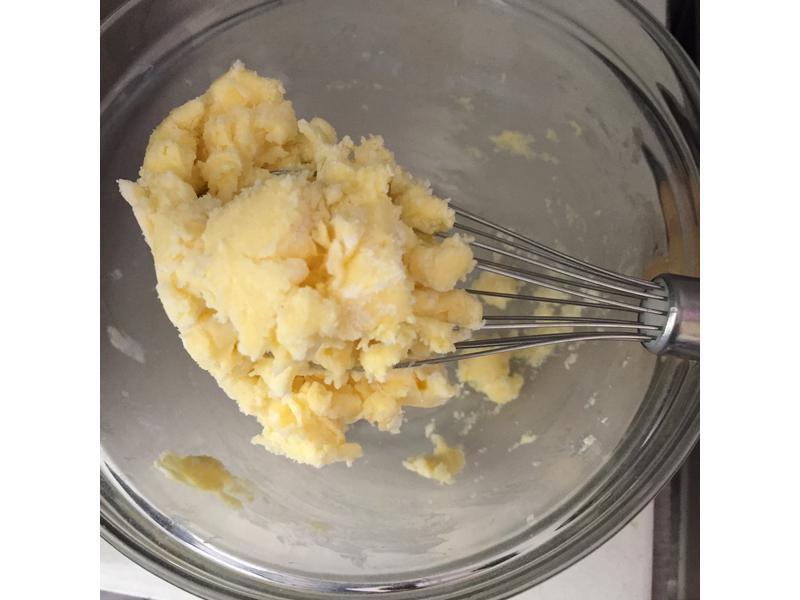
3先将奶油和糖粉搅扮均匀如图,不然打发时糖粉会乱飞。
 4
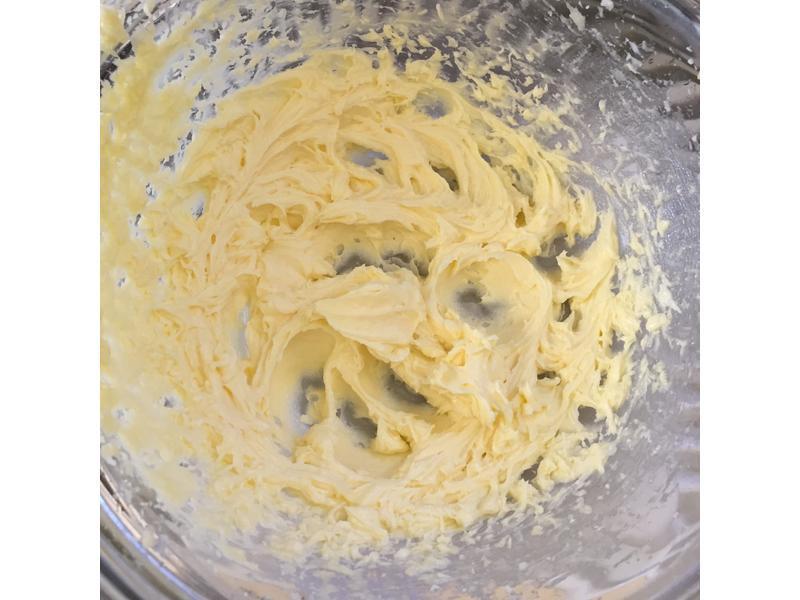
4将步骤(3)打发如图有细绒状。(打约2~3分钟左右)
 5
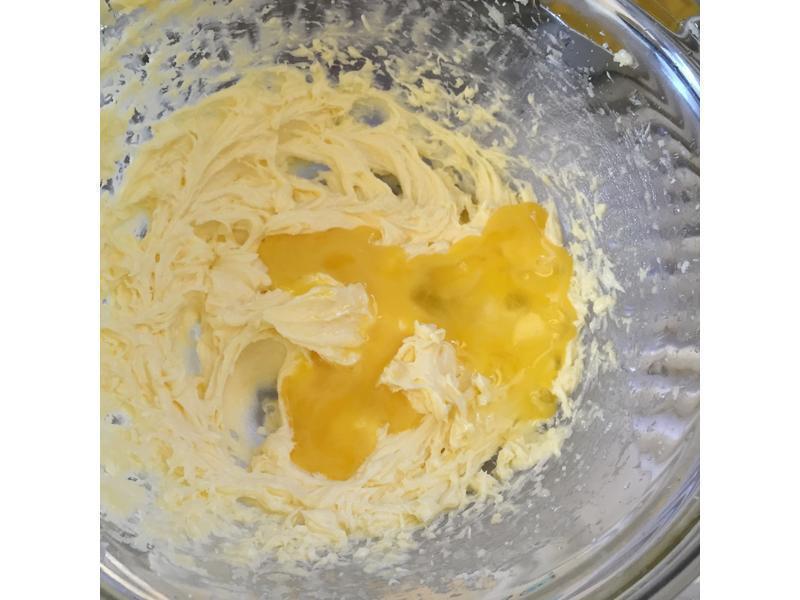
5把步骤(4)放在电子称上,归0后倒入全蛋液(挖1/2蛋黄留着) 20克,拌匀。
 6
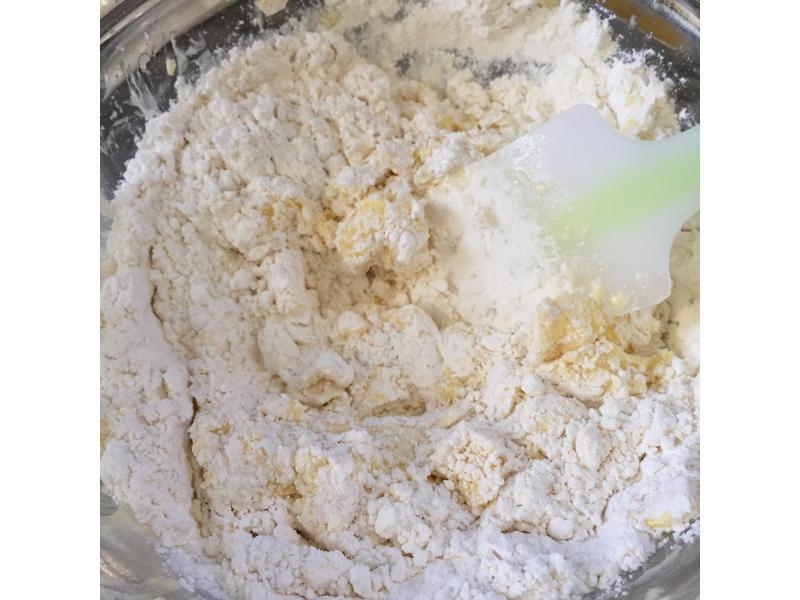
6将步骤(5)拌匀后,电子称归0直接倒入120克面粉(不用过筛),搅拌成团。
 7
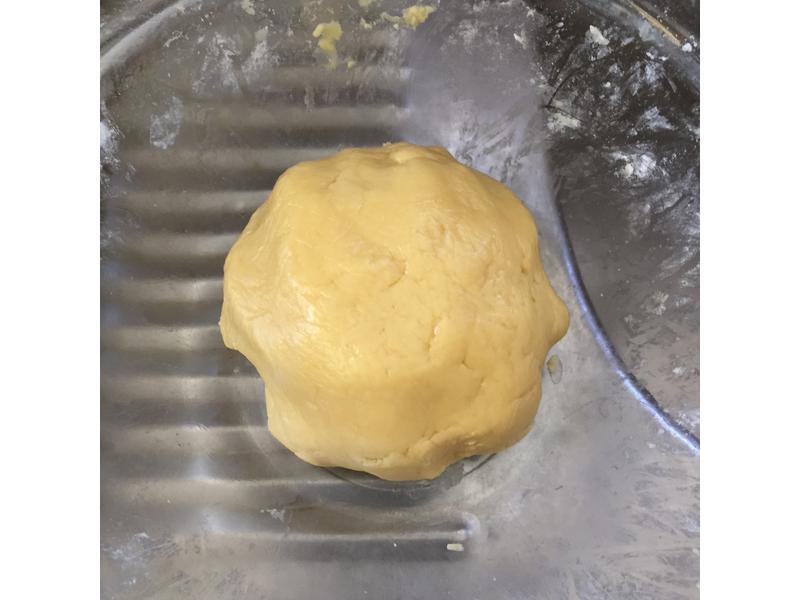
7步骤(6)搅拌成团后用保鲜膜包起来,冰箱冰30分钟。
 8
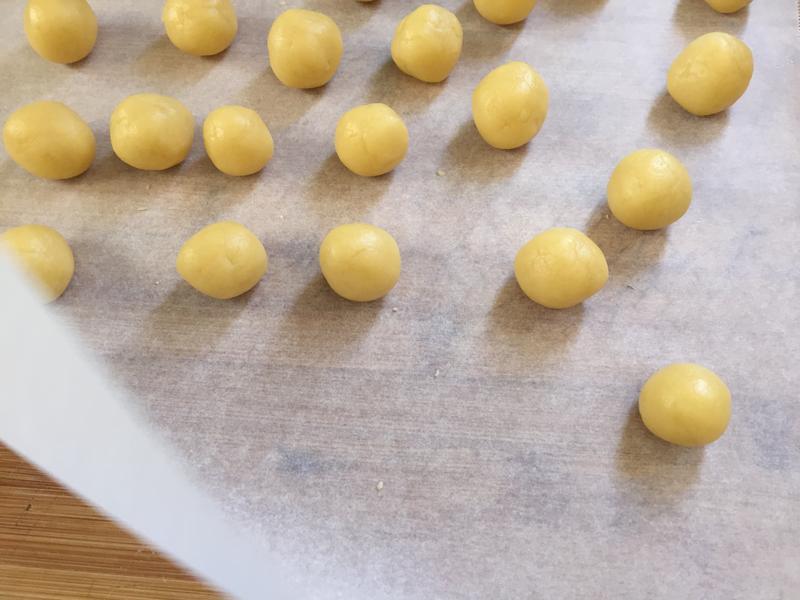
830分钟后,冰箱取出,将面团揉成一颗颗小圆球(约2CM)
 9
9压扁,边边会有点裂开是正常的,用刮刀划井字。
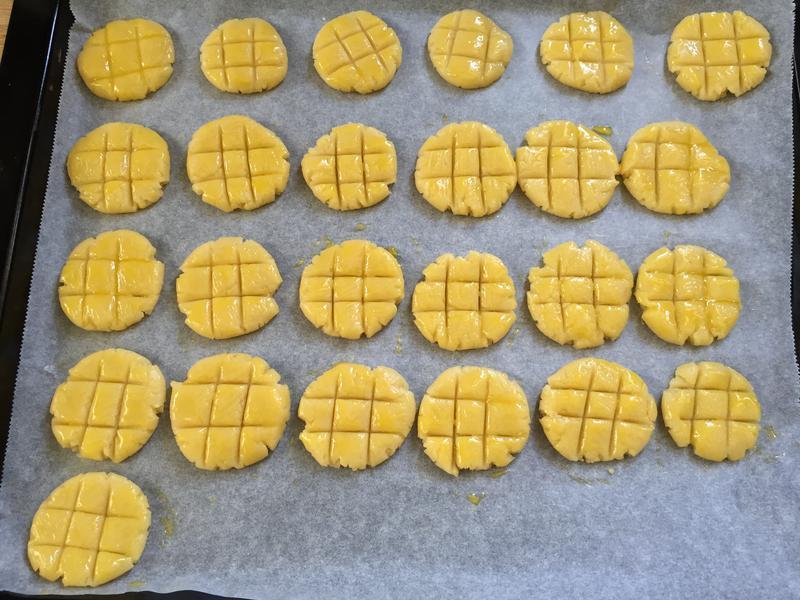 10
10全都用好后涂上蛋黄,放入烤箱,上下火均为160~170,烤15~18分钟(烤10分钟烤盘换边),若最后烤完颜色不够金黄,可将烤盘放至最上层,上火180度烤2~3分钟。
11出炉后放凉,放密封罐,七日内食用都很酥。
