
 1
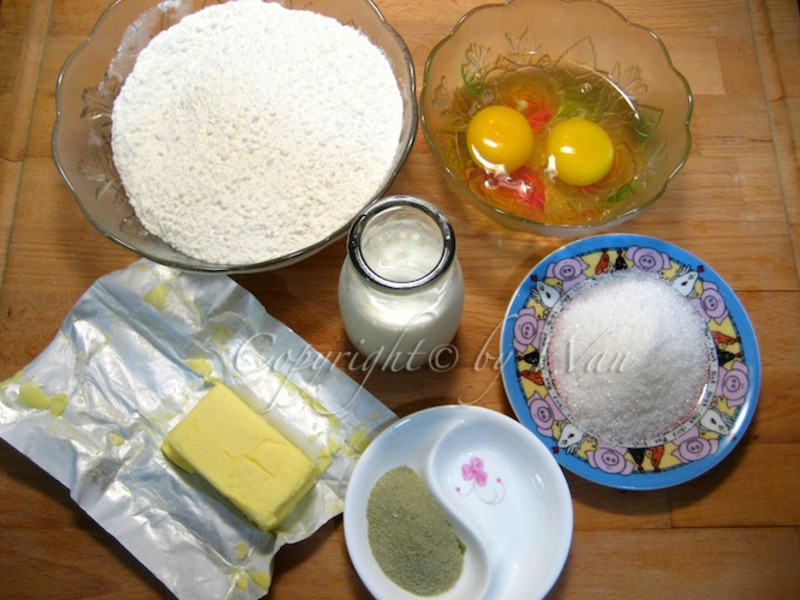
1材料们大集合~点到请喊右!松饼粉右~鸡蛋右~....
 2
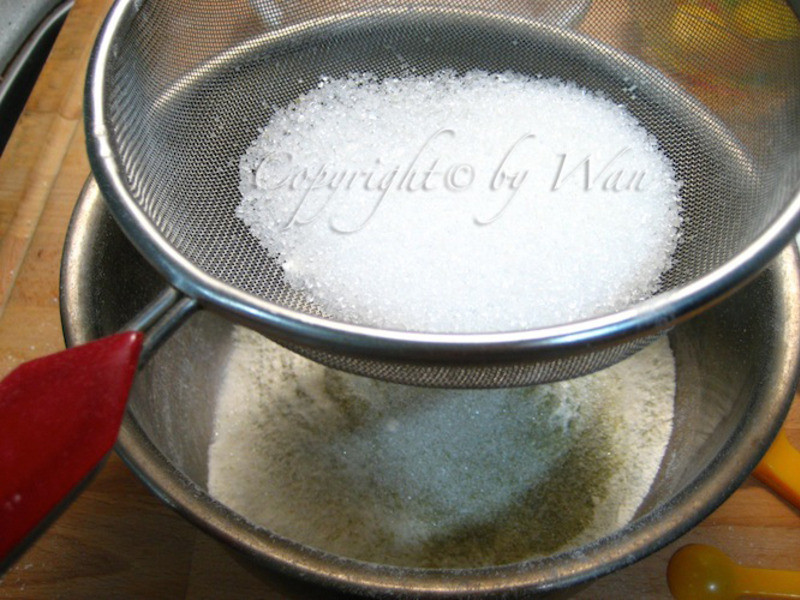
2将松饼粉、抹茶粉、砂糖,用滤网过筛。
 3
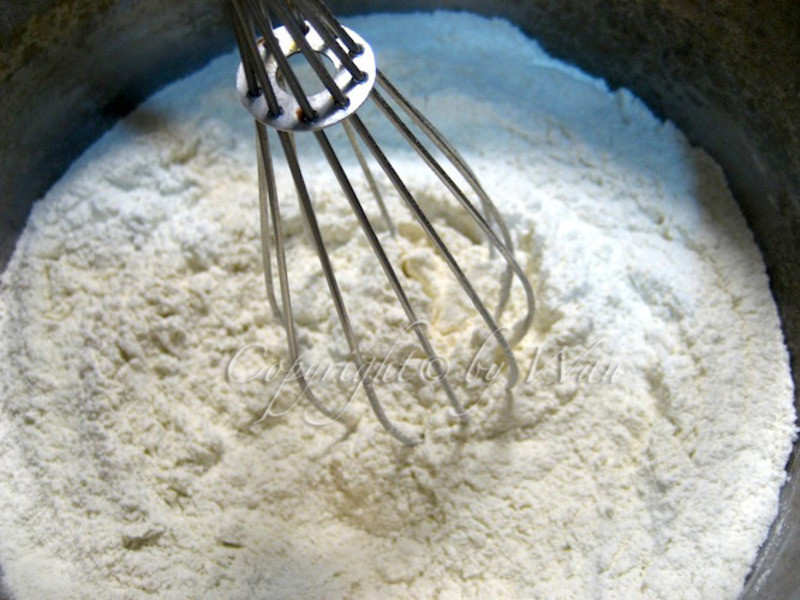
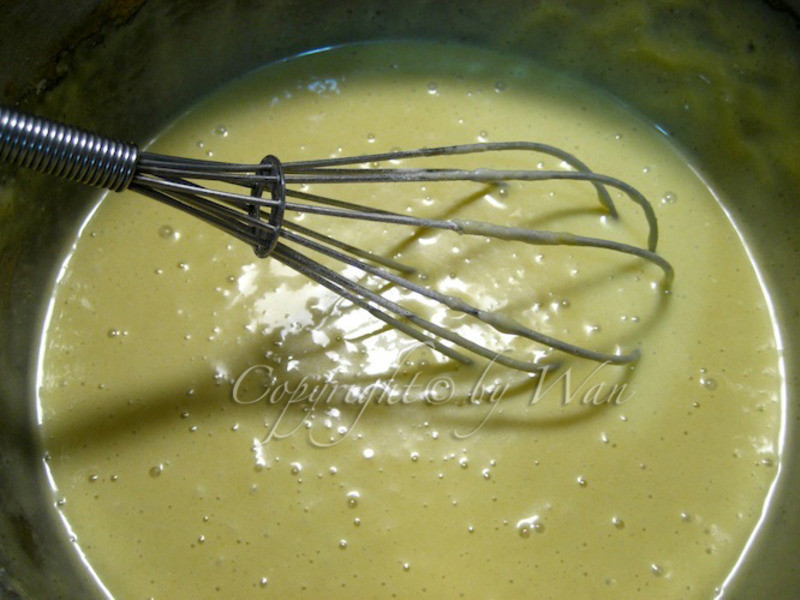
3用搅拌器搅拌混合均匀。
 4
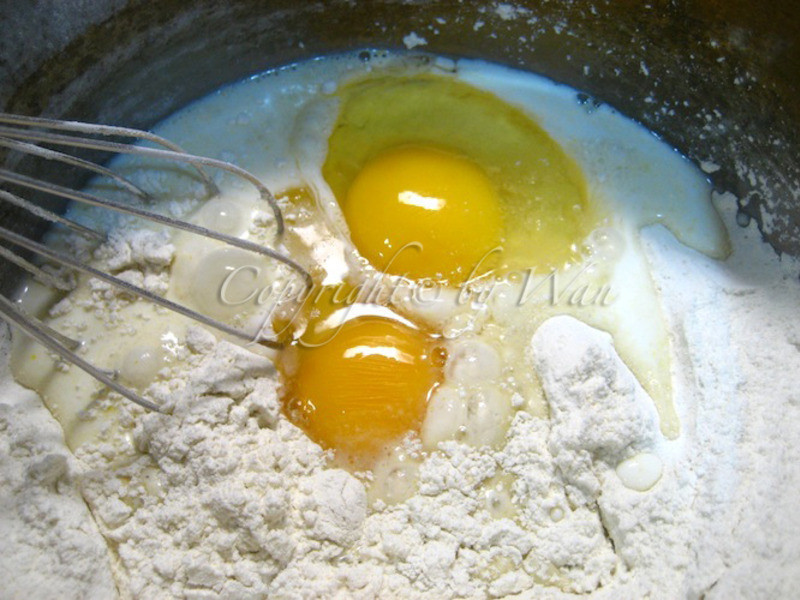
4再加入鸡蛋、牛奶,用搅拌器搅拌混合均匀。
 5
5搅拌均匀后的样子。
 6
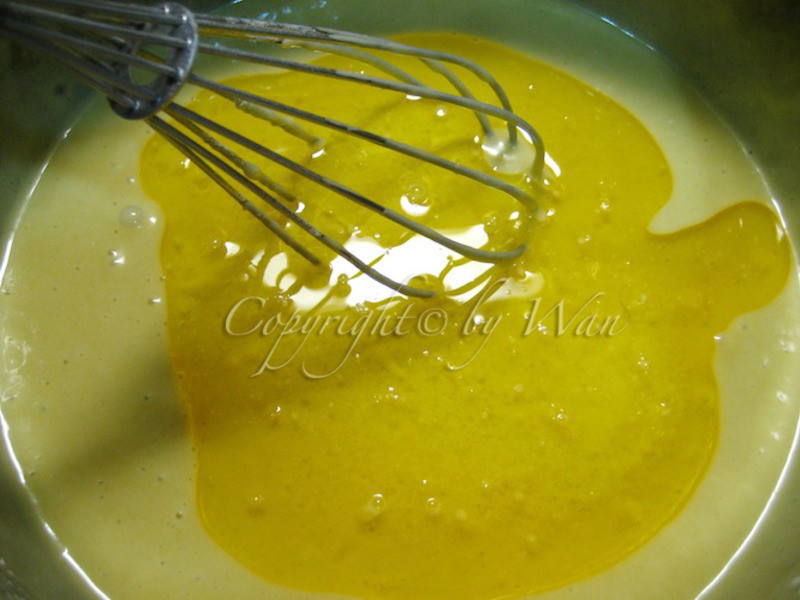
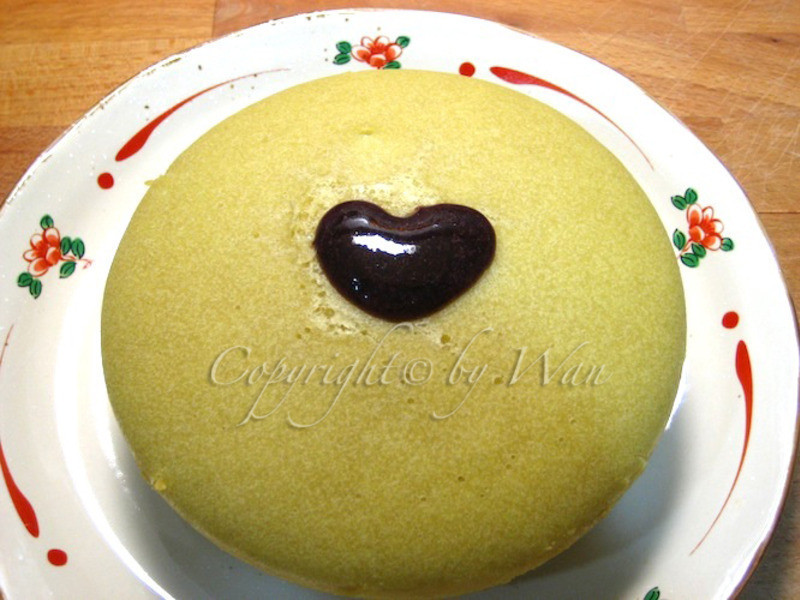
6在加入已经融化的奶油(可用微波或电锅溶化),搅拌均匀。
 7
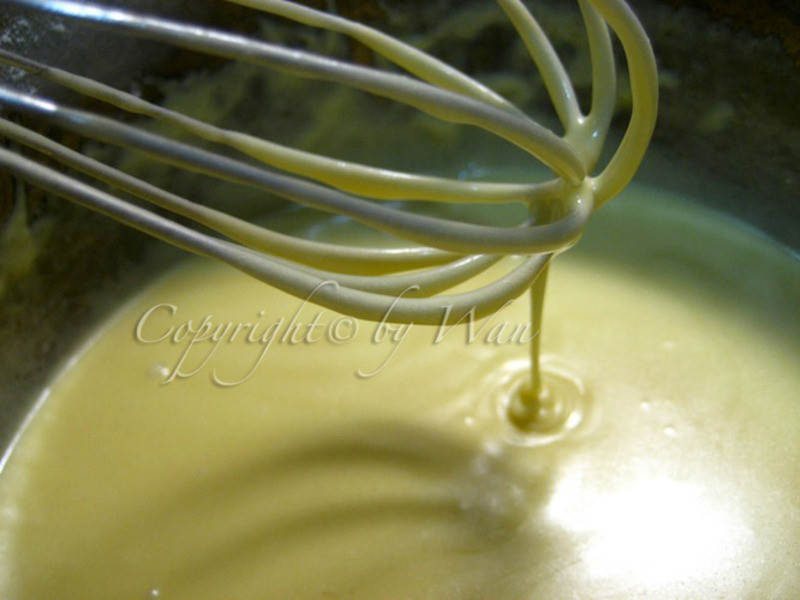
7当面糊可拉长1-2公分的"勾"度时,即可。
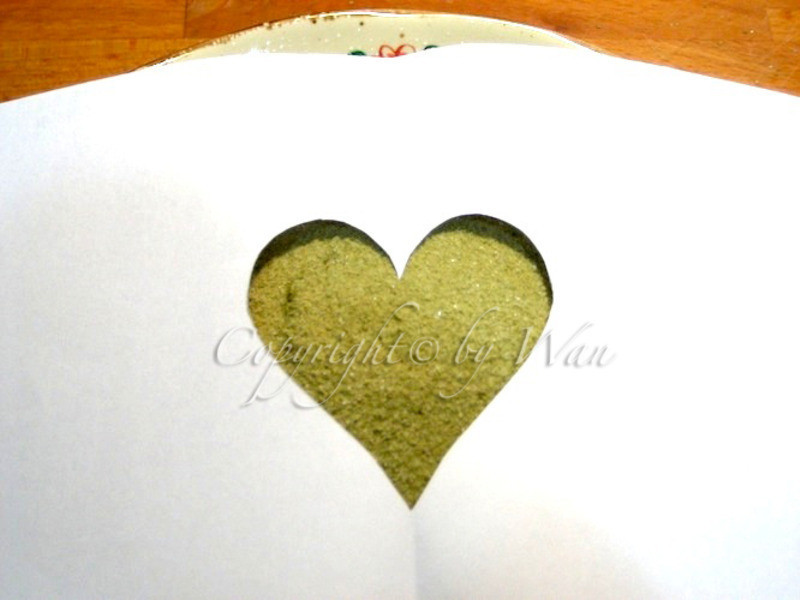
 8
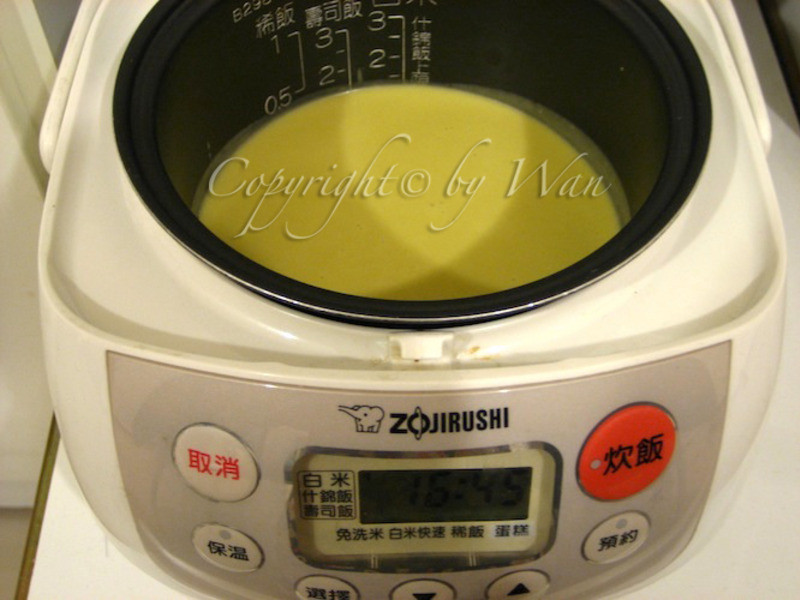
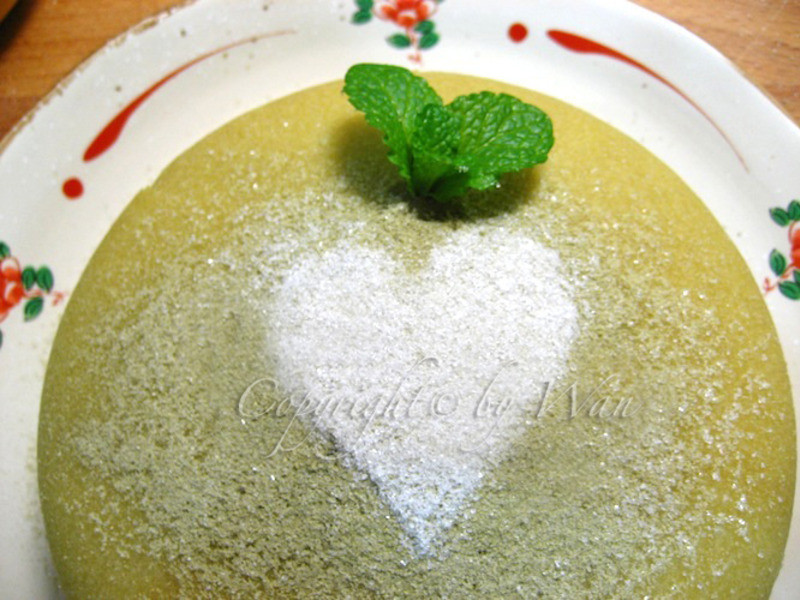
8记得在内锅内侧底部及侧面,均匀涂上一层薄薄的奶油。(我忘了涂好像也没沾锅?)把面糊到入电子锅内锅,推平表面,去除面糊内的气泡,去除气泡时,用手掌拍打锅底数次,勿将锅底撞击厨房台面,否则会导致锅底变形,影响蛋糕成品!
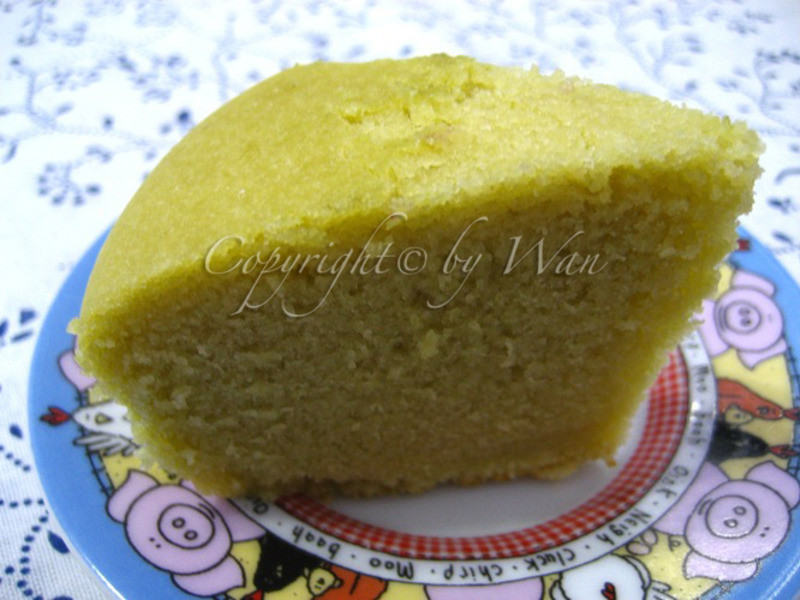
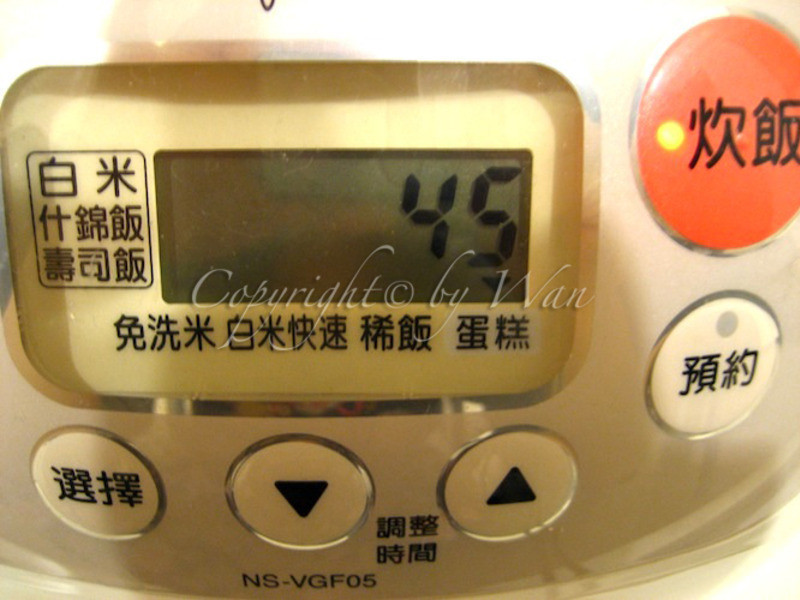 9
9关上开关,按下「选择」键,选择「蛋糕」,标准时间45分钟。时间依照个人喜好调整设定或进行变更,我是选择“标准时间45分钟”!按下「炊饭」键,听到提示音乐响起,即可。
 10
10烹调完成后,”请立即取出蛋糕,如不及时取出会沾到锅上!“竹签刺进去确认有没有熟,”面糊没有沾黏再竹签上表示已经熟了。“面糊有沾黏到继续烤。
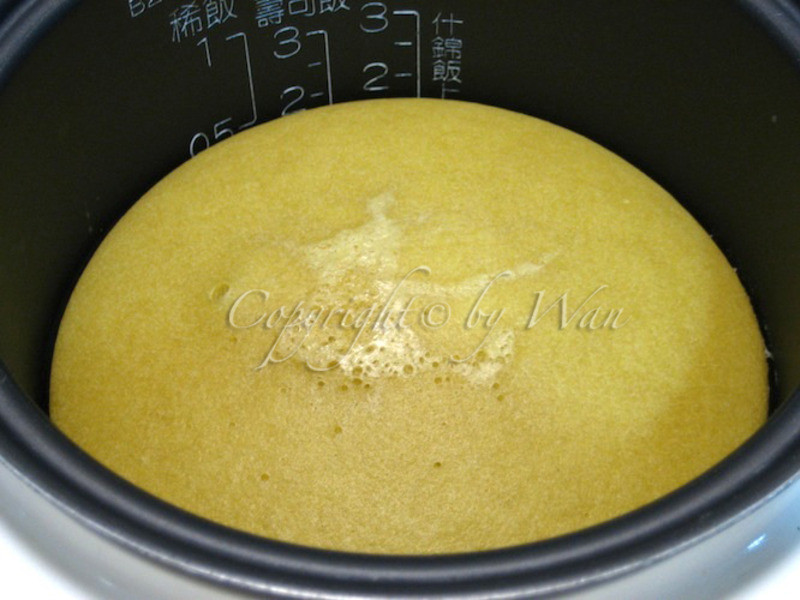
 11
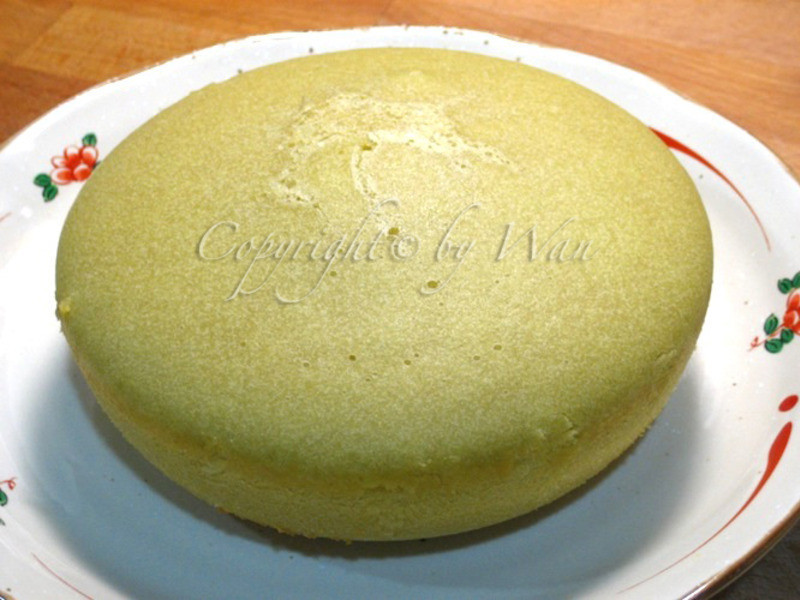
11看完成品,胖胖澎皮、澎皮的样子,真可爱。
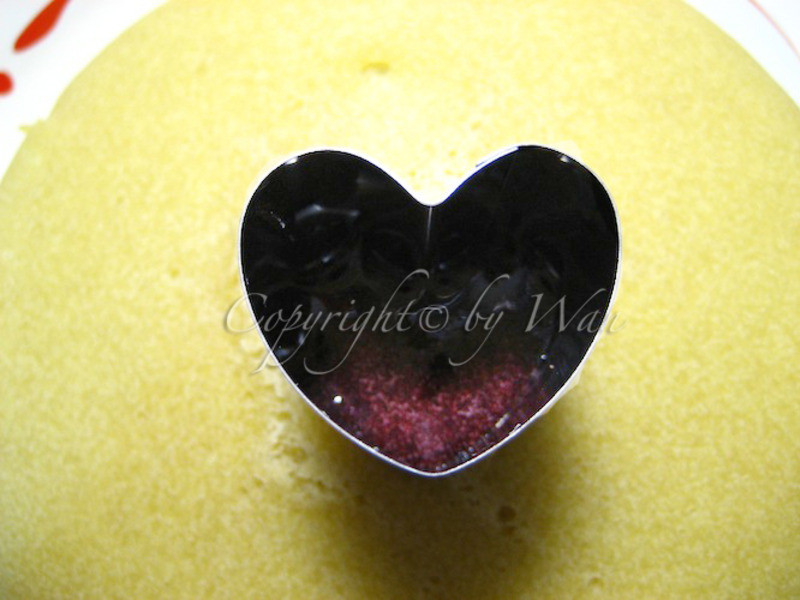 12
12开始装饰蛋糕囉~倒入一些果酱到爱心模型中。
 13
13慢慢拿起来就成型了。但我发现时间一久,果酱又会溜下去。Σ( ° △ °|||) ~昏倒
 14
14后来我又用纸,对折剪了爱心,当纸模。
 15
15慢慢撒上过筛后的糖粉,和薄荷叶做装饰。因为手边没有其他可装饰的水果、奶油装饰,就先这样阳春的顶着吧!
 16
16蛋糕切开后,味道尝起来还不错。有点介于蛋糕VS.发糕的口感。呵呵~?(???)? 其实步骤好像很多,其实只要是我用大量的照片叙述,我想让我和一样是烘培新手的人这样比较了解,且容易上手。我用的是象印电子锅,各位可以试做看看喔!
