
 1
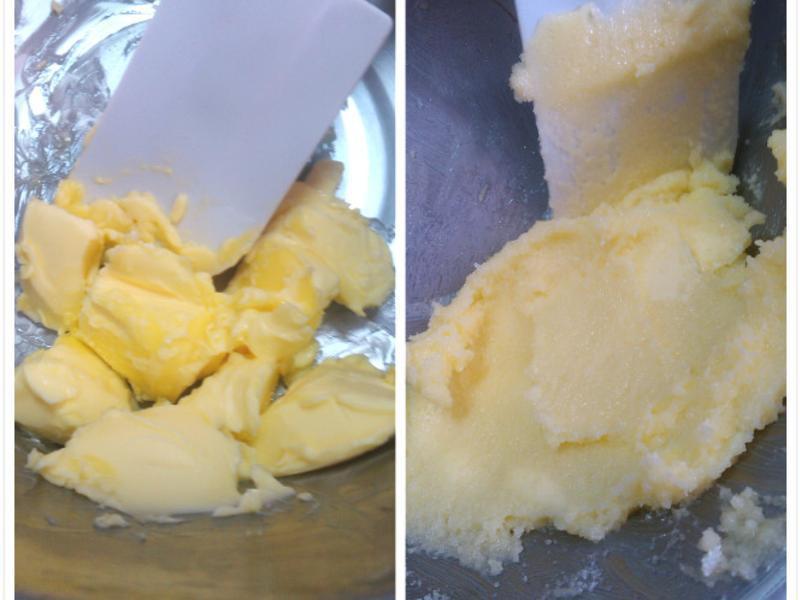
1无盐奶油取出软化,和砂糖拌匀(左图是奶油切块的样子,又突是已拌匀混合的样子)
 2
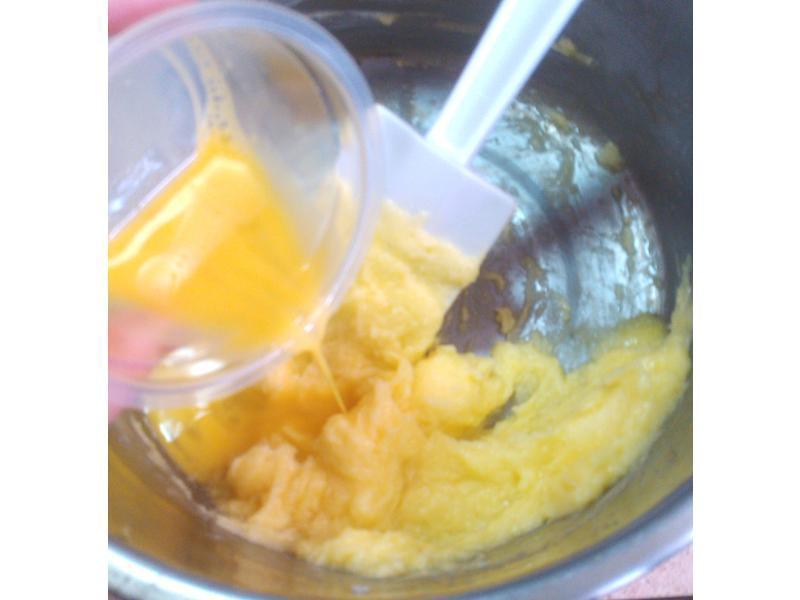
2蛋液分3次加入奶油(建议在这个步骤使用打蛋器,会更快拌匀)
 3
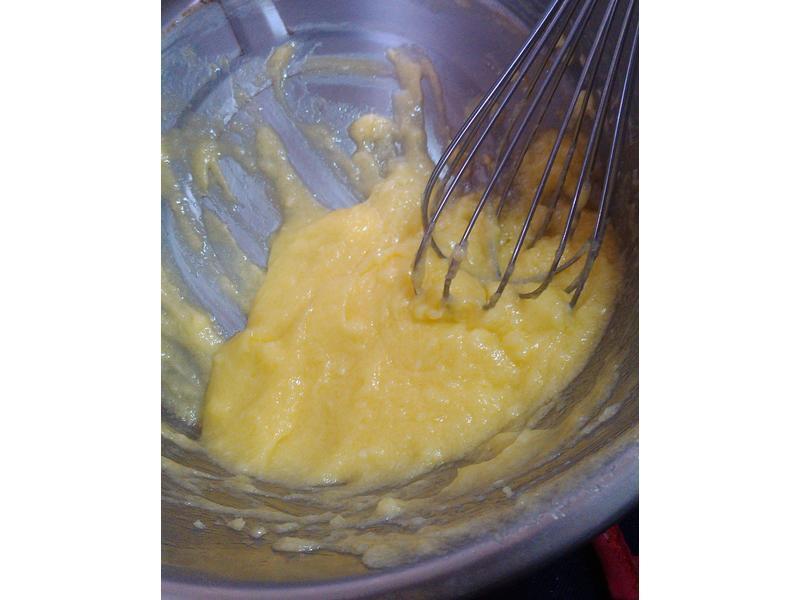
3蛋液和奶油混合均匀的模样
 4
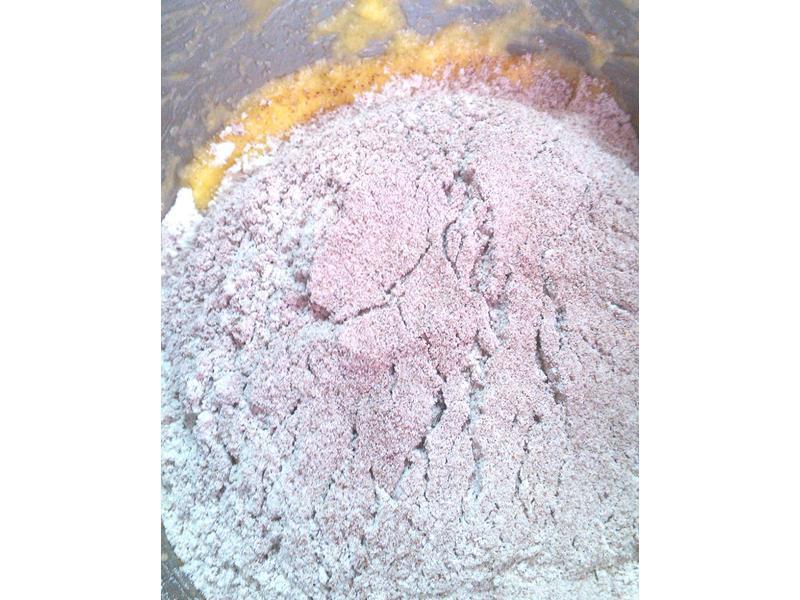
4将所有粉类筛入~
 5
5拌匀~~~
 6
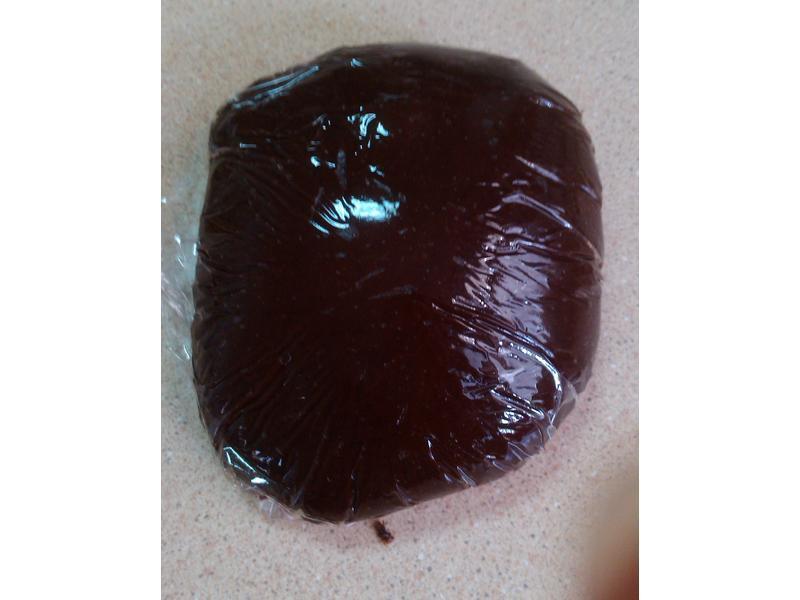
6拌好的面团会有点湿 需冷藏1小时
 7
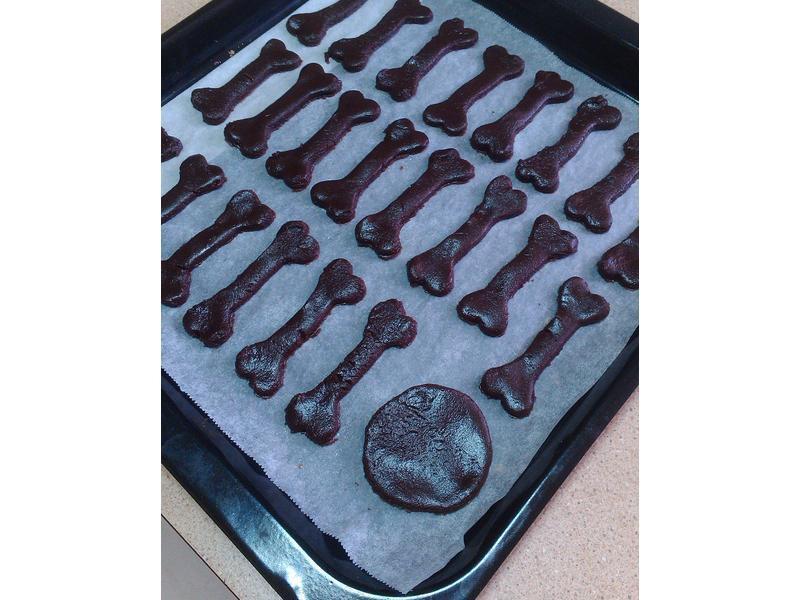
7取出面团 擀平 压型
 8
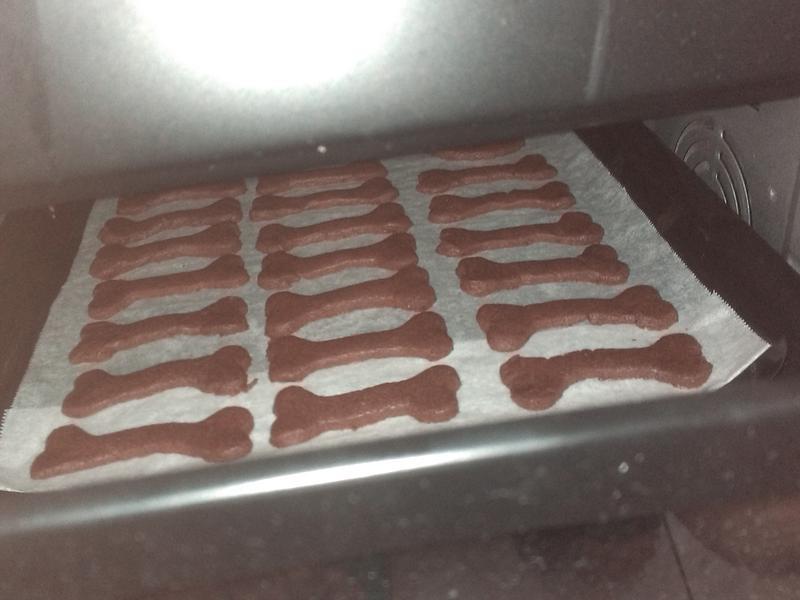
8放进烤箱 180度 烤10-15分钟
 9
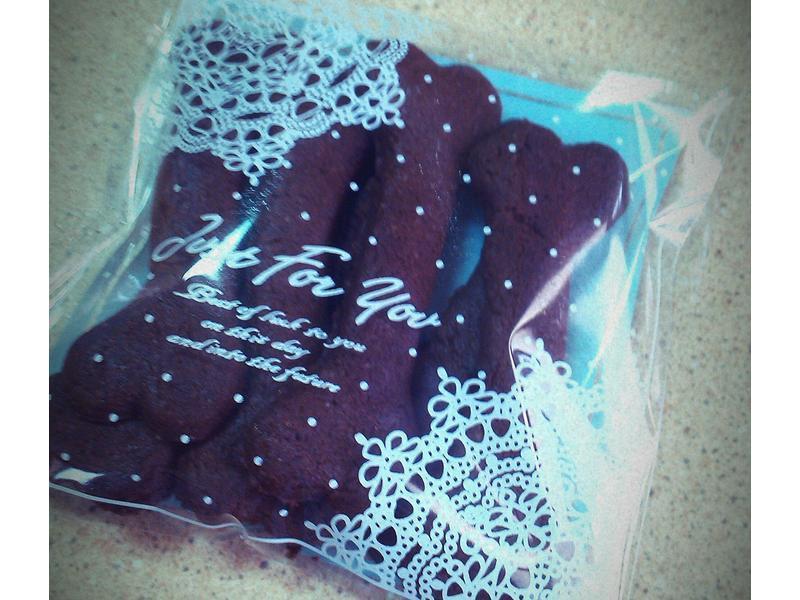
9取出放凉后 包装装一下 就可以送人囉!
发布时间:2022-03-27 06:10:47
1无盐奶油取出软化,和砂糖拌匀(左图是奶油切块的样子,又突是已拌匀混合的样子)
2蛋液分3次加入奶油(建议在这个步骤使用打蛋器,会更快拌匀)
3蛋液和奶油混合均匀的模样
4将所有粉类筛入~
5拌匀~~~
6拌好的面团会有点湿 需冷藏1小时
7取出面团 擀平 压型
8放进烤箱 180度 烤10-15分钟
9取出放凉后 包装装一下 就可以送人囉!
该内容由生活日记网提供.

Copyright ©2010-2024 生活日记网 用日志记录点滴生活! 家常菜谱频道。 网站地图 手机版
用日记记录生活中的点点滴滴,等老了我们一起来把它回味......写日记
网站备案/许可证号:鲁ICP备18042150号-39