
 1
1ШЁвЛаЁЭыЃЌГгКУДПЕААзЗлЁЃ
 2
2МгШыЮТПЊЫЎАшдШГЩВЛВаСєЗлФЉЕФвКЬхЁЃ(ОјЖдВЛПЩвдВаСєЕААзЗлЃЌВЛШЛЪЙгУЪБЬЧЫЊПЩФмЛсМЗЕНвЛАыШћзЁМЗВЛГіРДгД~)
 3
3ДПЬЧЗлЙ§ЩИ
 4
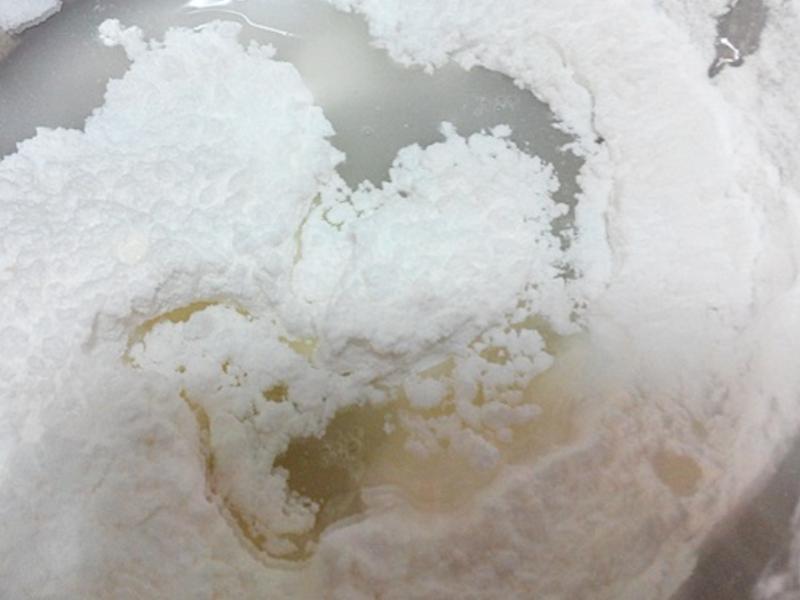
4АбИеВХАшдШЕФЕААзвКМгШыДПЬЧЗлРяАшдШОЭЭъГЩСЫЁЃ
 5
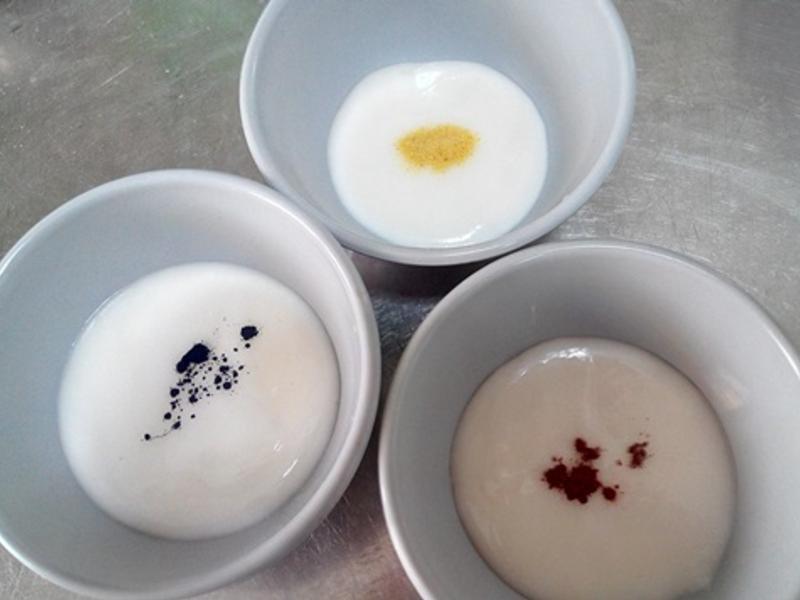
5(АшдШКѓЕФЕААзЬЧЫЊЁЃ)
 6
6(етЪЧБОЕъЪЙгУЕФЬьШЛЕїЩЋЪГВФ)
 7
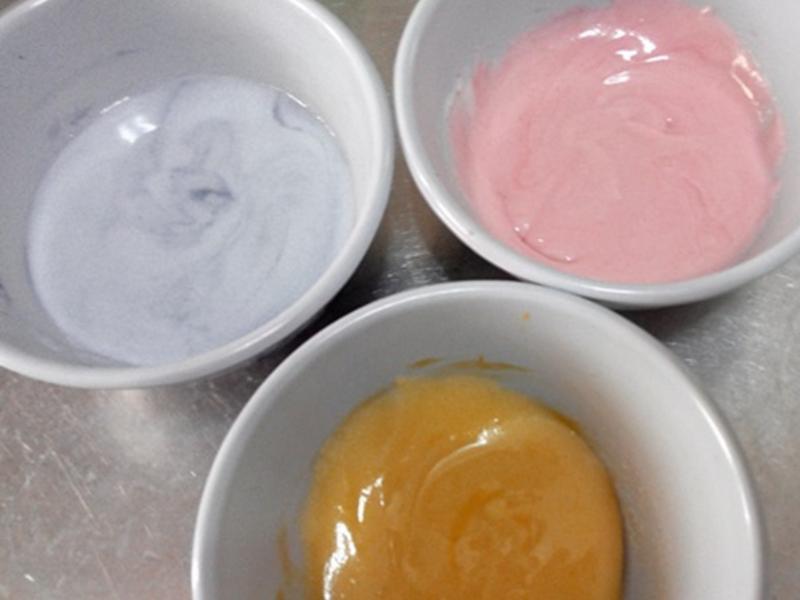
7ШЁЪ§ИіаЁЭыЃЌМгШыЪЪСПЕФЬьШЛЕїЩЋЪГВФЃЌАшдШКѓОЭЭъГЩЬЧЫЊЕФЕїЩЋЁЃ
 8
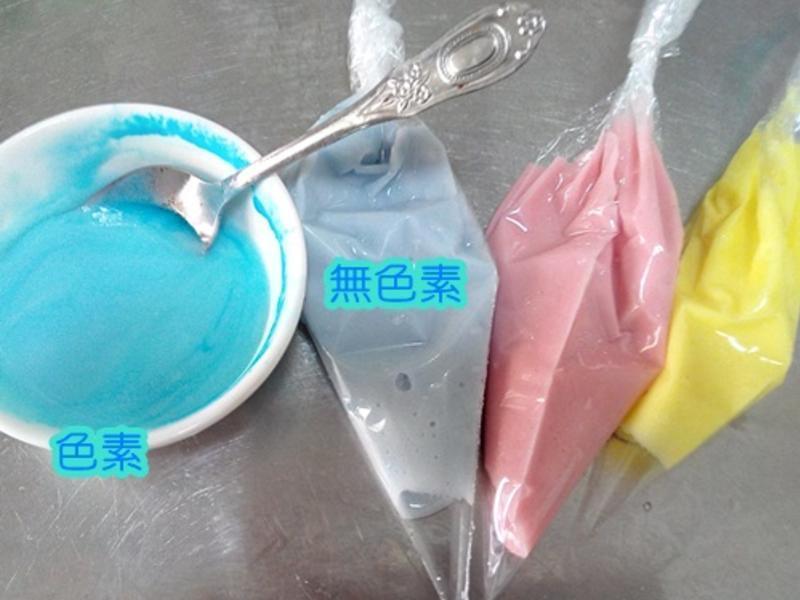
8ПЩвдПДЕНбеЩЋВЂВЛЪЧЗЧГЃЕФЯЪбоЃЌЕЋШДЗЧГЃЕФздШЛХЖ!
 9
9ЮвУЧЬиБ№евРДЪГгУЩЋЫиЪОЗЖЃЌЭМжаЕФаЁЭыРязАЕФЃЌОЭЪЧМгСЫРЖЩЋЩЋЫиЕФЬЧЫЊЃЌПЩвдУїЯдПДЕНЃЌЩЋЫиКЭЗЧЩЋЫиЕФЧГРЖЩЋЬЧЫЊЃЌЩЋдѓЩЯЪЧгаКмДѓВювьЕФЃЌЫљвдЃЌДѓМвбЁдёЪГЦЗЪБвЊСєвтЃЌЪГЮяШчЙћЯёЭМжааЁЭыРяЕФЬЧЫЊФЧбљЃЌЪЧКмЯЪбоЁЂУїССЕФбеЩЋЃЌФЧМИКѕПЩвдШЗЖЈЪЧгаЩЋЫиЕФЁЃ
 10
10ЬЧЫЊДѓМЏКЯ!!(ЦфЫћбеЩЋЕФЬЧЫЊОЭЪЧЪЙгУВНжш6ееЦЌРяЕФФЧаЉЕїЩЋЬьШЛЪГВФЫљЕїжЦЕФЃЌбеЩЋЫфВЛбоРіЃЌЕЋШДКмздШЛЃЌЖдАЩ~)
