
 1
1备好食材:蛋的蛋黄和蛋白分开(蛋白先放冷藏),所有食材秤好,粉类要先过筛,芒果果肉切碎或打成泥。
 2
2电子锅内锅涂抹一层份量外的奶油,天热可先将内锅放冰藏,以避免室温高使奶油液化。
 3
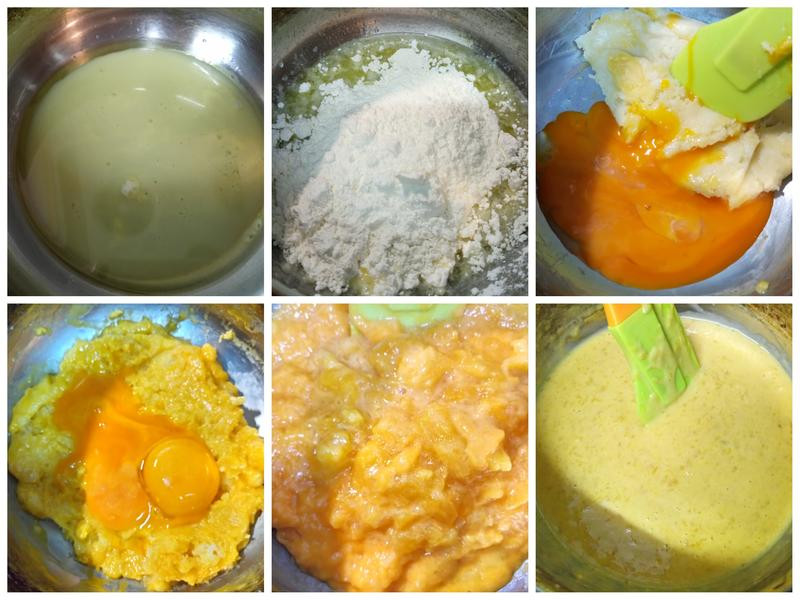
3<制作蛋黄糊(烫面法)>先将植物油和炼乳加热至锅边快冒泡但没冒就关火离炉,立刻加入过筛的粉类快速拌至无粉粒,稍降温后再分次加入蛋液拌匀,最后倒入芒果泥拌匀。
 4
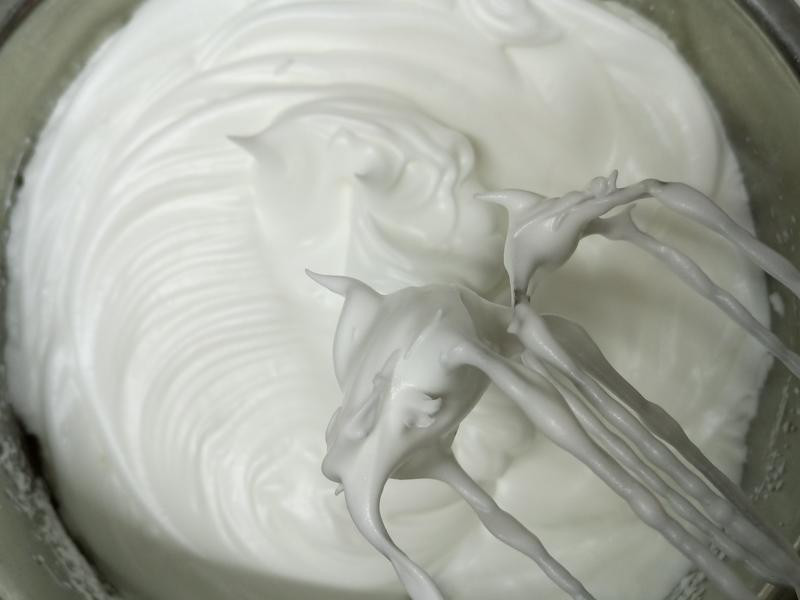
4<制作蛋白霜>自冰箱取出蛋白,用电动打蛋器先用低速打出一些泡沫后,加入一点点盐(或柠檬汁或白醋),再转高速,分2~3次加入糖,打至有弯钩的湿性发泡。
 5
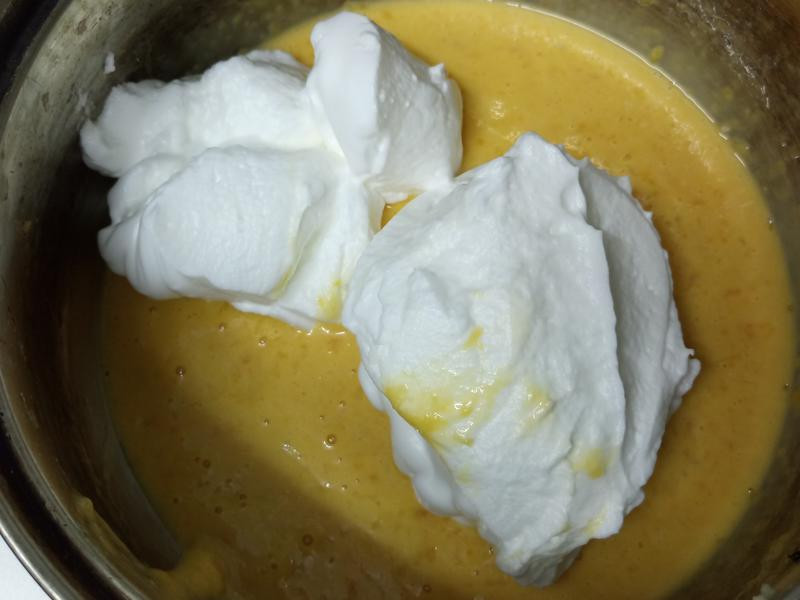
5舀1/3份量的蛋白霜混入蛋黄糊中,用手持打蛋器搅拌均匀。
 6
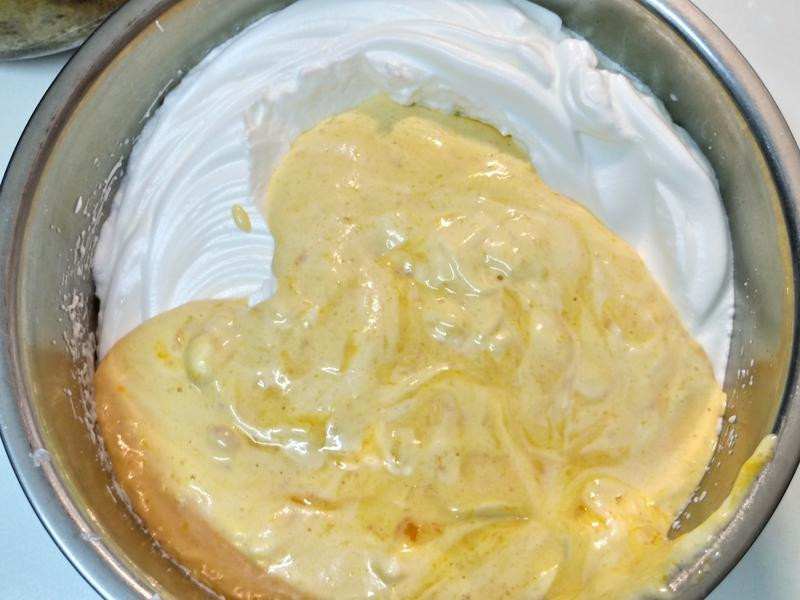
6然后再将拌匀的面糊倒入剩下的蛋白霜中,用橡皮刮刀延著锅边翻转,以切拌方式混合均匀。只要混合均匀即可,切勿过度搅拌以免蛋白消泡。
 7
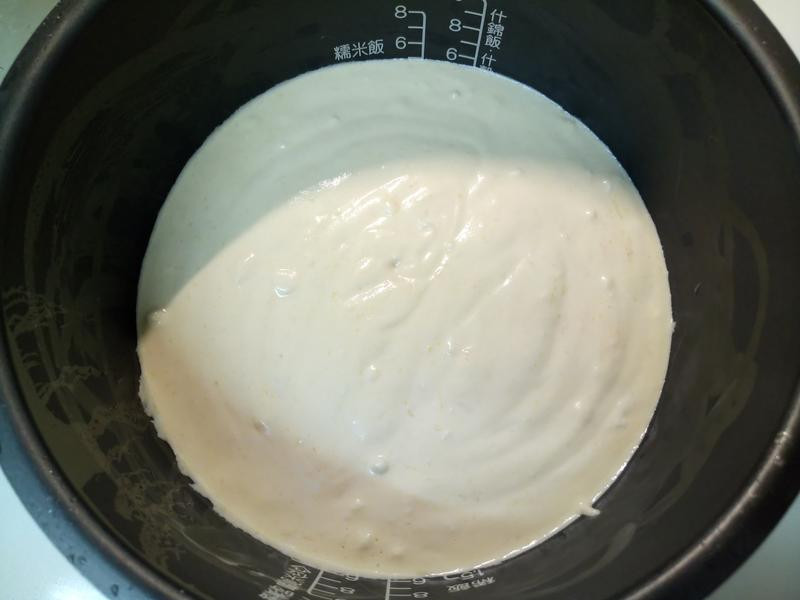
7将面糊倒入已涂抹奶油的电子锅内锅里,用筷子在面糊中交叉画圈消除小气泡,再轻敲出大气泡。
 8
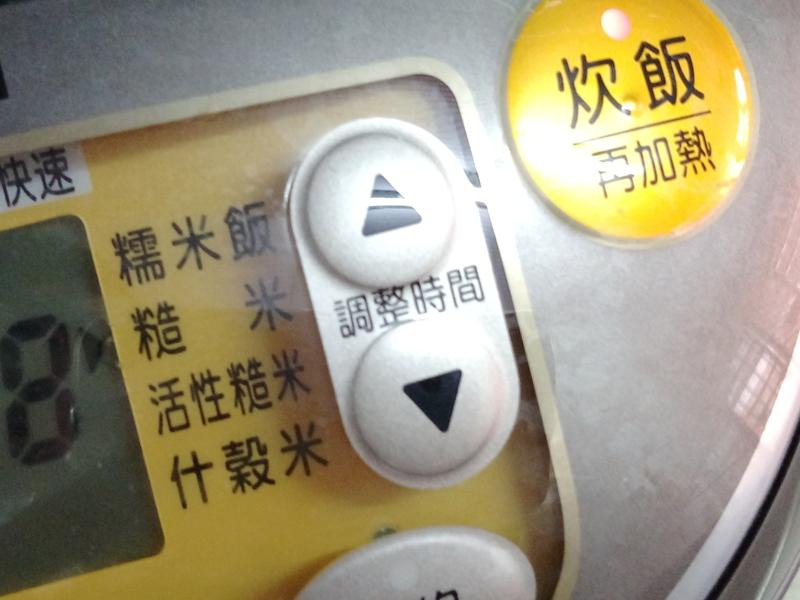
8内锅放进电子锅中,按下炊饭键。(我使用糙米选项,可以炊煮较久,不会半小时就发出完成的声响。若用一般炊饭加热完成,但蛋糕还没熟,可待机器稍冷却后,再按一次炊饭键,总共至少要煮1小时。)
 9
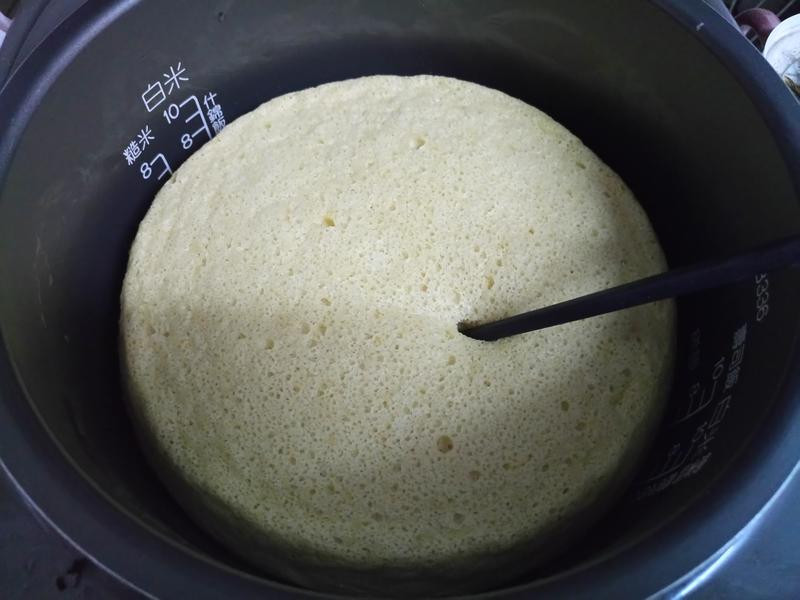
9电子锅发出完成的哔哔声或1小时后,用筷子插入蛋糕体,若无沾粘面糊即完成。
 10
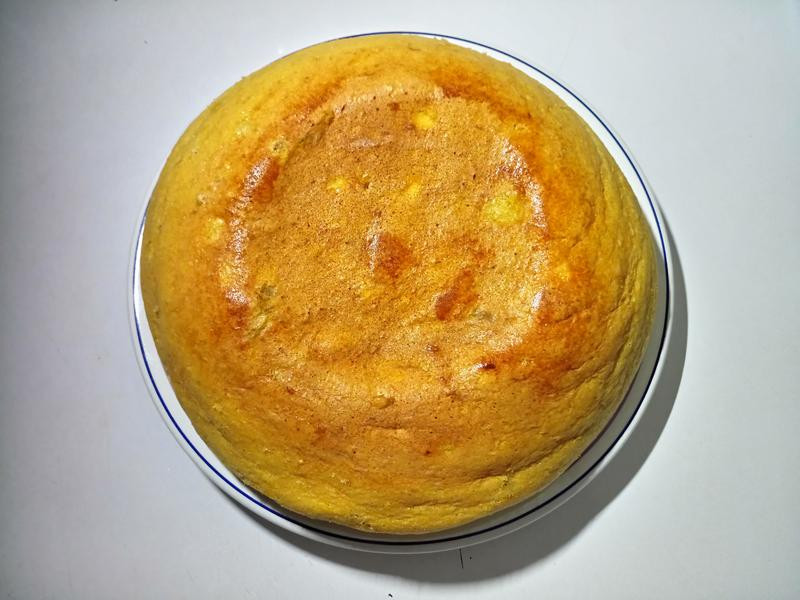
10起锅待稍凉后,再小心将蛋糕倒出盛盘。
11上桌。
