
 1
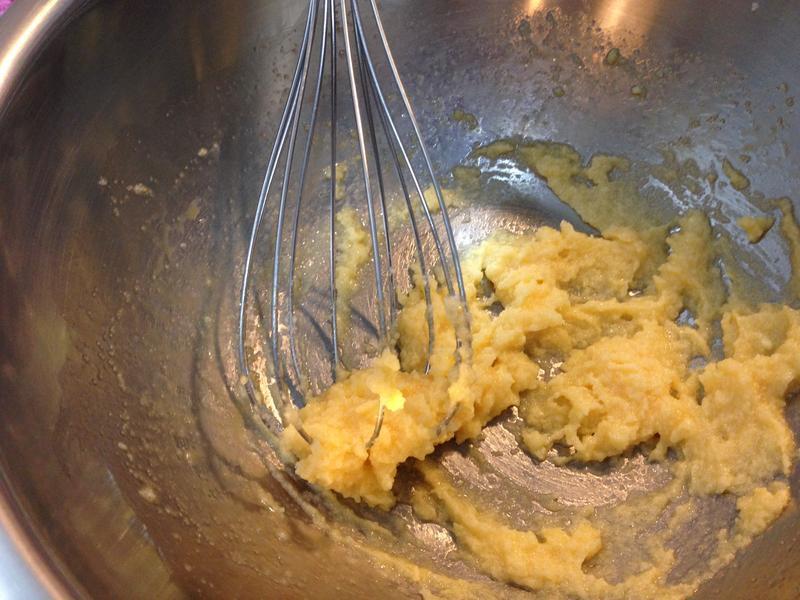
1先从法式薄饼开始。室温软化的奶油打散,分次加入蛋液混和均匀
 2
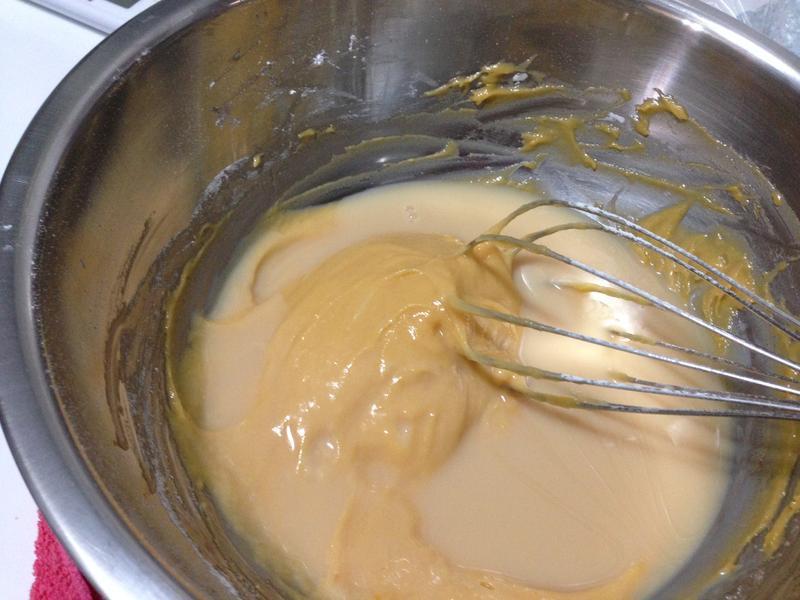
2接着加入过筛的面粉拌匀成团
 3
3分次倒入养乐多拌匀就完成薄饼面糊了
 4
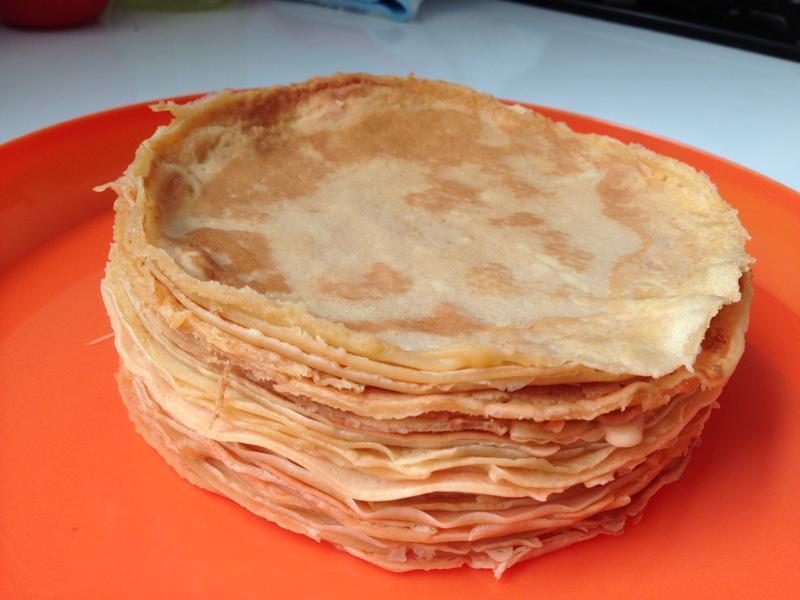
4面糊用平底锅一片片煎好备用。可以煎好再用模型切成合适大小,凉姆是用6吋的慕斯圈直接放锅子里煎,每片都一样大也不浪费喔。煎的时候锅子不要太热,多煎几片就能抓到翻面的时机,煎出漂亮的饼皮喔
 5
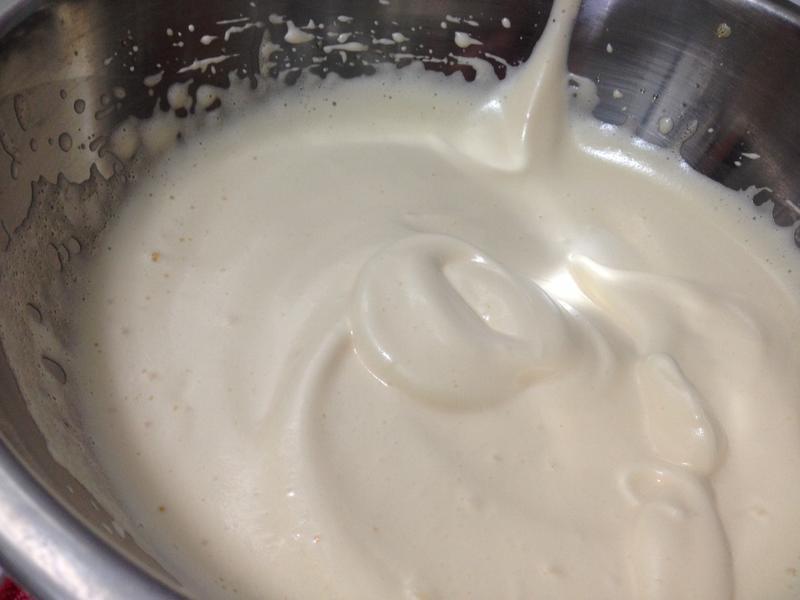
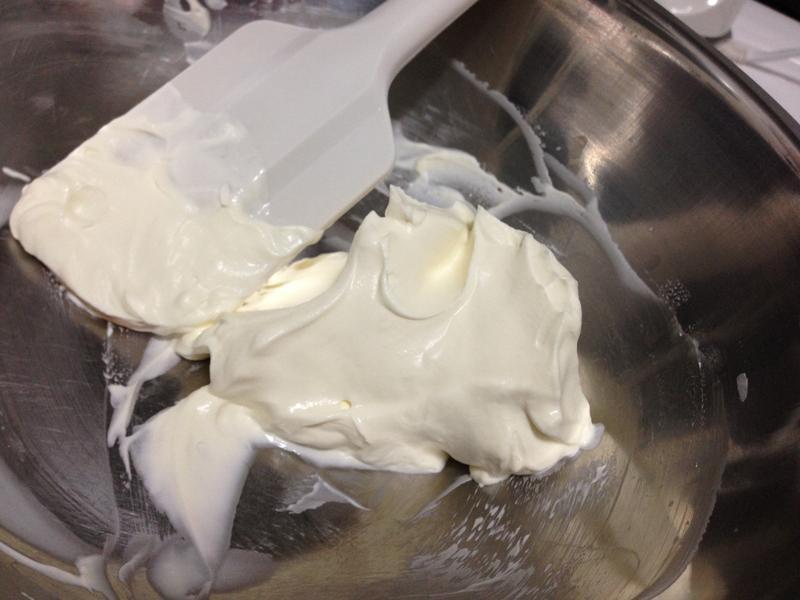
5接着准备鲜奶油霜。冰凉的鲜奶油在钢盆里高速打发,细砂糖在鲜奶油发起前分次加入
 6
6取适量的鲜奶油霜各自用食用色素调成需要的颜色
 7
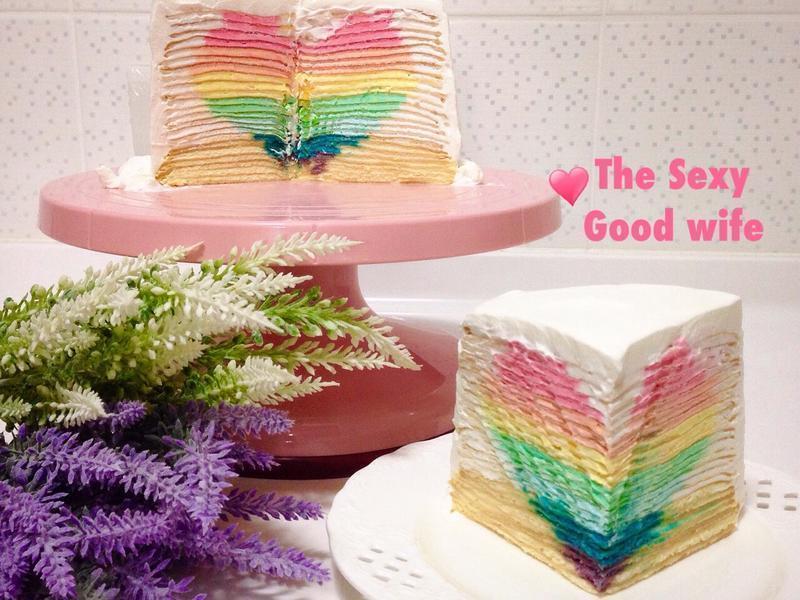
7一层薄饼一层鲜奶油霜,慢慢地堆叠。最后在外围抹上一层鲜奶油就完成囉!
 8
8希望大家喜欢凉姆这个月的主题!
